
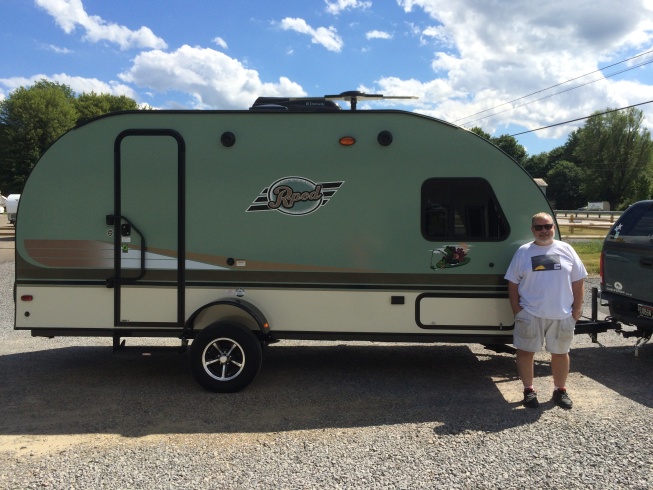
Giant telescope? Rock solid mount with arc-second accuracy? APS-sized, duel stage cooled camera? Nope. Not even close… The game changer for me is my 2016 Model 179 r-Pod camper, christened AstroPod. After Mrs. Smith and I decided to sell the summer vacation cabin (I called it “the Shack”), I lobbied to spend money on something that had no chance for a return on investment: a recreational vehicle. True to form, Mrs. Smith was, as always, completely supportive. Still not quite sure what lottery I won to end up with her.
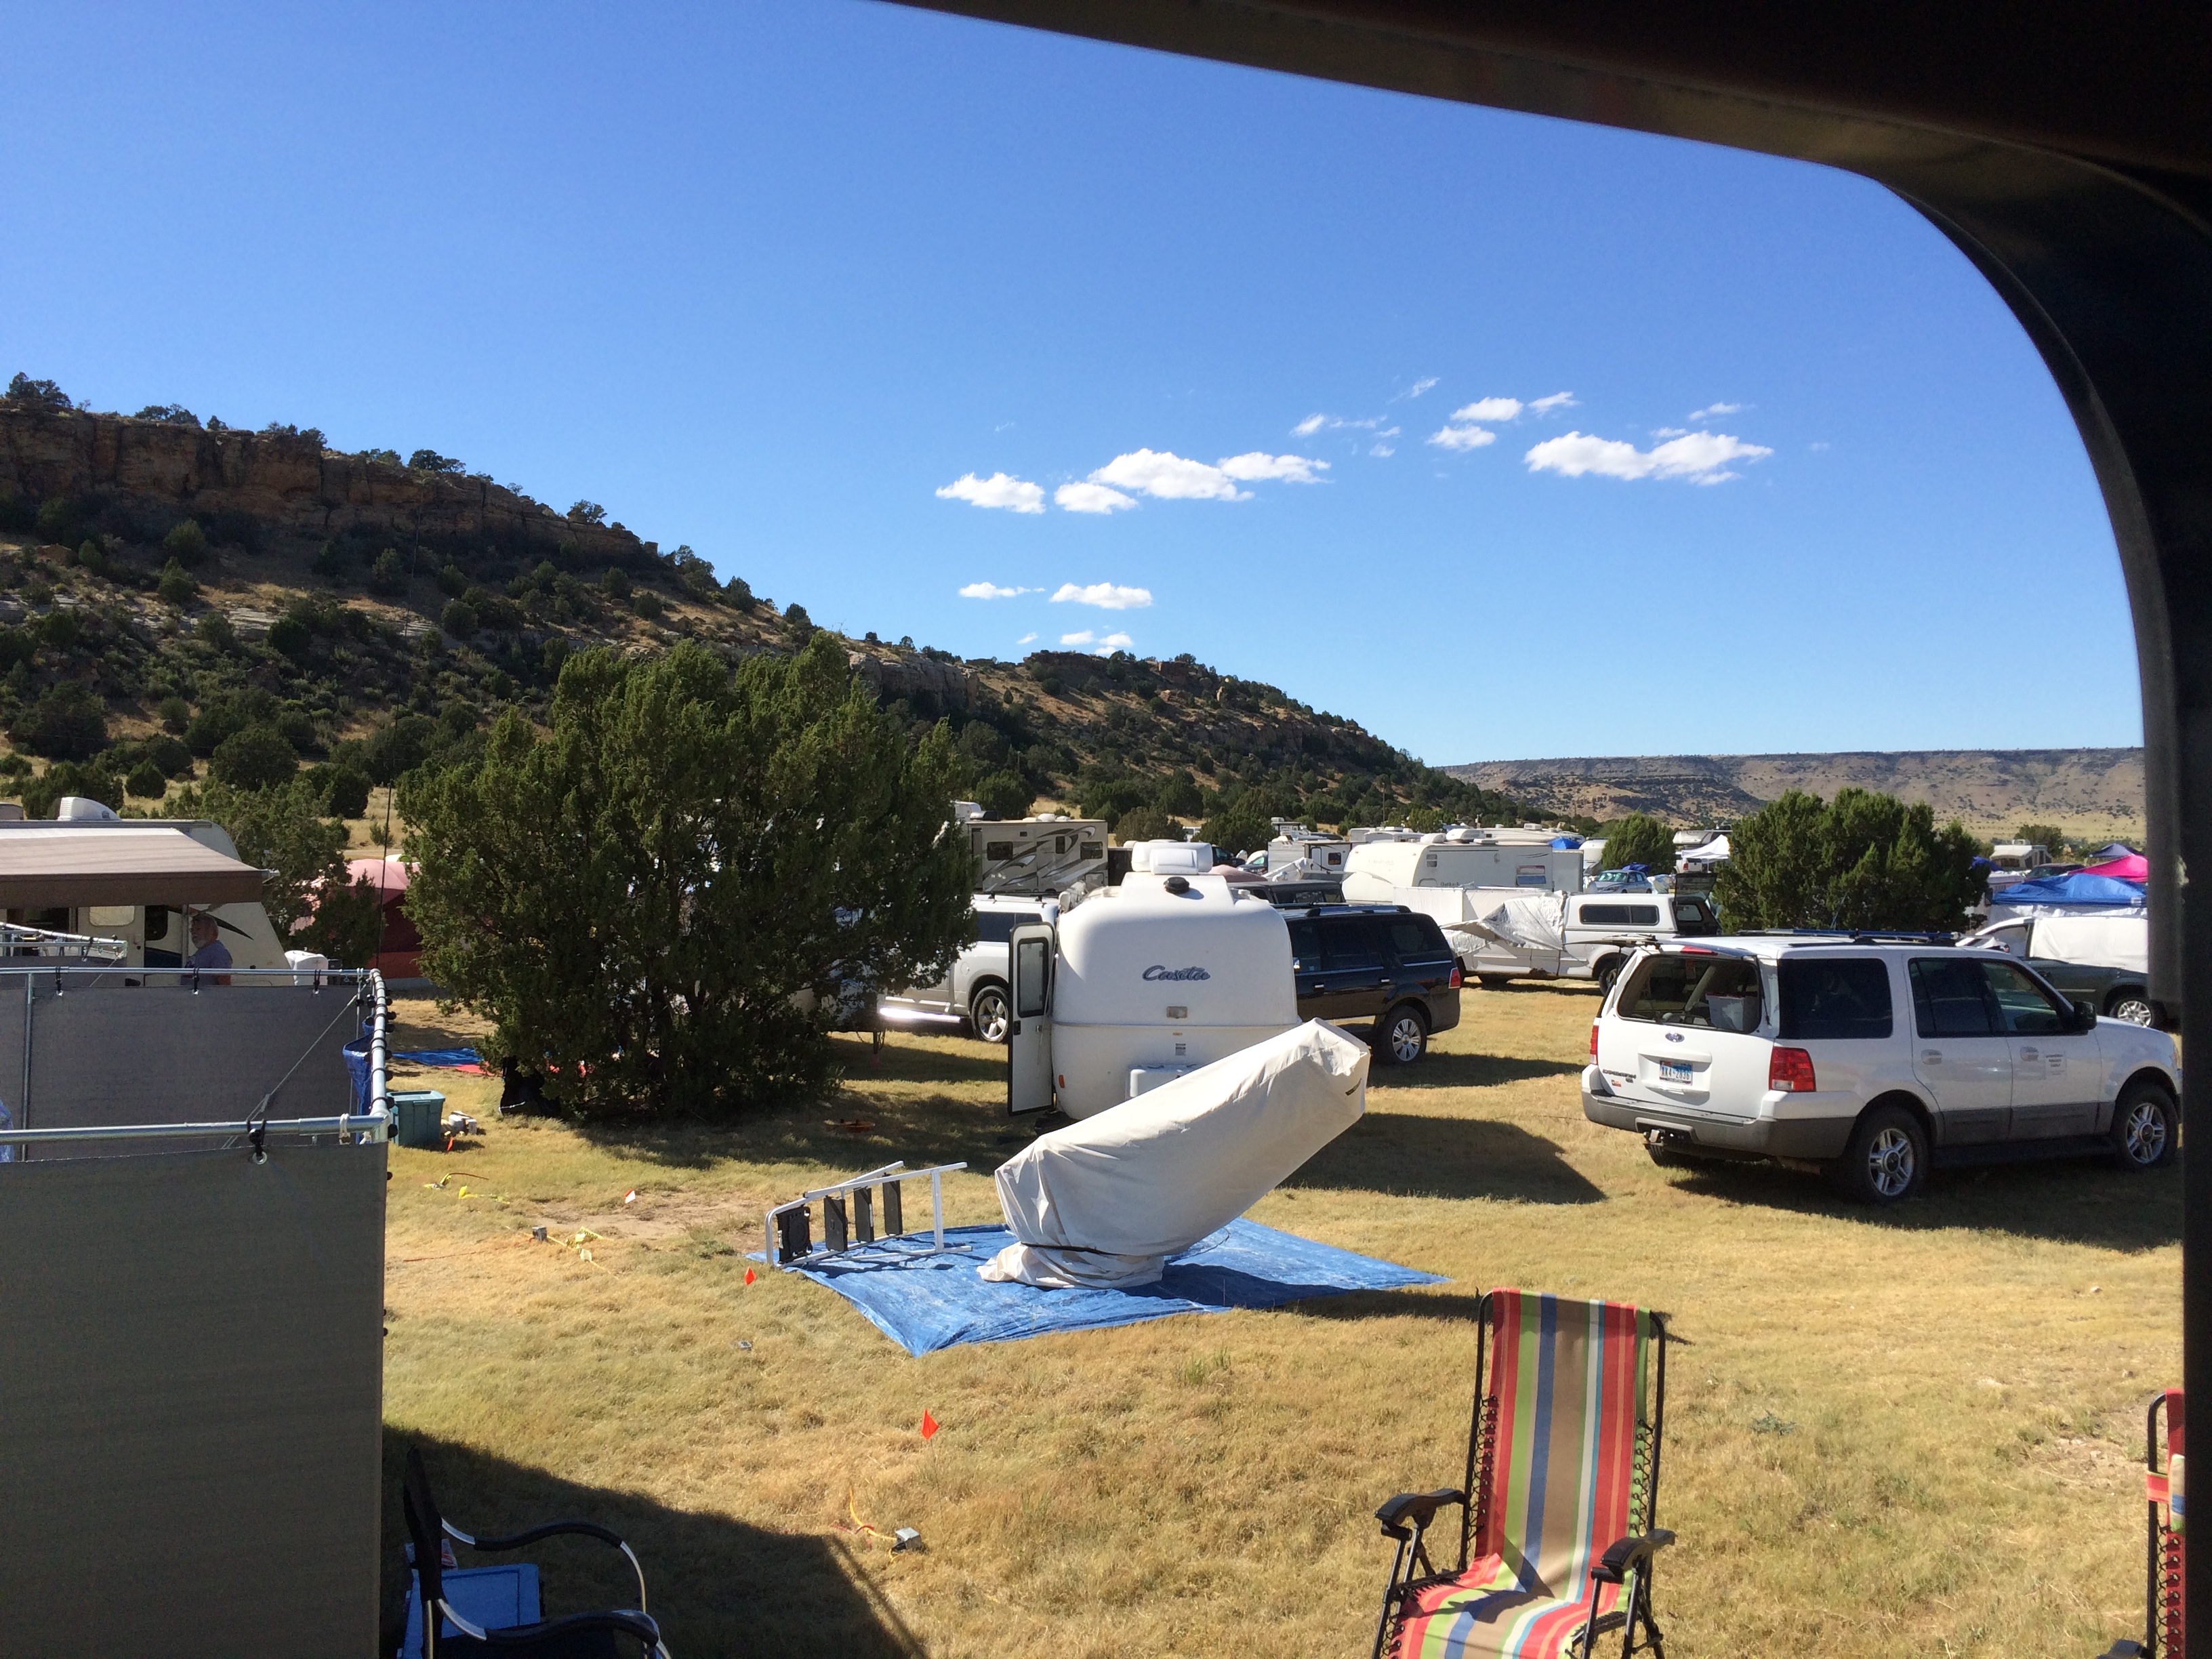
At my second outing at the OkieTex Star Party, I was up and running with “remote” control of my telescope… That is, sitting at the dinette in the AstroPod using a laptop that was networked to the laptop at the scope. It is conceivable that for some of the time, I may have even been in my bed instead of at the dinette. What a treat.
I shopped for my Astro-Pod at a couple different dealers. The low-priced mega dealer in Ohio, the high-volume dealer north of Pittsburgh, and ultimately, I ended up purchasing at a smaller family business in Hermitage called Kerola’s Campers. While they were very competitive in price, the main reason that I chose them was… a feeling. That they are smaller and remembered my name, and gave me a coffee mug for stopping by to shop, and were willing to jump through hoops to make requested changes to my trailer, and a half-dozen other examples made me think that if something wasn’t right with the trailer or if something ever needs to be fixed they will do their best to make me happy. In short, they seem to care about what they are doing, and I am delighted to support that.
So that’s a bit of background. For the rest of this entry, I am going to do a bit of a review that is slanted more toward some of my fellow r-Pod owners and prospective r-Pod owners. There are some very active user groups, in particular on Facebook and the r-Pod owners group who have both been very helpful to me, and hopefully this is a little way to give back and to help some future buyers. Please realize that my opinions may be against the grain and may not align with others… I try to share what works for me
The Trailer and My “Mods”
Power
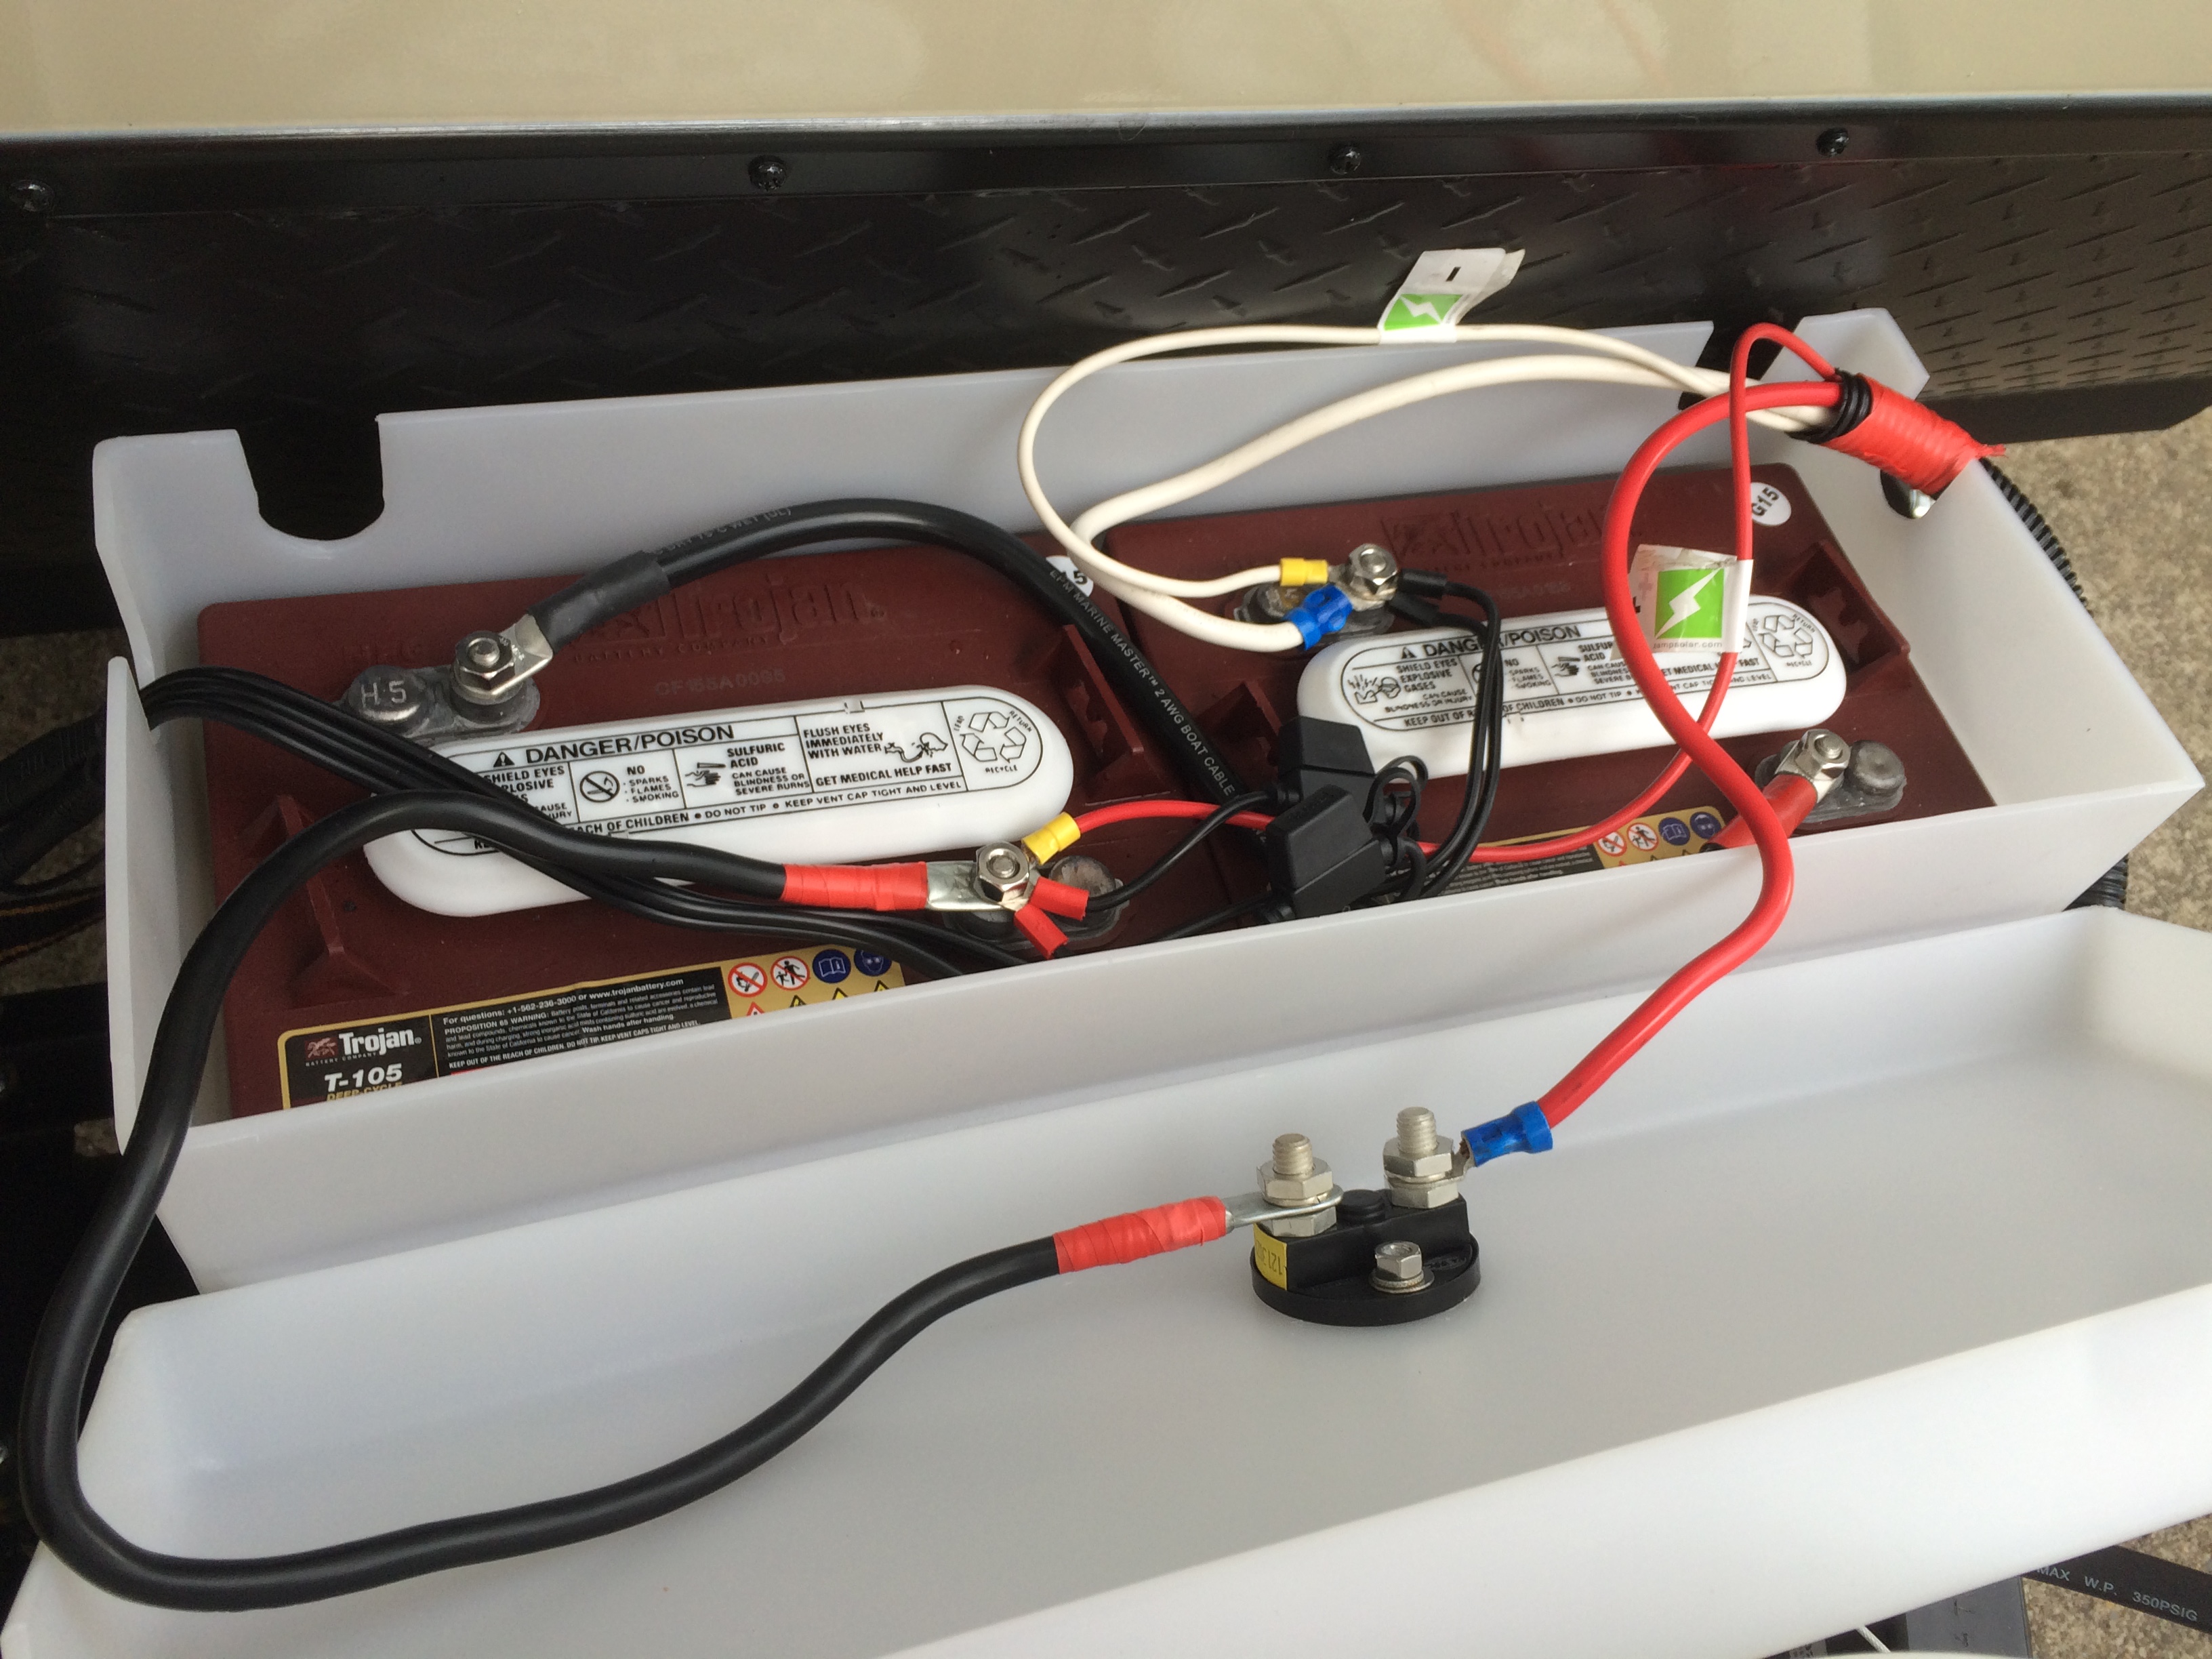
Power was a concern for me and I approached it from several angles. First, I opted to use a pair of Trojan T-105 golf cart batteries for power. These are true deep-cycle batteries, 6 volt, wired in series, and best of all, they fit in the footprint of the r-Pod battery tray. They are a bit taller than standard batteries, but there is still plenty of room. While installing the batteries, I included a quick disconnect battery switch in the lid of the battery box, since there is a constant drain on the battery from several sourced in the trailer.
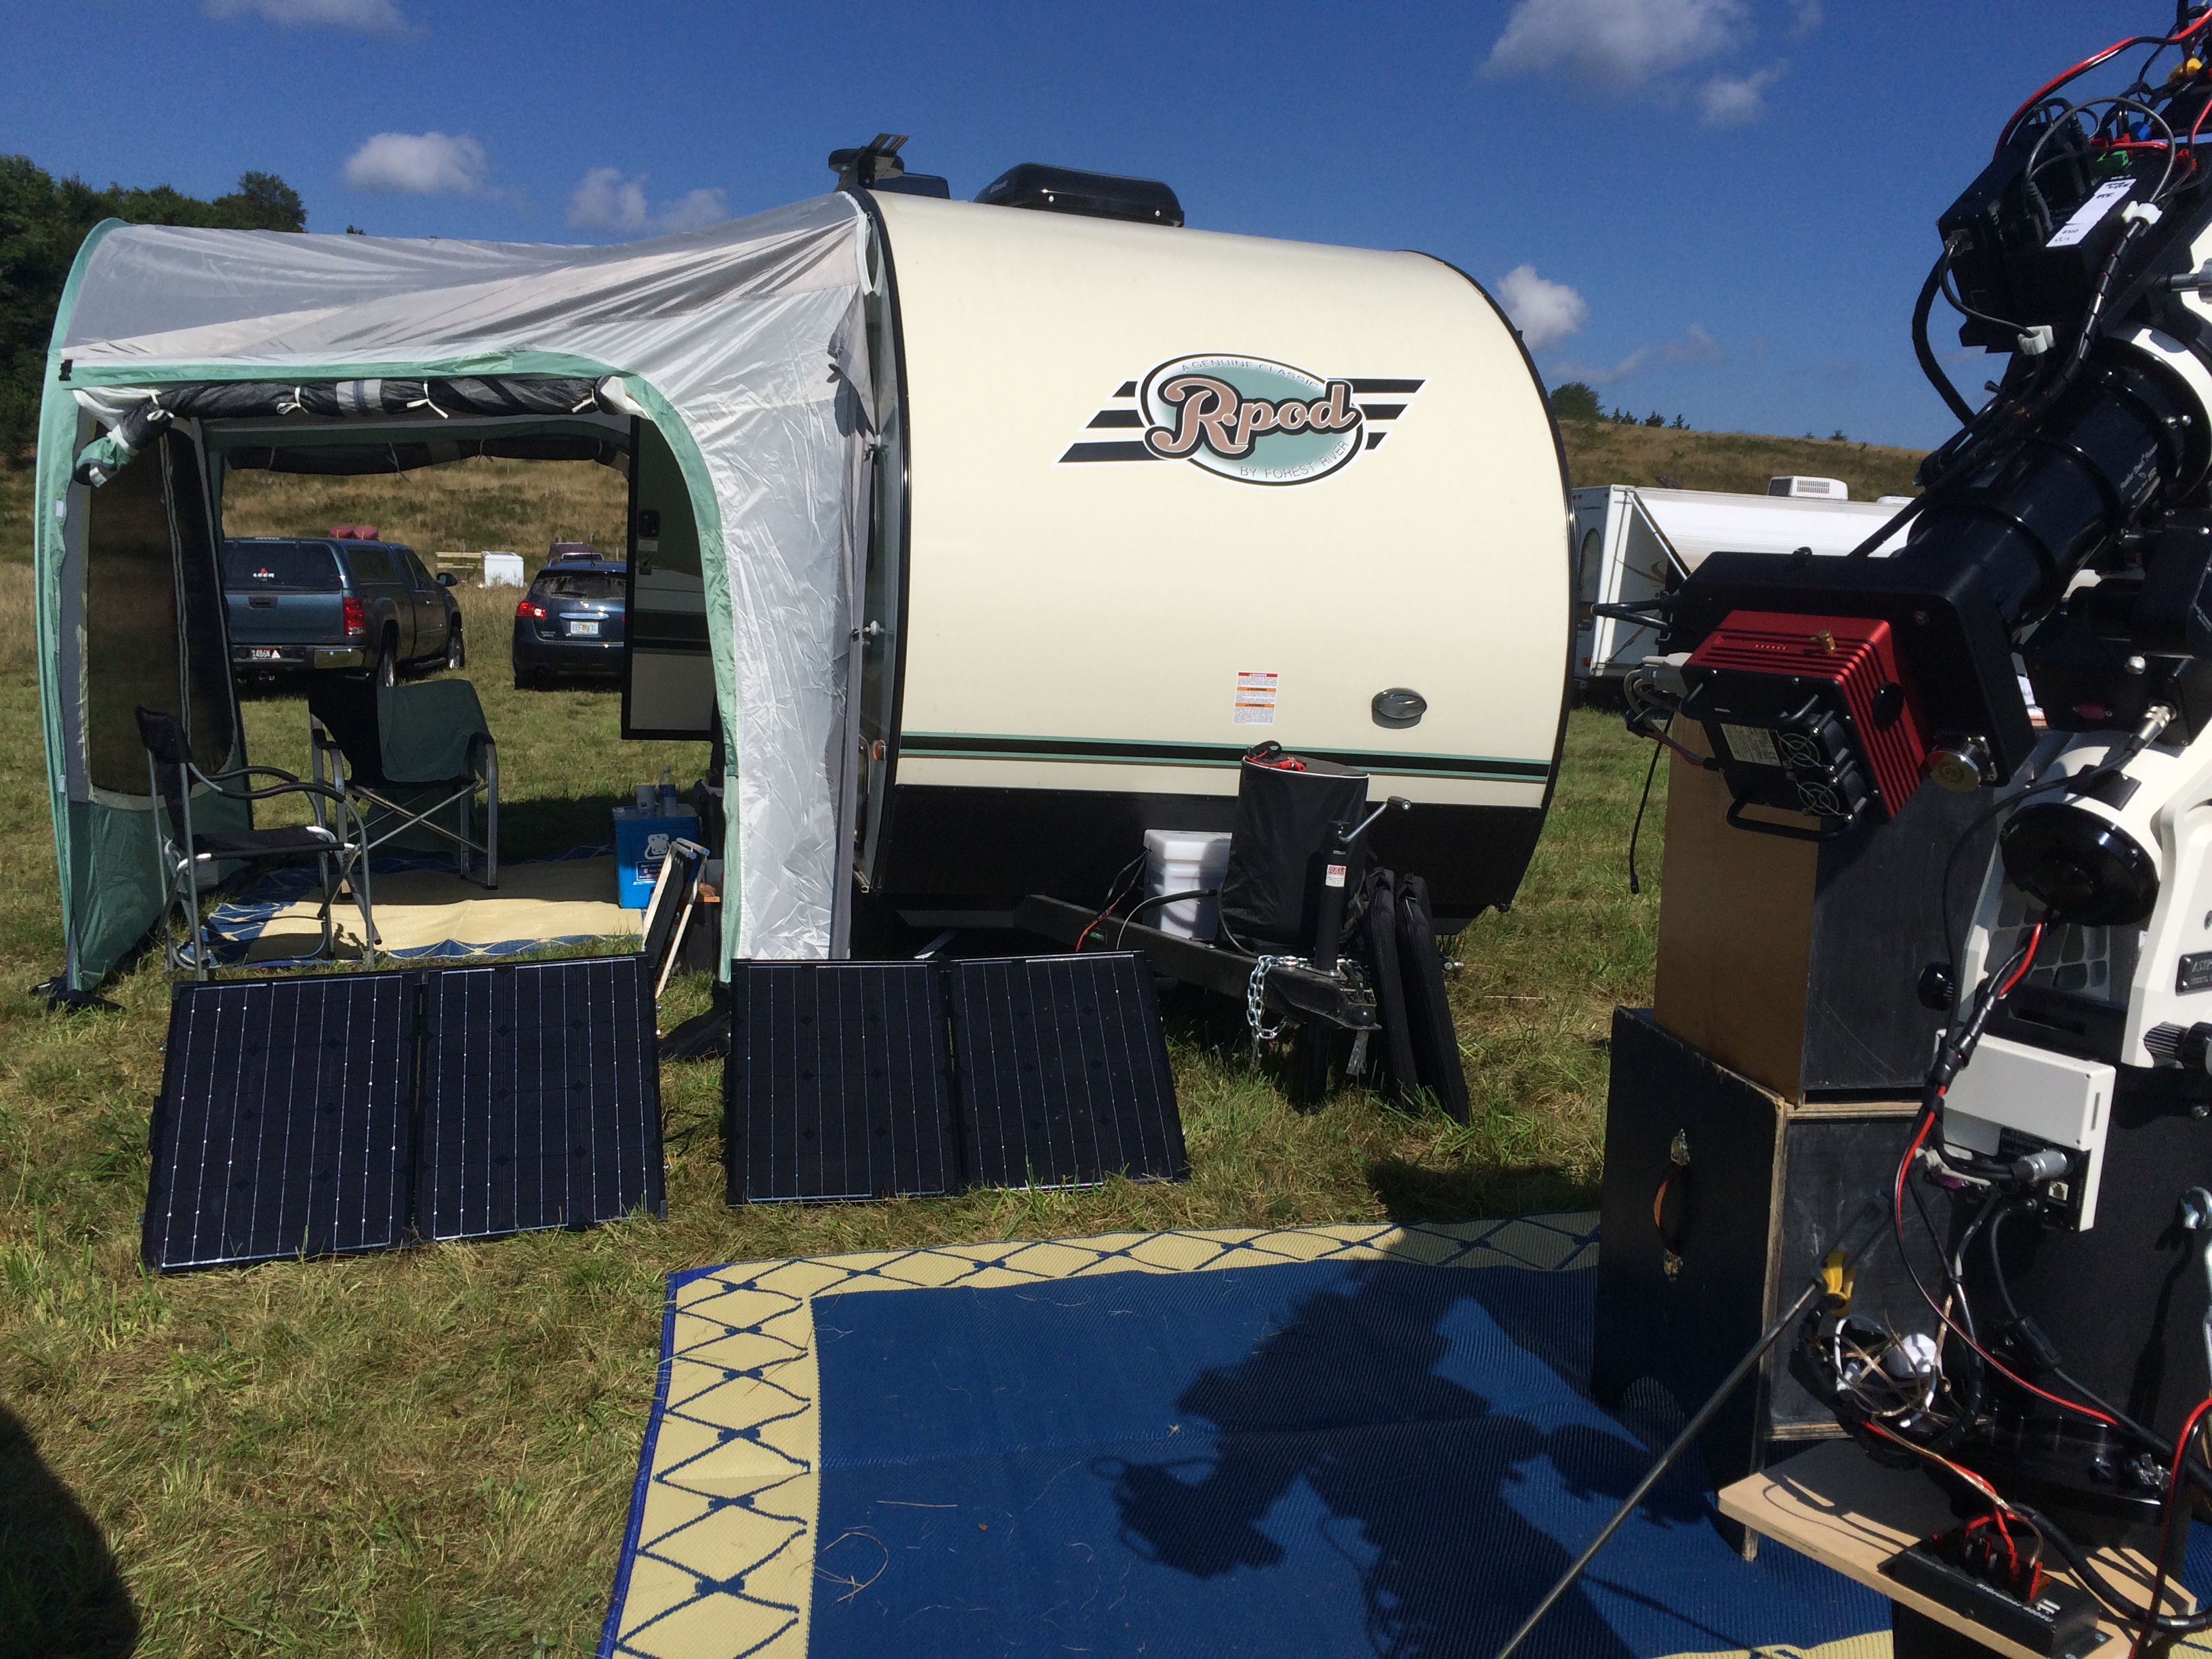
To keep the battery charged when hook-ups are unavailable, I purchased two Renogy 100-watt suitcase solar panels. I included battery tenders with connectors on the Trojan batteries that are identical to the Zamp connector so that the panels can be connected up right at the batteries… or, I can connect one panel to the built-in Zamp connector at the rear of the trailer.
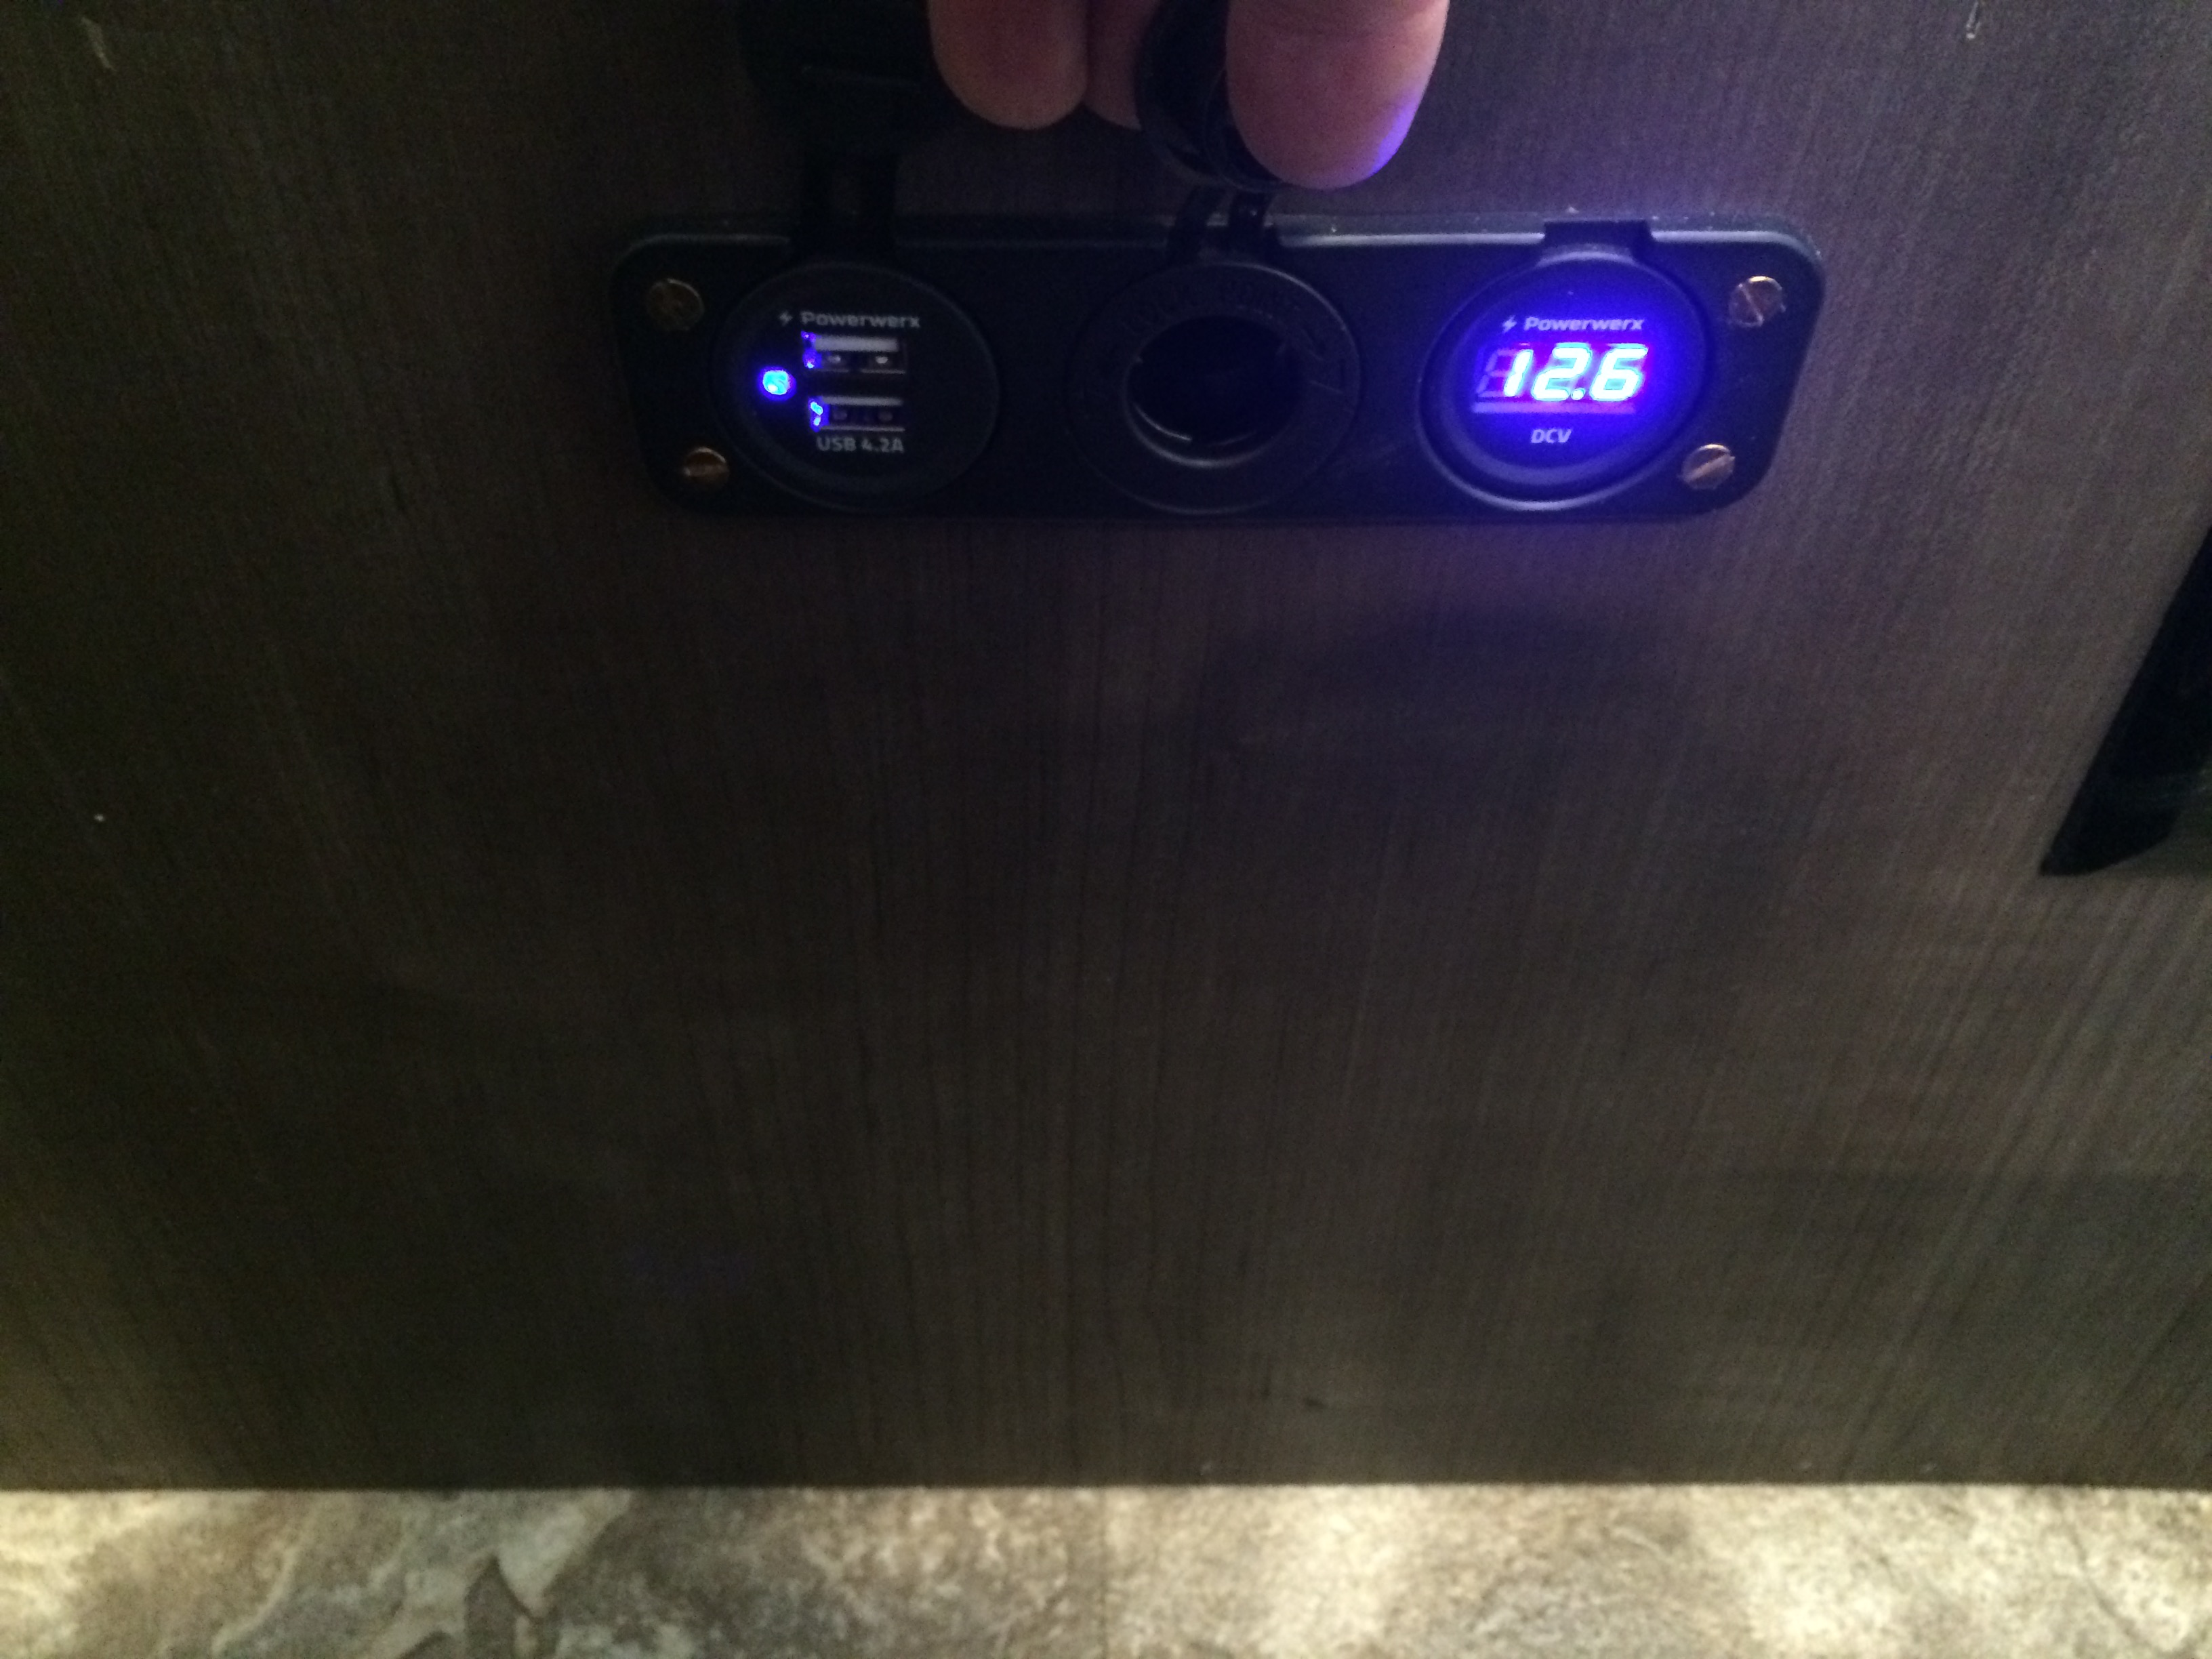
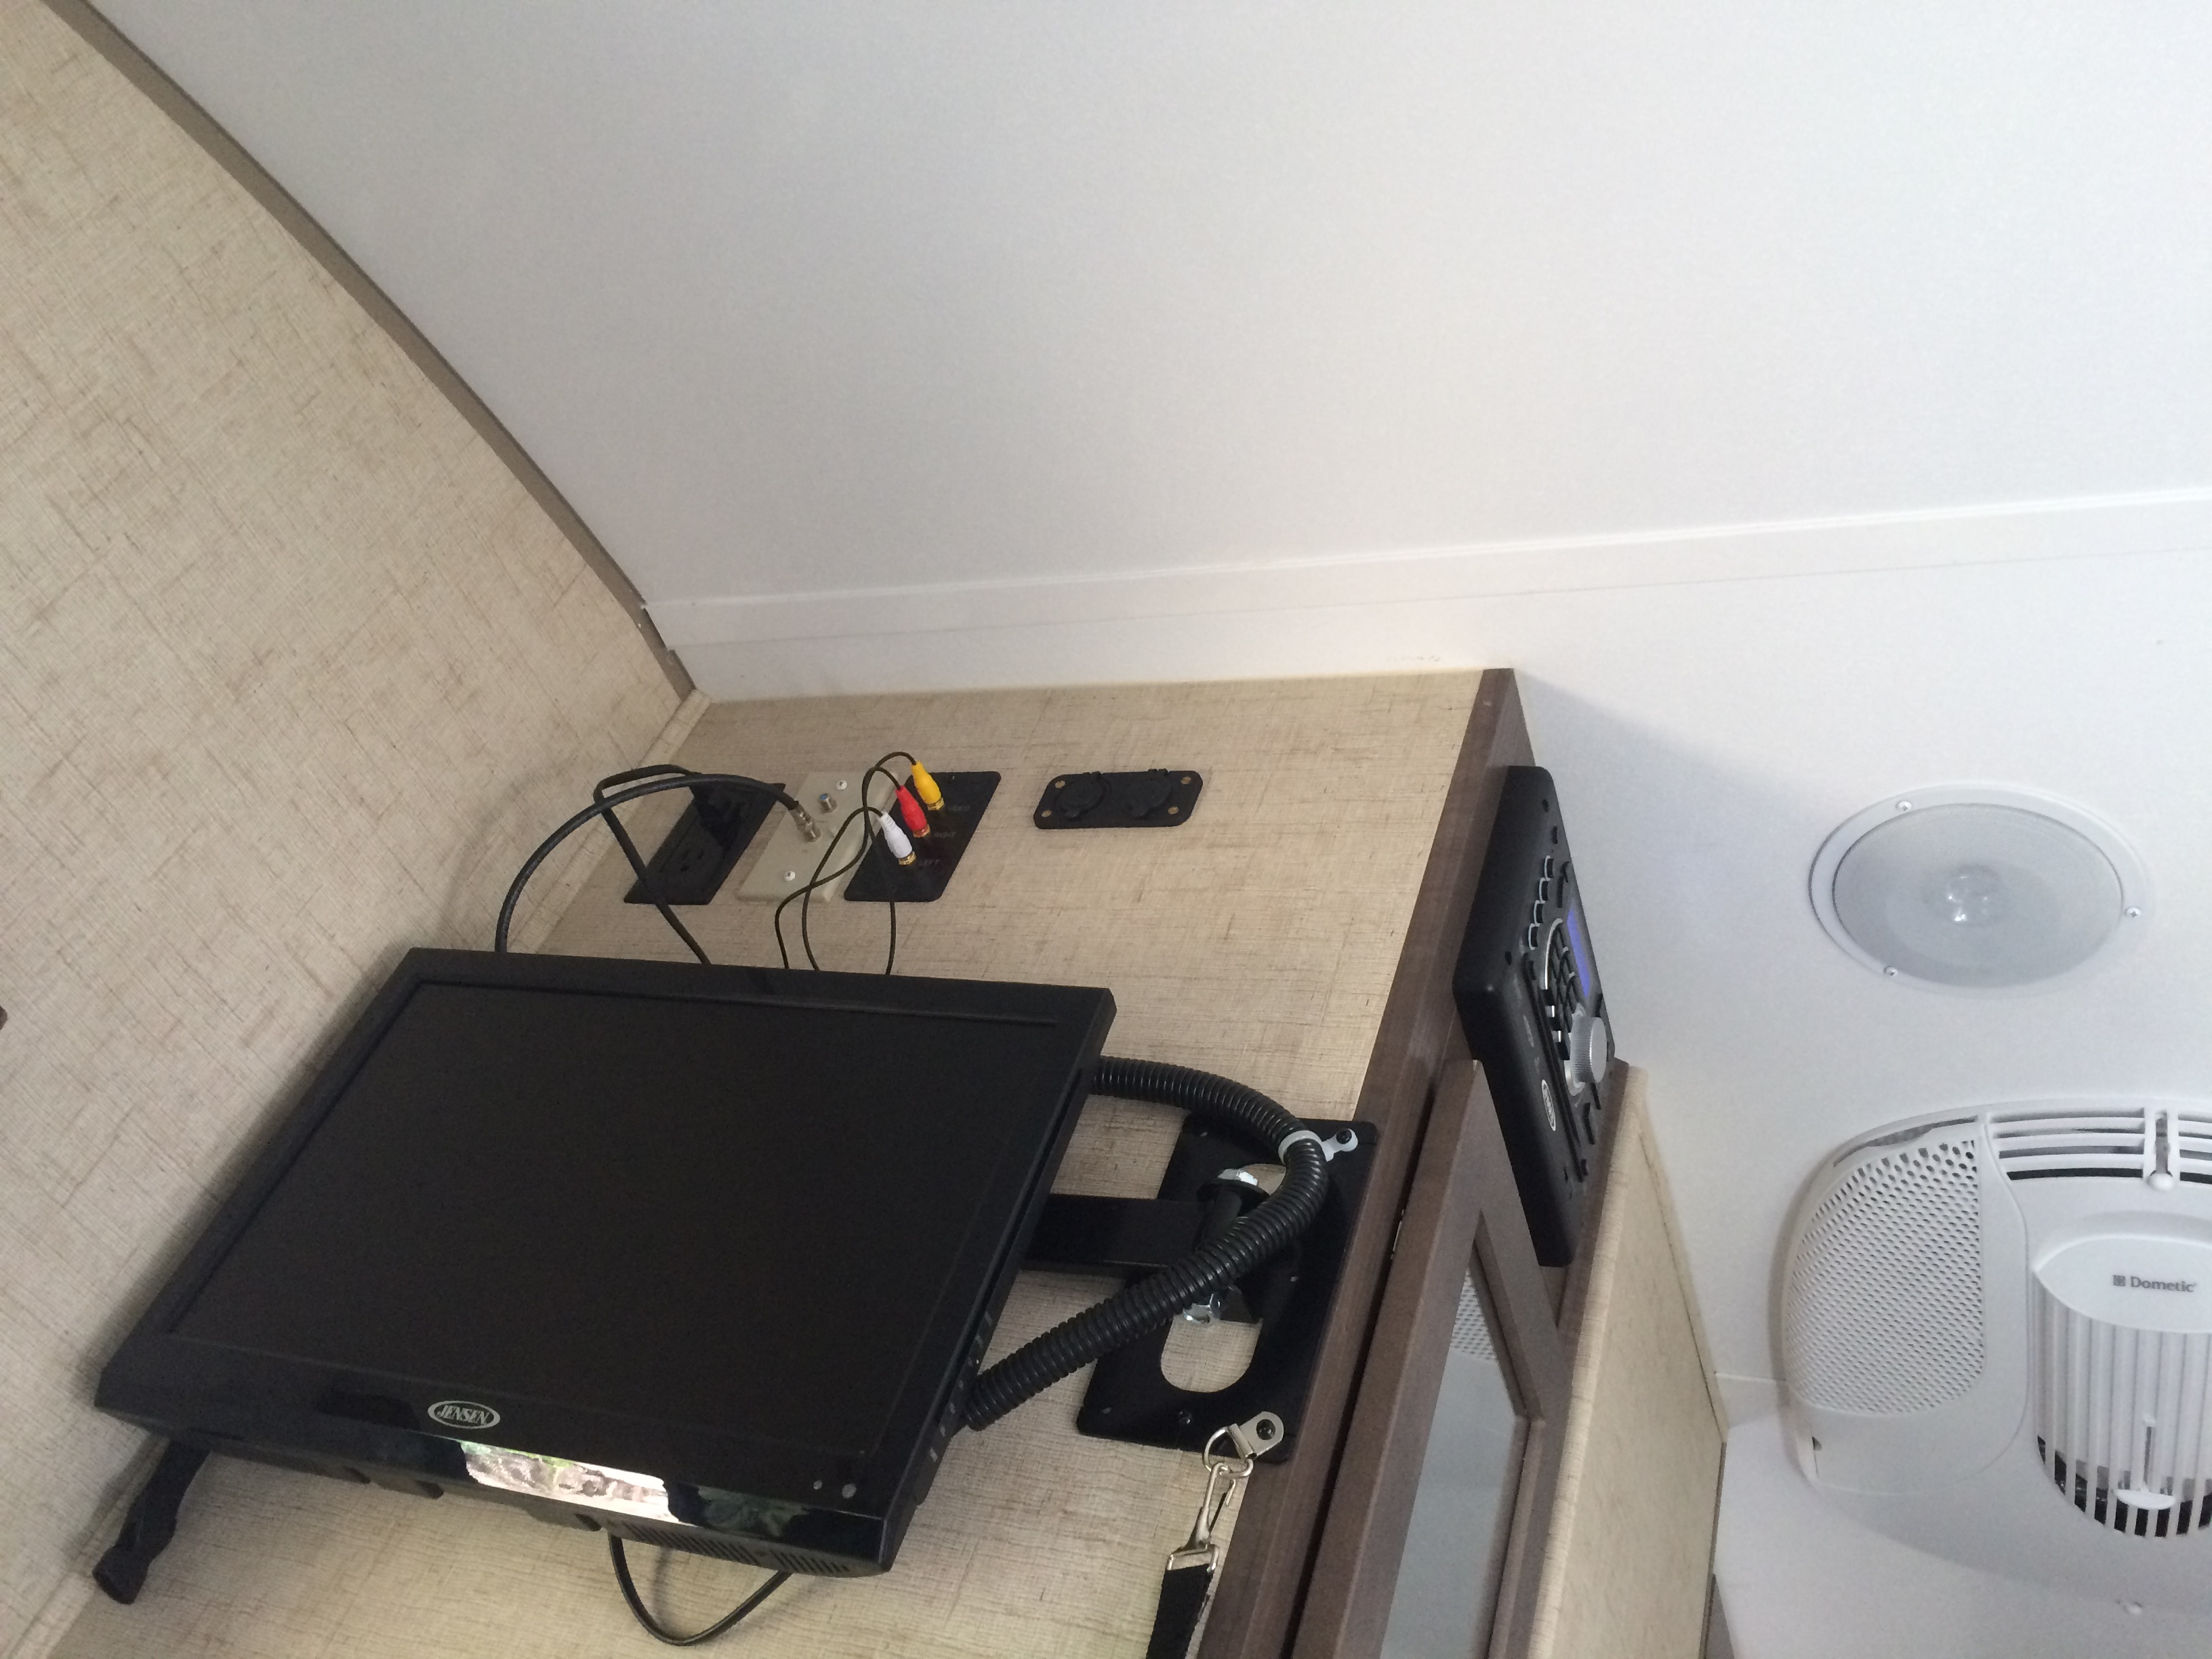
Inside the trailer I added a number of 12 volt outlets. Some are in the form of USB charging ports and some are cigar lighter forms. At the same time, I added a digital voltage readout to get an more accurate idea of the actual system voltage and therefore, state of charge.
Finally, I added a second propane bottle. I didn’t hack the old holder off as some have, but instead I cut two support blocks to lay on the hitch at the same height as the stock holder. So my two-bottle holder sits on the existing holder plus the blocks on the hitch and is all bolted down with carriage bolts and a stock strap. So far, I chose to not go with an automatic change-over regulator. For now, I plan to run it like my grill at home… that is, I will run a bottle dry, then change it over manually and I will know it is time to get the first one filled up. Maybe this will change, but is how I think will work for me.
Results: Very successful. At the end of 9 days without hookups (my longest continuous stay, so far), the batteries were still fully charged. This was not in the face of heavy usage, but did include all the trailer systems, lighting, charging IOS devices, and keeping 1-3 laptops charged.
Interior Lighting

People who do astronomy tend to abhor light. Understandably. I am one of them. So, as anyone with a late model r-Pod knows, the surgical theater-esque lighting of the r-Pod is a little much. However, one way to circumvent this problem is the use of red lighting since red lighting doesn’t destroy your night vision. So at the time I ordered the r-Pod, I asked the dealer to order me a spare set of lenses for all the interior lights. After a bit of experimentation, the most effective solution I found was to simply spray the lights with red Rustoleum paint. Two coats applied within 30 minutes of each other, then allowed to dry over-night was just right. I tried the inside first, but that wasn’t as good as just painting the outside.
Results: This worked just great. I ended up leaving some of the red lenses in for use even when not at a Star Party because it is enough light, but is much less harsh.
The Bed
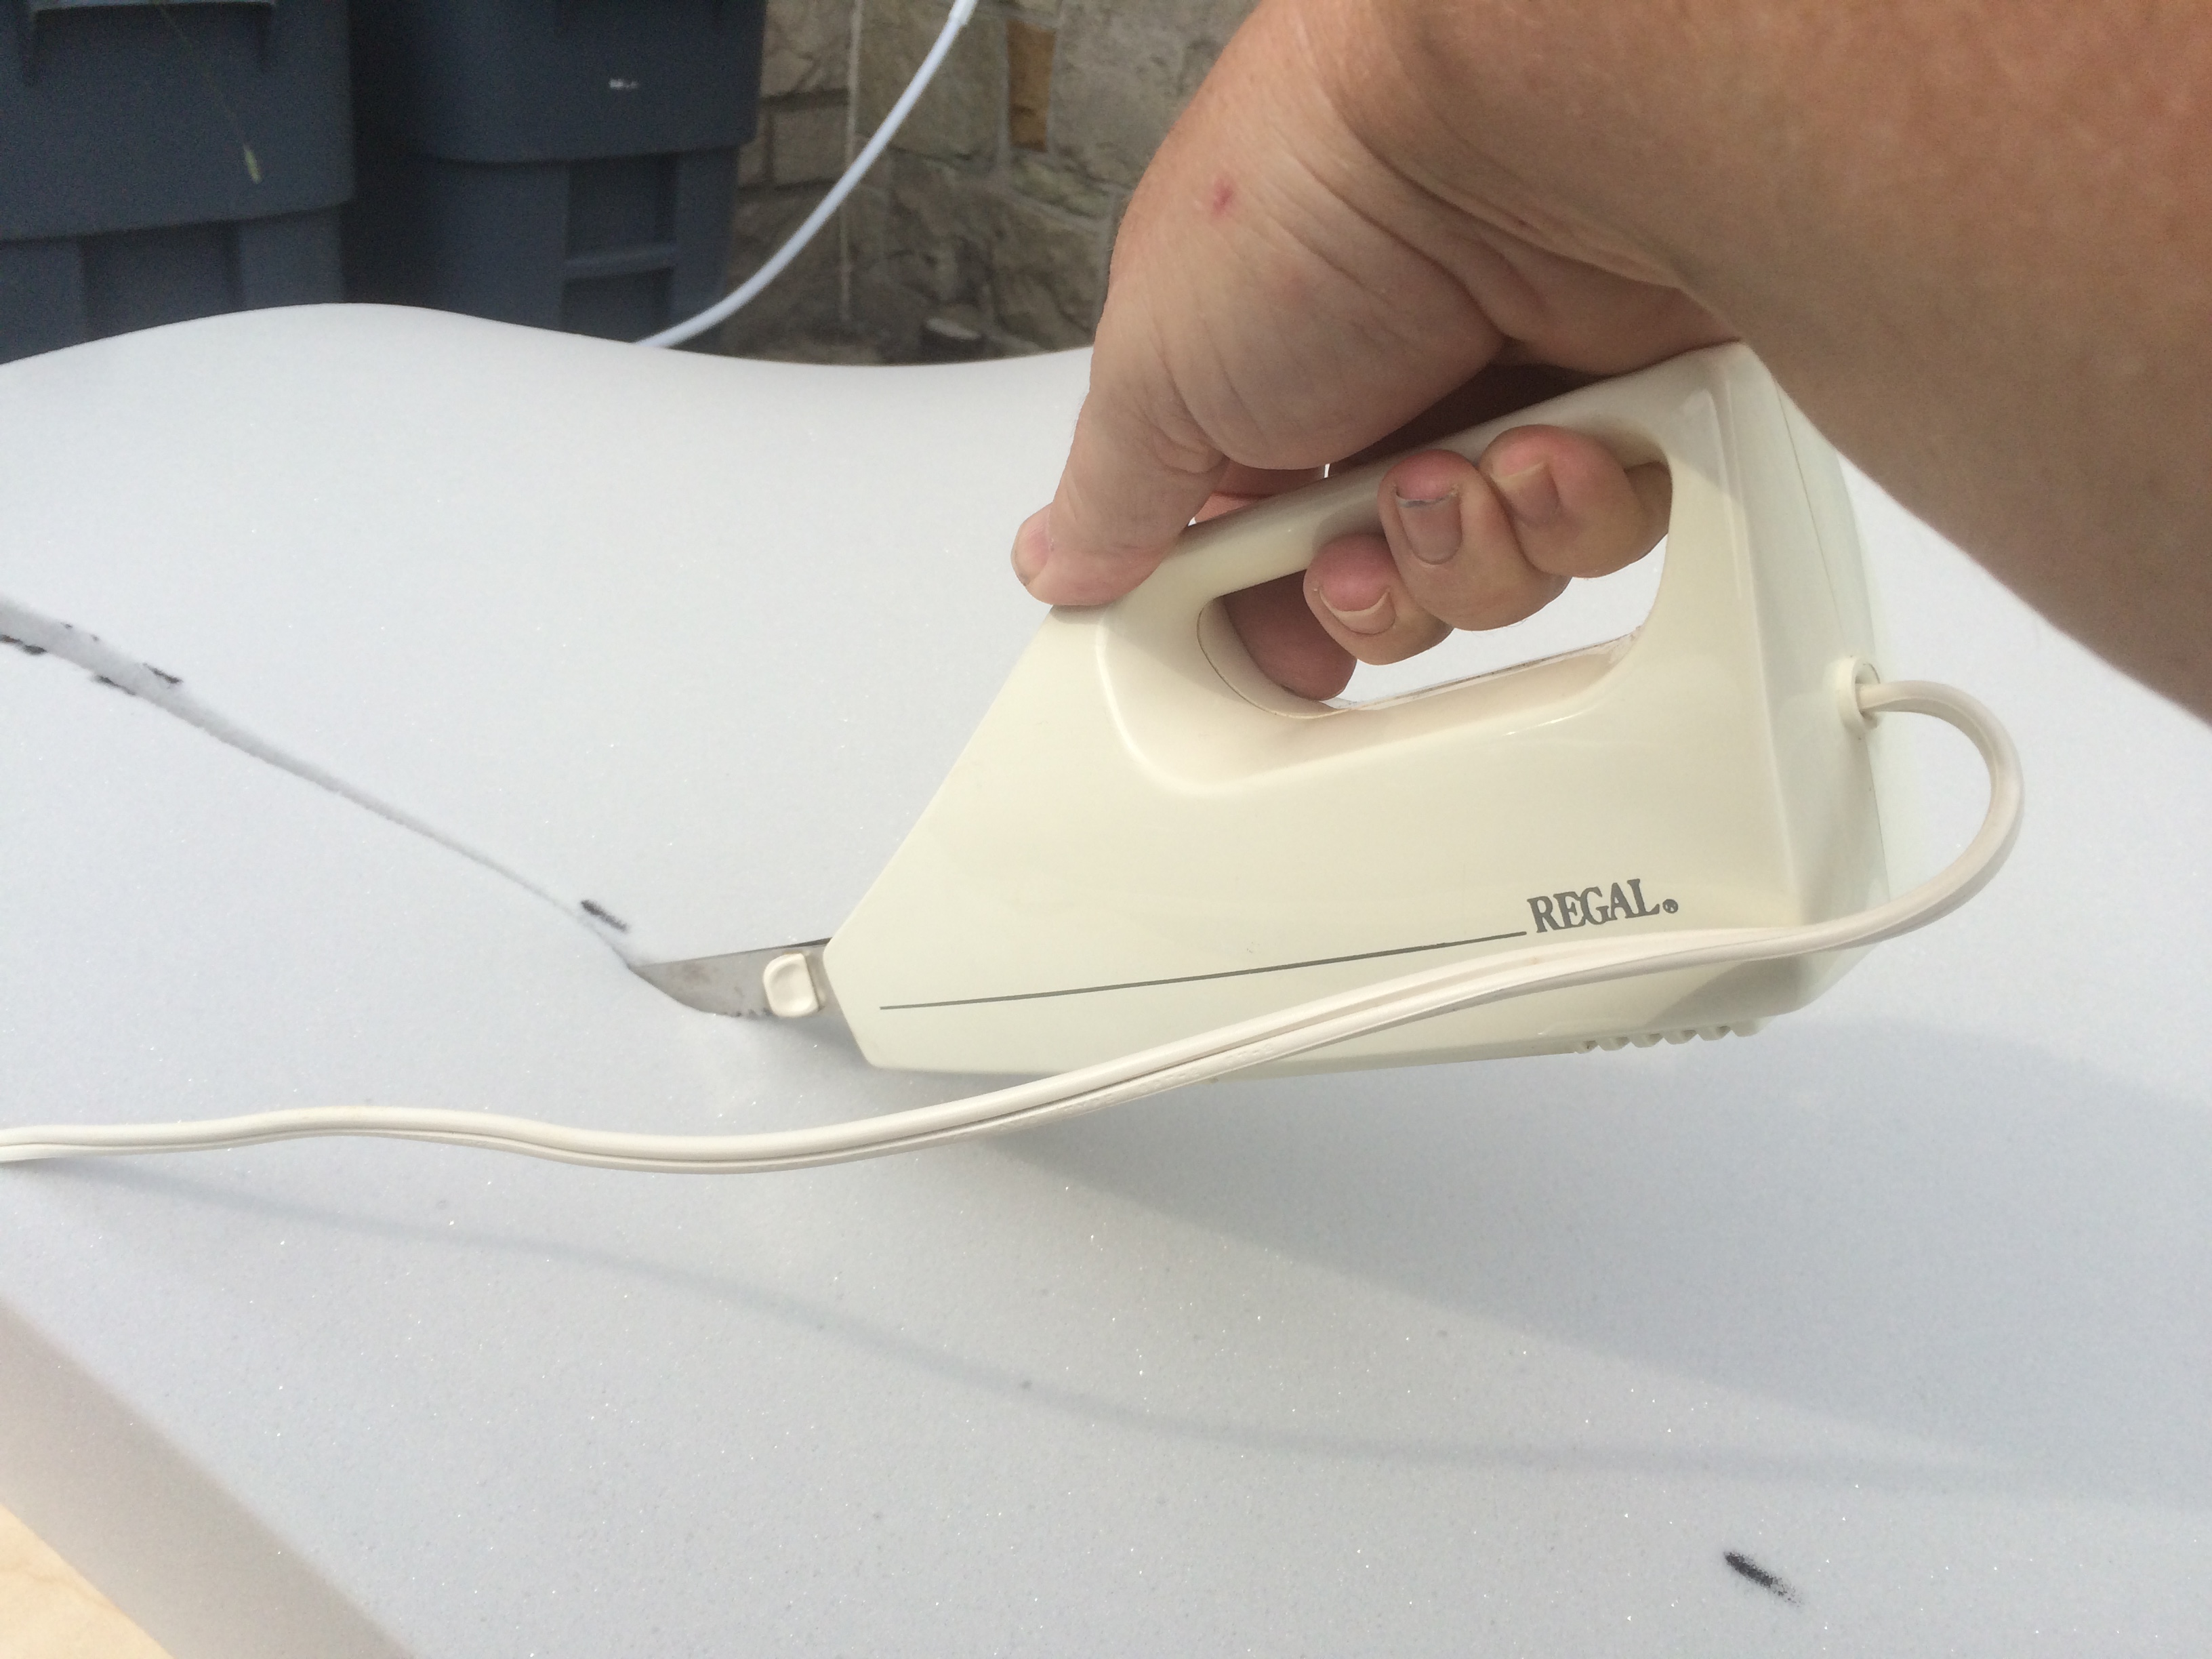
On the user groups, there are no shortage of complaints and solutions to the quality of the included r-Pod mattress. I don’t think they are very good either, but I was struggling to shell out several hundred dollars for a mattress upgrade on top of the purchase I had already made. (I mean this is coming right out of my astronomy accessories budget, right?) So even though I was skeptical and an avowed memory-foam hater, some kind of pad seemed worth a try. I purchased a 3″ thick, dense memory foam pad from Sam’s Club.
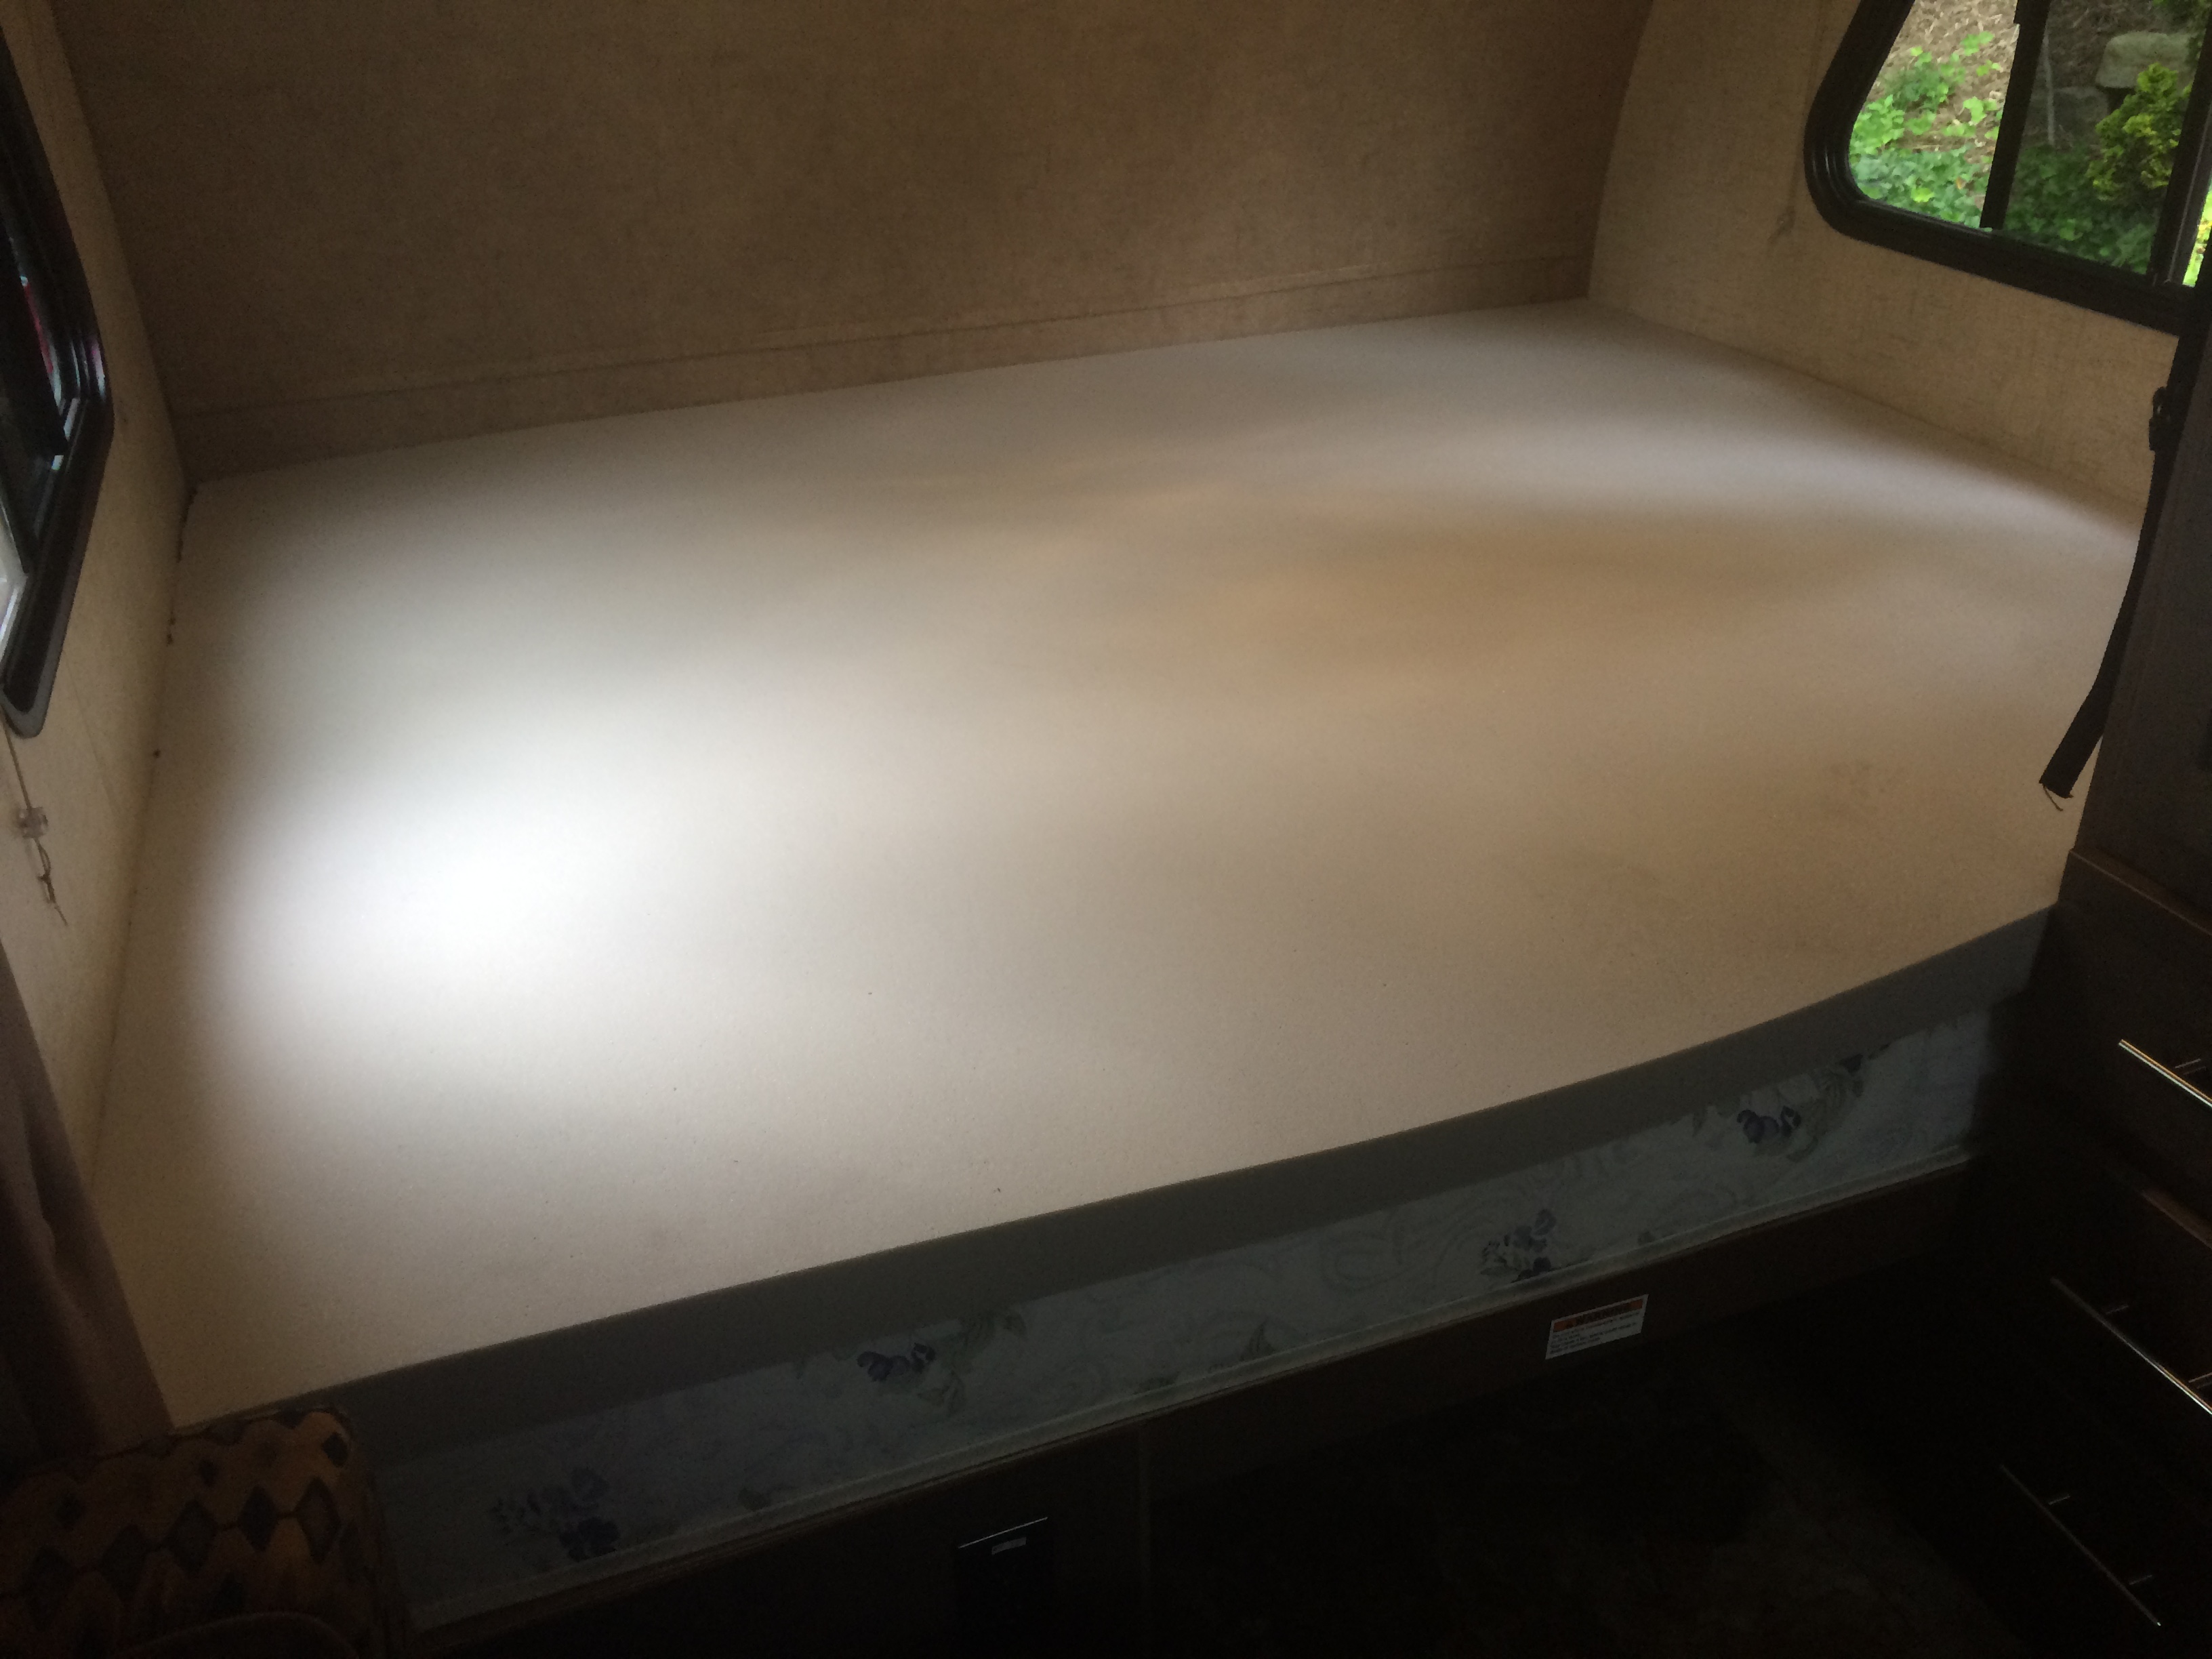
I purchased a regular queen pad and trimmed it to size with an electric kitchen knife. Then I ordered an RV queen padded topper (3/4″ thick). Then I assembled all these pieces, put on a sheet, and finally a quilt on top of it all. When I am doing astronomy and up and down several times a night, I sleep on top of that stuff with another quilt on top of me. It is perfectly acceptable and comfortable, and the total cost was $150. A worthwhile compromise that worked out well.
Results: Just great!
Other Mods
These mods are pretty common, but I will briefly share what I did and thought.
- Under bed storage – The r-Dome doesn’t fit into the storage area without
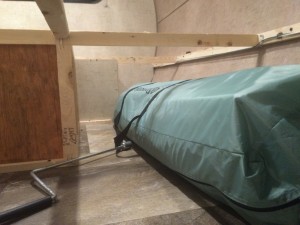
R-Dome Fit into Longer Space laying diagonally across the entire storage area. This is really silly and I fixed it. I rate this as not so much an improvement as a correction to a clear deficiency.
- Remove the right-hand ottoman – I initially balked at doing this on the first outing, then did it on day two of the second outing. Do it. It makes things much roomier. I am further planning to build a removable platform over the gear in the left-hand ottoman to give me a shoe storage area (which was in the removed ottoman).
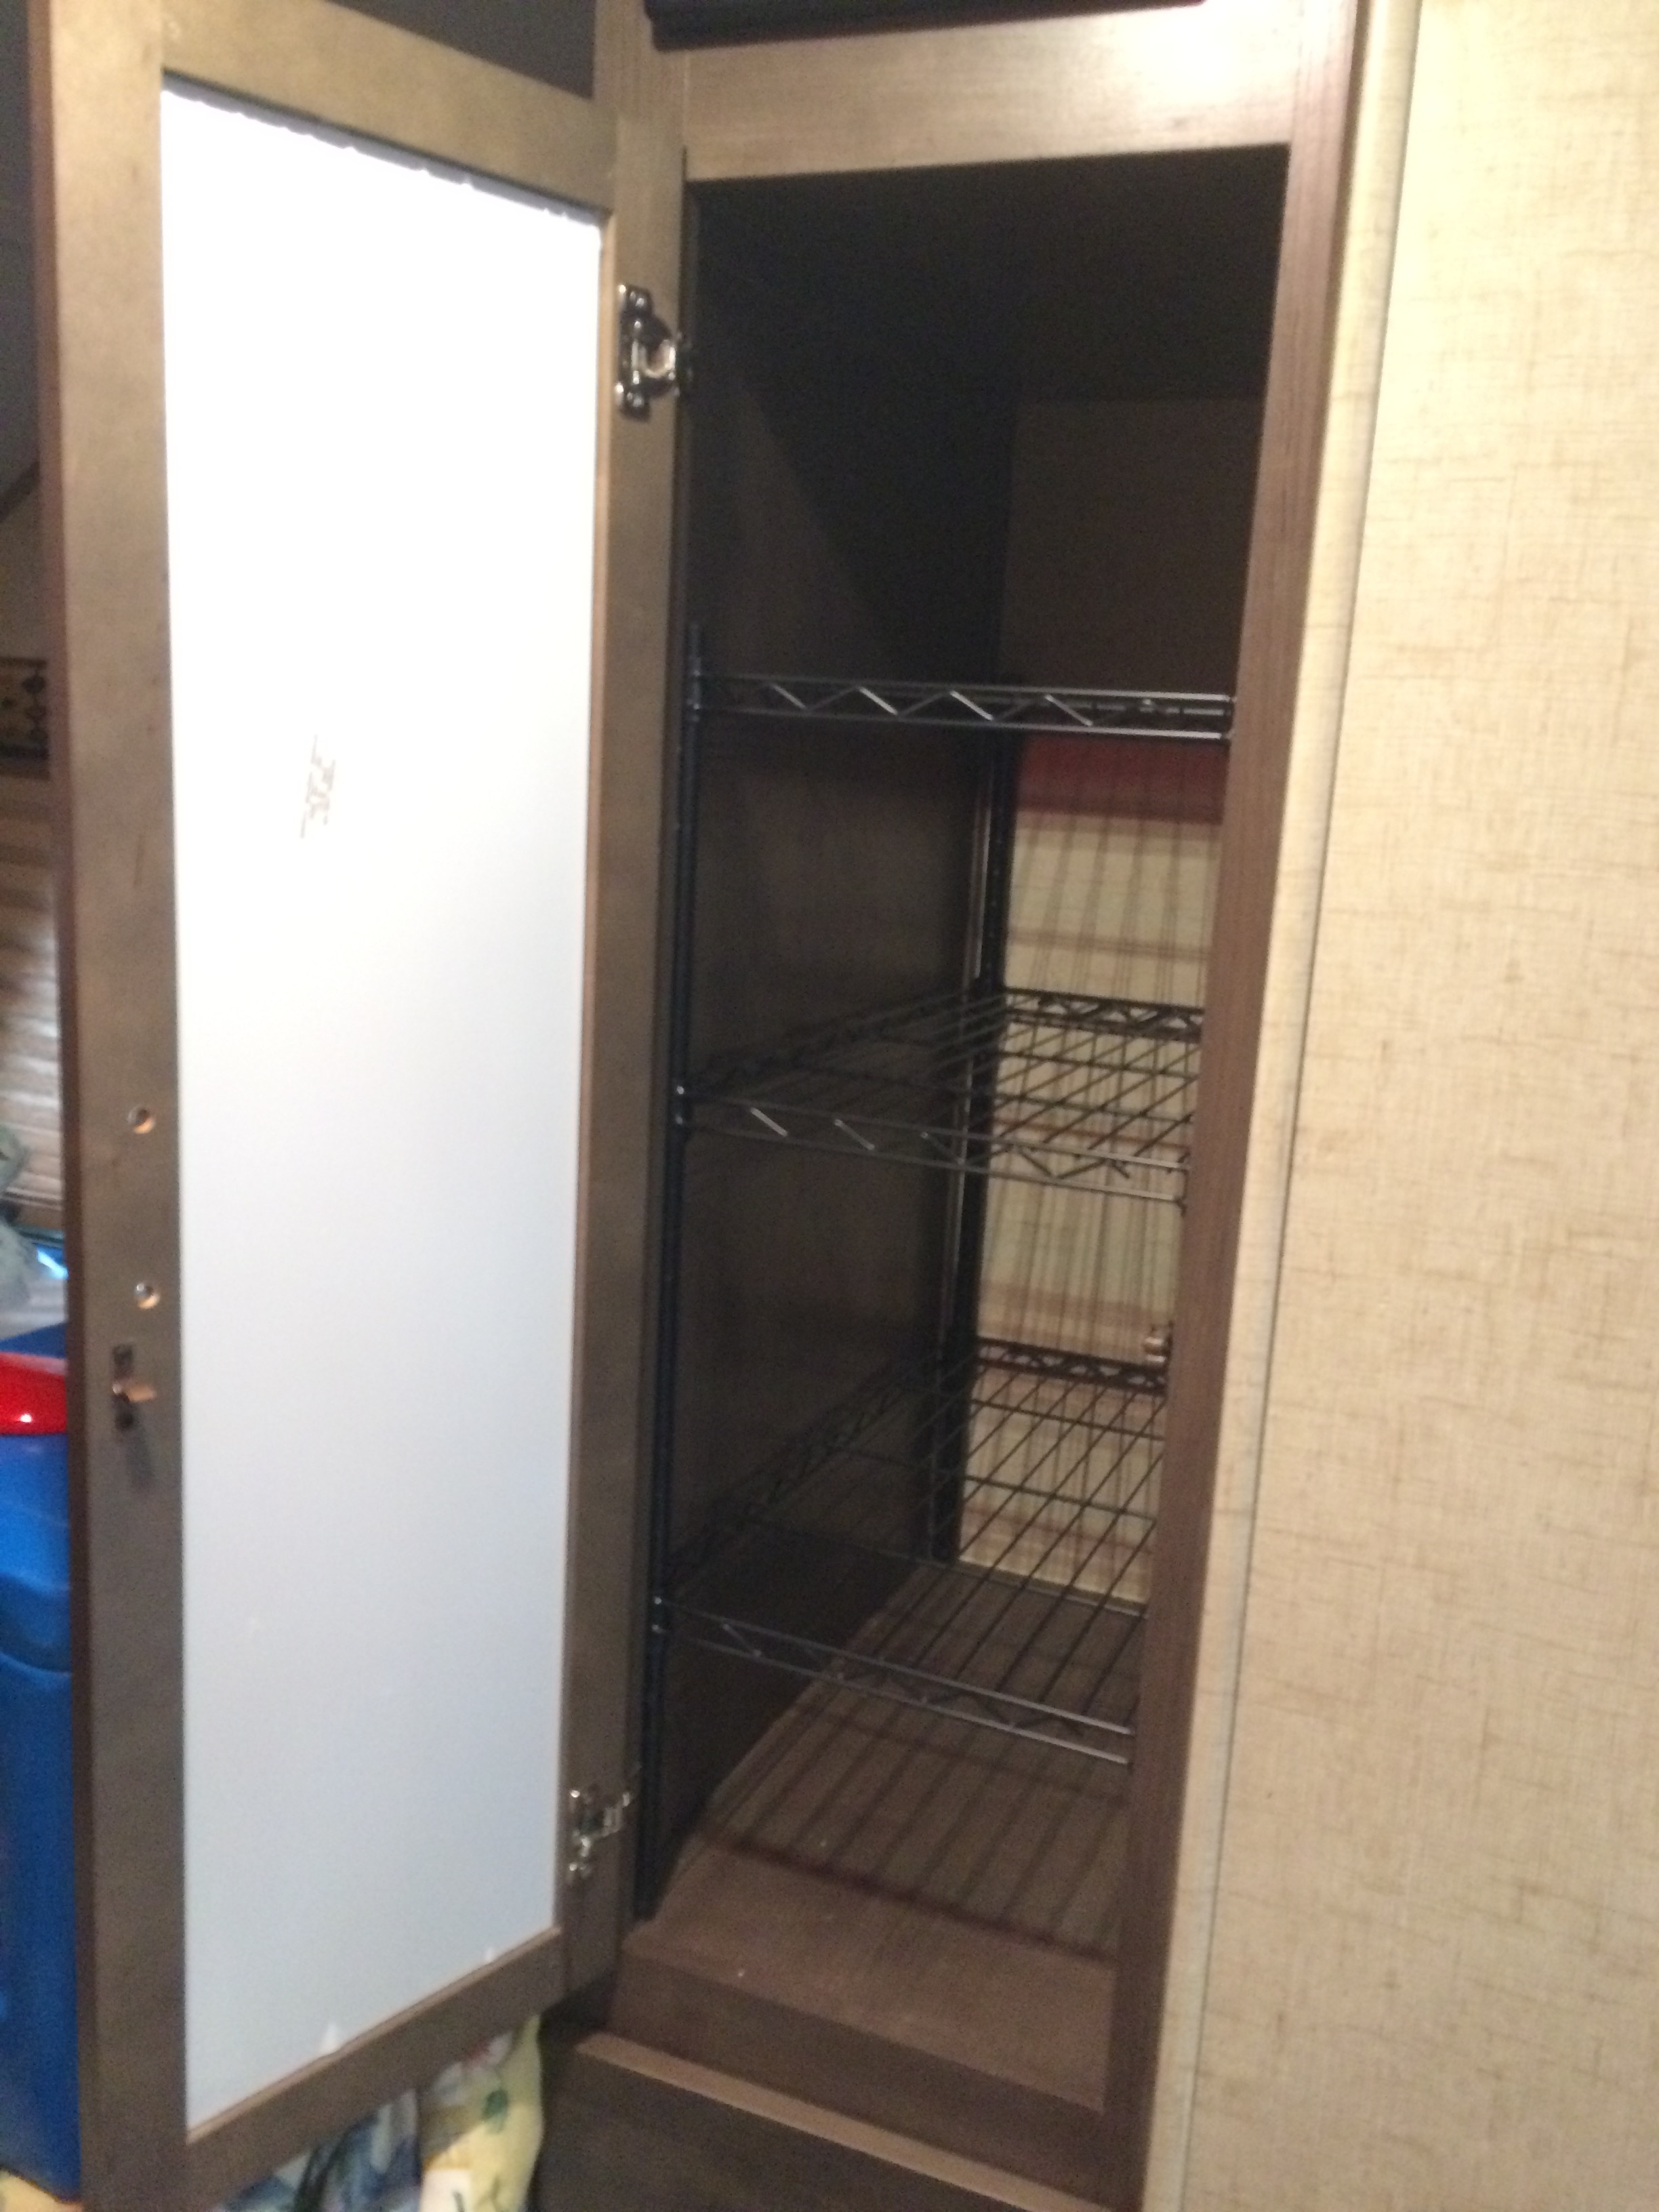
- Shelves in the closet – This is a huge improvement for me. I don’t need to
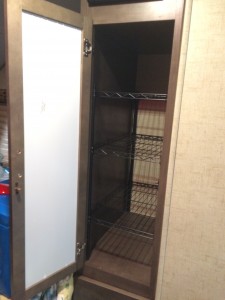 hang up anything when I am camping, but I could keep two weeks worth of clothes on the shelving.
 - Put a window in the door – I love the way this looks from the outside. It looks like it belongs there. But frankly, I have mixed feelings about the success of this. At night at my star parties, it allows a remarkable amount of light out, so I have to either block it or put a black out curtain on it. It would be nice to be able to open the little window, but it is klunky to have to go outside, close the screen and open the regular door, then open the window in the door. If I had it to do over, I probably wouldn’t do this.
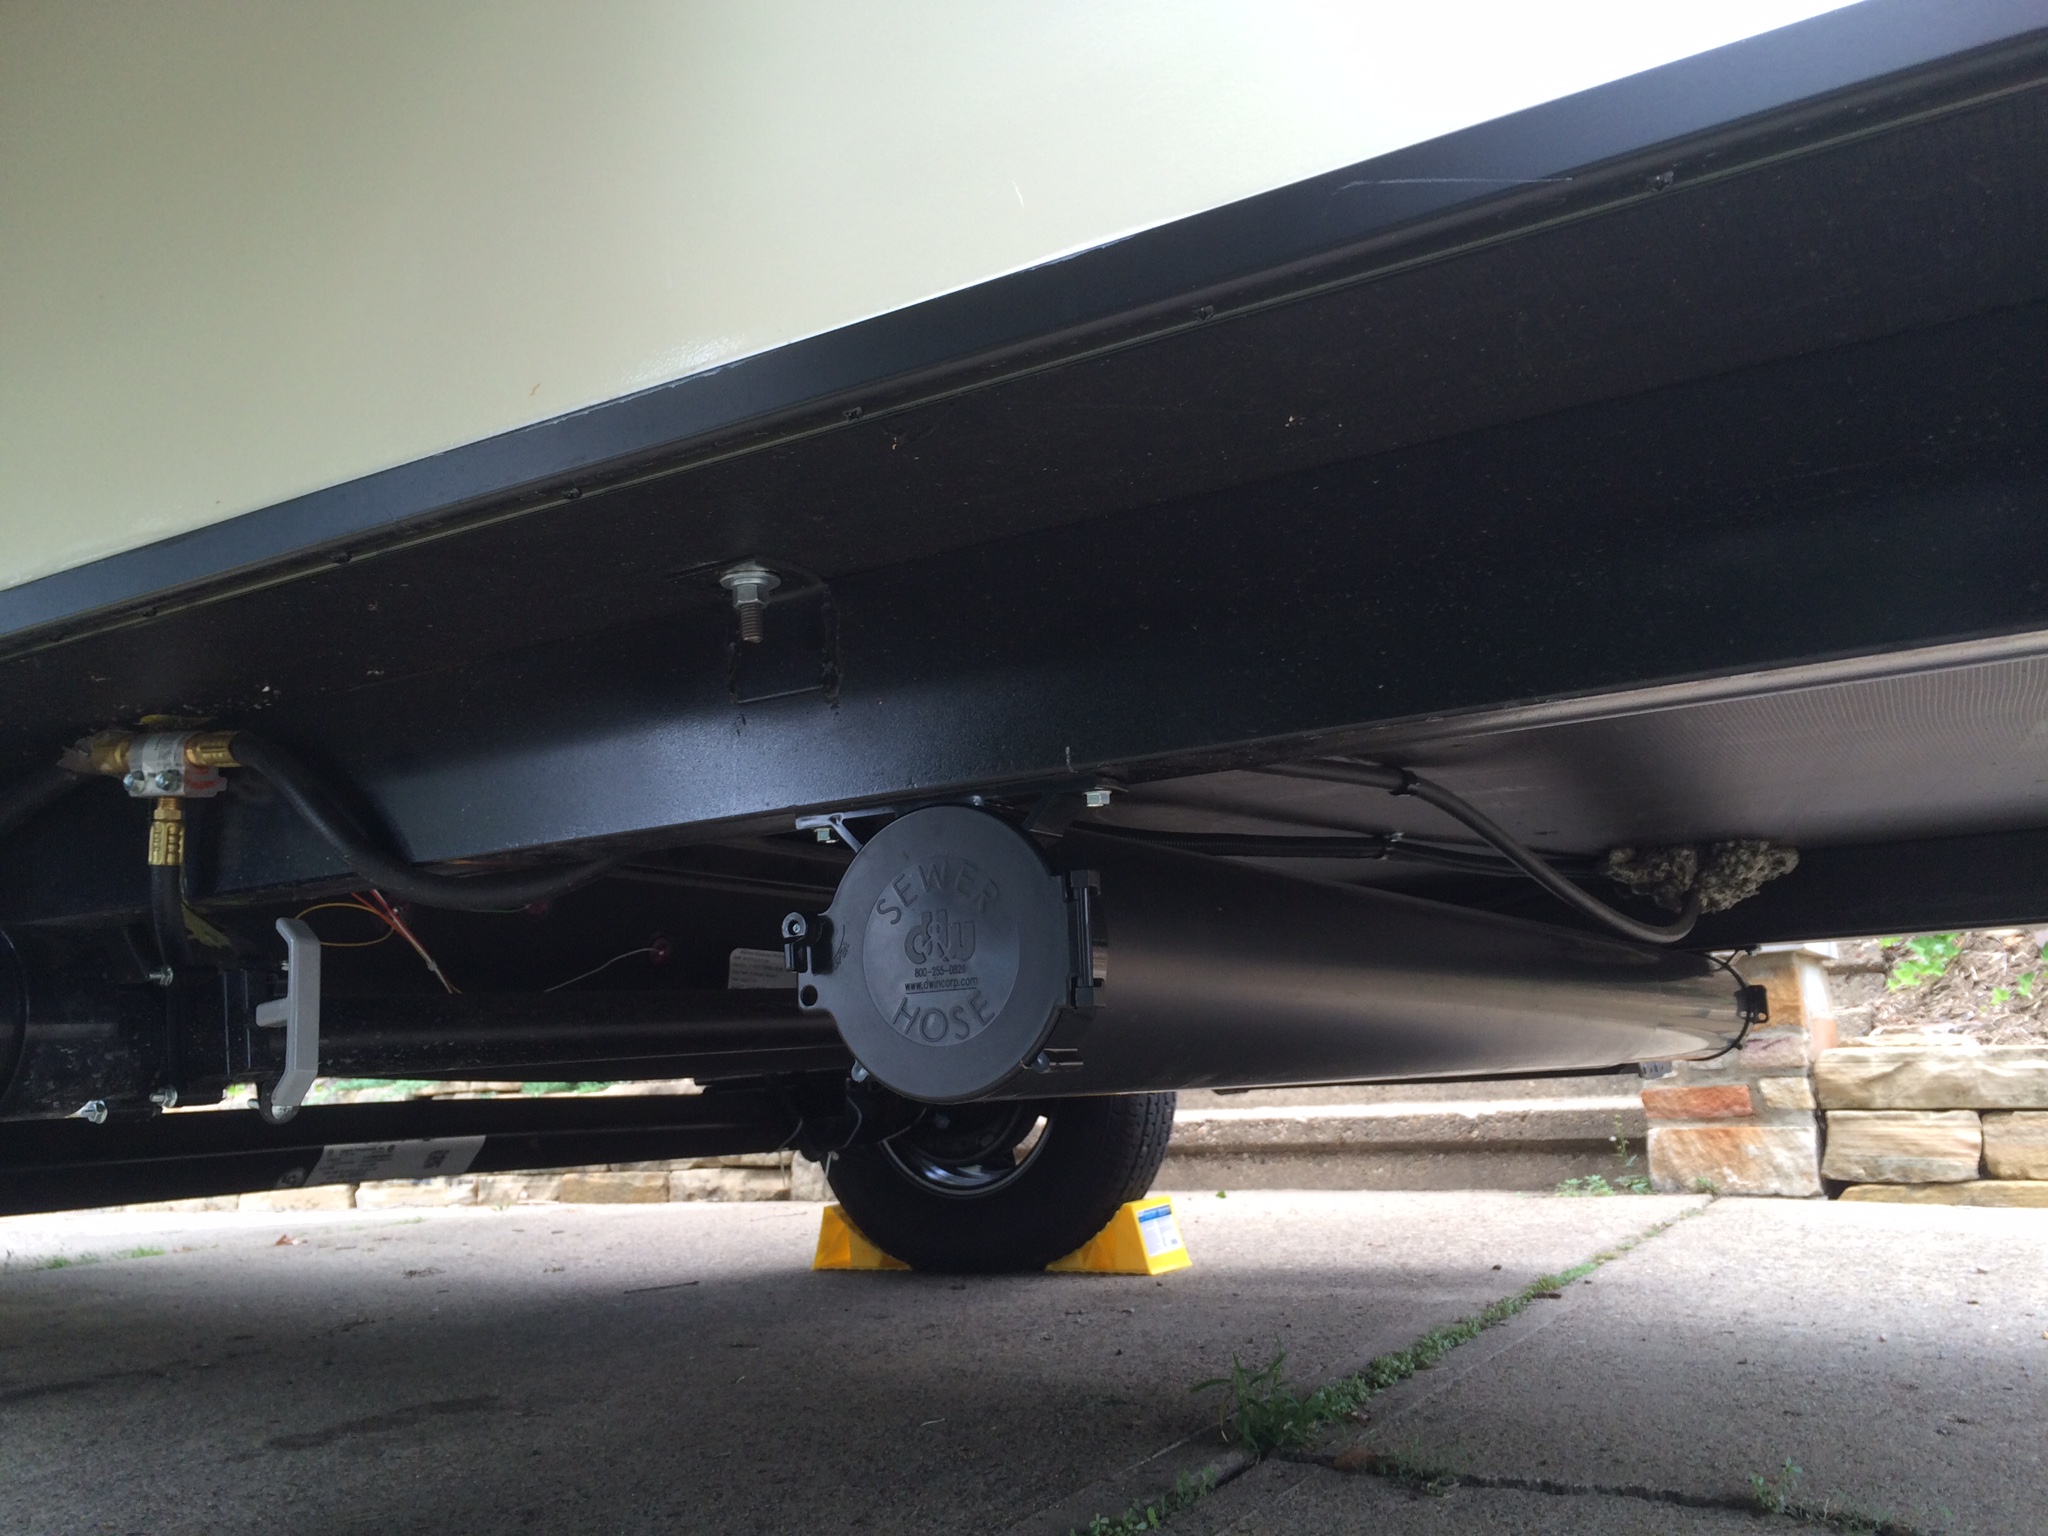
- Super Slider sewer hose storage – Like the under bed storage, I see this as
 mandatory to correct deficiency rather than an upgrade. The new Super Slider version of this product make installation a literal 10-minute thing. Decide where you want it and install it with 4 self-tapping screws. R-Pods need the middle sized version.

In Part 2, should anyone care to check in, I will share my experiences with dry camping, towing, the R-Dome, and problems I have had with the R-Pod.
Note that any of the pictures in this article can be enlarged by clicking on them. Also, I have additional pictures of some of the mods located here.
Thanks for reading.