Rocky Mountain Star Stare (RMSS)

June, 2019, I traveled to our old home state, Colorado, for my first Rocky Mountain Star Stare. I had a great time, met some really nice people and really enjoyed my traveling companion, Phyllis (my new RV). The organizers did a first class job of running the event and even though I did NOT win the Lego Rocket in the giveaway, they did a wonderful job of making a guy who traveled all the from Pittsburgh feel especially welcome. Special thanks to Tom and Barry!

Phyllis performed admirably and kept me very comfortable during both the traveling and the stay. I broke up the driving days into more or less 500 miles each (~1500 miles each way) and took my time to stop and rest when I wanted or needed. Sometimes I went and made a real meal in Phyllis in the middle of the drive, and even stopped and took a shower in the middle of an afternoon. Some of these diversions were things I haven’t bothered to do on previous trips, but they really broke up the drive and I will continue to incorporate them in the future.


On this trip, I imaged two main targets. I completed one, the Propeller Nebula, and collected some data but not yet enough on NGC 6914.

DWB111 – The Propeller Nebula – Processed to attempt to differentiate between the emission nebula and the surrounding dust
Click on image to view on Astrobin and see more details about capture

The Propeller Nebula is located deep in the heart of Cygnus and the Milky Way. This area contains all kinds of Ha emission nebula and dust. My presentation of this subject is an HaRGB image that was processed in both Photoshop and PixInsight with an attempt to emphasize the dust. I received some very much appreciated coaching from my son (Josh Smith) in processing this image. For anyone who has seen his work, you know what a talented processor he is so this was a real pleasure for me, and even if it wasn’t for him, he surely acted as if it was.

One of the most interesting things about this target is that nobody seems to understand what the heck this thing is or what causes its shape. I find that fascinating because it is a very popular target that is captured by amateurs and professionals alike, but in every description… “nobody really knows what is going on with this.”

To give you an idea of how differently the same data can be handled, take a look at the at my first pass at processing the same target. Still a pretty decent looking image, right? But, not really the same richness or depth or frankly, interest, as the “Rev 2” image above – at least in my opinion. And certainly it has a very different appearance.

DBW111 – My initial attempt at processing this data. Heavy on the redddd.

Just for fun, I have included a few short time lapses from the Star Stare. The first one is of my telescope setup process. I wanted to capture the snow capped mountains in the background, so I had to set up the camera a long ways away, then zoom in quite a bit during post-processing.

When there are clouds passing that dramatically change the light there are different ways to handle the situation. In this case, I focused on the sky and kept the brightness of the sky constant while allowing foreground brightness to vary. Often this has the most natural appearance because the sky doesn’t really change brightness very much.

Wonderfully fast telescope setup at Rocky Mountain Star Stare

In this case, though, the varying foreground seemed a little jarring, to me. More experimenting is in order, I think.

I also did a time lapse of setting up my SkyBox to help keep the telescope more protected during the forecasted winds for some evenings. In contrast to the previous time lapse, this one was processed to hold the foreground brightness consistent and let the sky vary as clouds rolled past.

John Love’s SkyBox always draws attention

And finally, perhaps, a more interesting time lapse for astrophotographers, is the following abbreviated test I made of a Rokinon 8mm f/3.5 Fisheye Lens. This was captured with my Canon 70D. Exposures varied but by the time it was fully dark, the lens was fully open, and I was capturing for 20 seconds at ISO 1600. Processing was in LightRoom and LRTimelapse. The bright planet that you can see even before dark is Jupiter.

This was a test of my Rokinon 8mm f.3.5 lens. Processing is through LightRoom and LRTimelapse.

The RMSS presented some new challenges to me because it is the first event that I have attended since I started going to star parties in an RV where there is no field power provided. I haven’t lugged around extra batteries with me for several years, so I decided that I was going to try to run my telescope gear off the battery bank of Phyllis (my RV). “Battery bank” sounds exotic, but in my case it is really only two Trojan T-105 golf cart batteries. From a back-of-the-envelope calculation, I thought I would be okay, but to be honest, I was a little fuzzy on the details.

As a result, I spent some time studying about my batteries, their capacity, and their recharging. While this is probably uninteresting to anyone who doesn’t own an RV, I will still share some bullet points for my own benefit, if nothing else.

  • My battery bank capacity, if fully charged and healthy, is 225 amp-hours. My telescope gear, even with the dew heaters running draws 3-4 amps tops. The imaging window for me on this trip was something less than 8 hours per night… so my gear was using something like 30 amp-hours. This doesn’t include the power requirement to maintain or charge the remote laptop used to run the setup, which might be about the same amount of power as the rest of the gear. So if I were to fall asleep and allow the laptop to run all night, that is closer to a total of 60 amp-hours.
  • Even deep-cycle golf cart batteries would like to be discharged only to about 50% so in the worst-case scenario described above, I am roughly using half of my power capacity to run my telescope and laptop.
  • Phyllis’ needs can be quite variable, but if careful with the lights, she should only be drawing a few amps… unless the furnace is running, or the hot water heater (solenoid), or the Fantastic Fan. Then usage goes up dramatically.
  • But with care, and if my batteries are in good shape and charged, it seems like I should be able to use less than my 110 to 120 amp-hour budget over a night.
  • The challenge comes in when it is time to recharge the battery bank. For example, I have two 100 watt solar panels. The most optimistic estimates for their output under the strongest sun would be about 30 amp-hours each. That just isn’t going to get it done.
  • I have a generator that can output plenty of power to either run a battery charger or can power the converter in Phyllis that can then charge the batteries. In my case the battery manufacturer recommends a maximum charge rate of 10-13% of capacity or ~20-30 amps… and this is pretty typical. Unless there are a lot of DC loads that Phyllis is supporting, the internal converter (55 amp capacity) should be able to provide all of that and more.
  • The problem is really one of time. It take 3-6 hours of charging time at the full charge rate to reach 85% to 90% of charge for the battery bank. The last 10-15% can take that long again because the charge rate is necessarily reduced. So realistically, on a consecutive night two, it is difficult to be fully charged back up, given the amount that I potentially discharge my battery bank.
  • Finally, I learned that the best way to judge the state of health of the battery bank is to use a hydrometer and actually measure the specific gravity of the acid. There are very specific instruction on the Trojan website for collecting and using this information. I ordered a hydrometer, but I haven’t done the actual testing yet to see where I stand.
  • So my conclusions are as follows (subject to learning more, as always: 1) the 200 watts of solar panels are great and I feel good about using them and they will probably keep Phyllis topped off in situations where I have field power for running the telescope and not too large a load in Phyllis. 2) For nights where I am heavily discharging the battery bank, I need to run the generator. A lot. Six-eight hours per day seem to be needed to start out the night at nearly 90% charged. 3) Adding more charging capability or changing the converter probably will not make a significant difference. If I really want to do something, that thing would be to increase to a 4 battery bank, and then I might be able to make use of more charging capacity, too (ultimately this would be better because I could meet my power requirements without having to so deeply discharge my battery bank). The converter change might provide a subtle improvement both in charge time and in battery longevity due to a slightly better charging profile, but it would not provide major differences, all other things being equal.

Stay tuned. More to come.

The Greatest Astronomy Accessory, Ever (Part 2)

I drafted this wrap up of some of my ramblings that I started in TGAA Part 1. Much of the information is still relevant, so I am going to post it just in case it is useful to somebody.  Even though I am no longer a “Podder” I still keep an eye on the user’s group.  If you want so share any thoughts or ask any questions, please hit me up over at the FaceBook rPod owners group!

Dry Camping

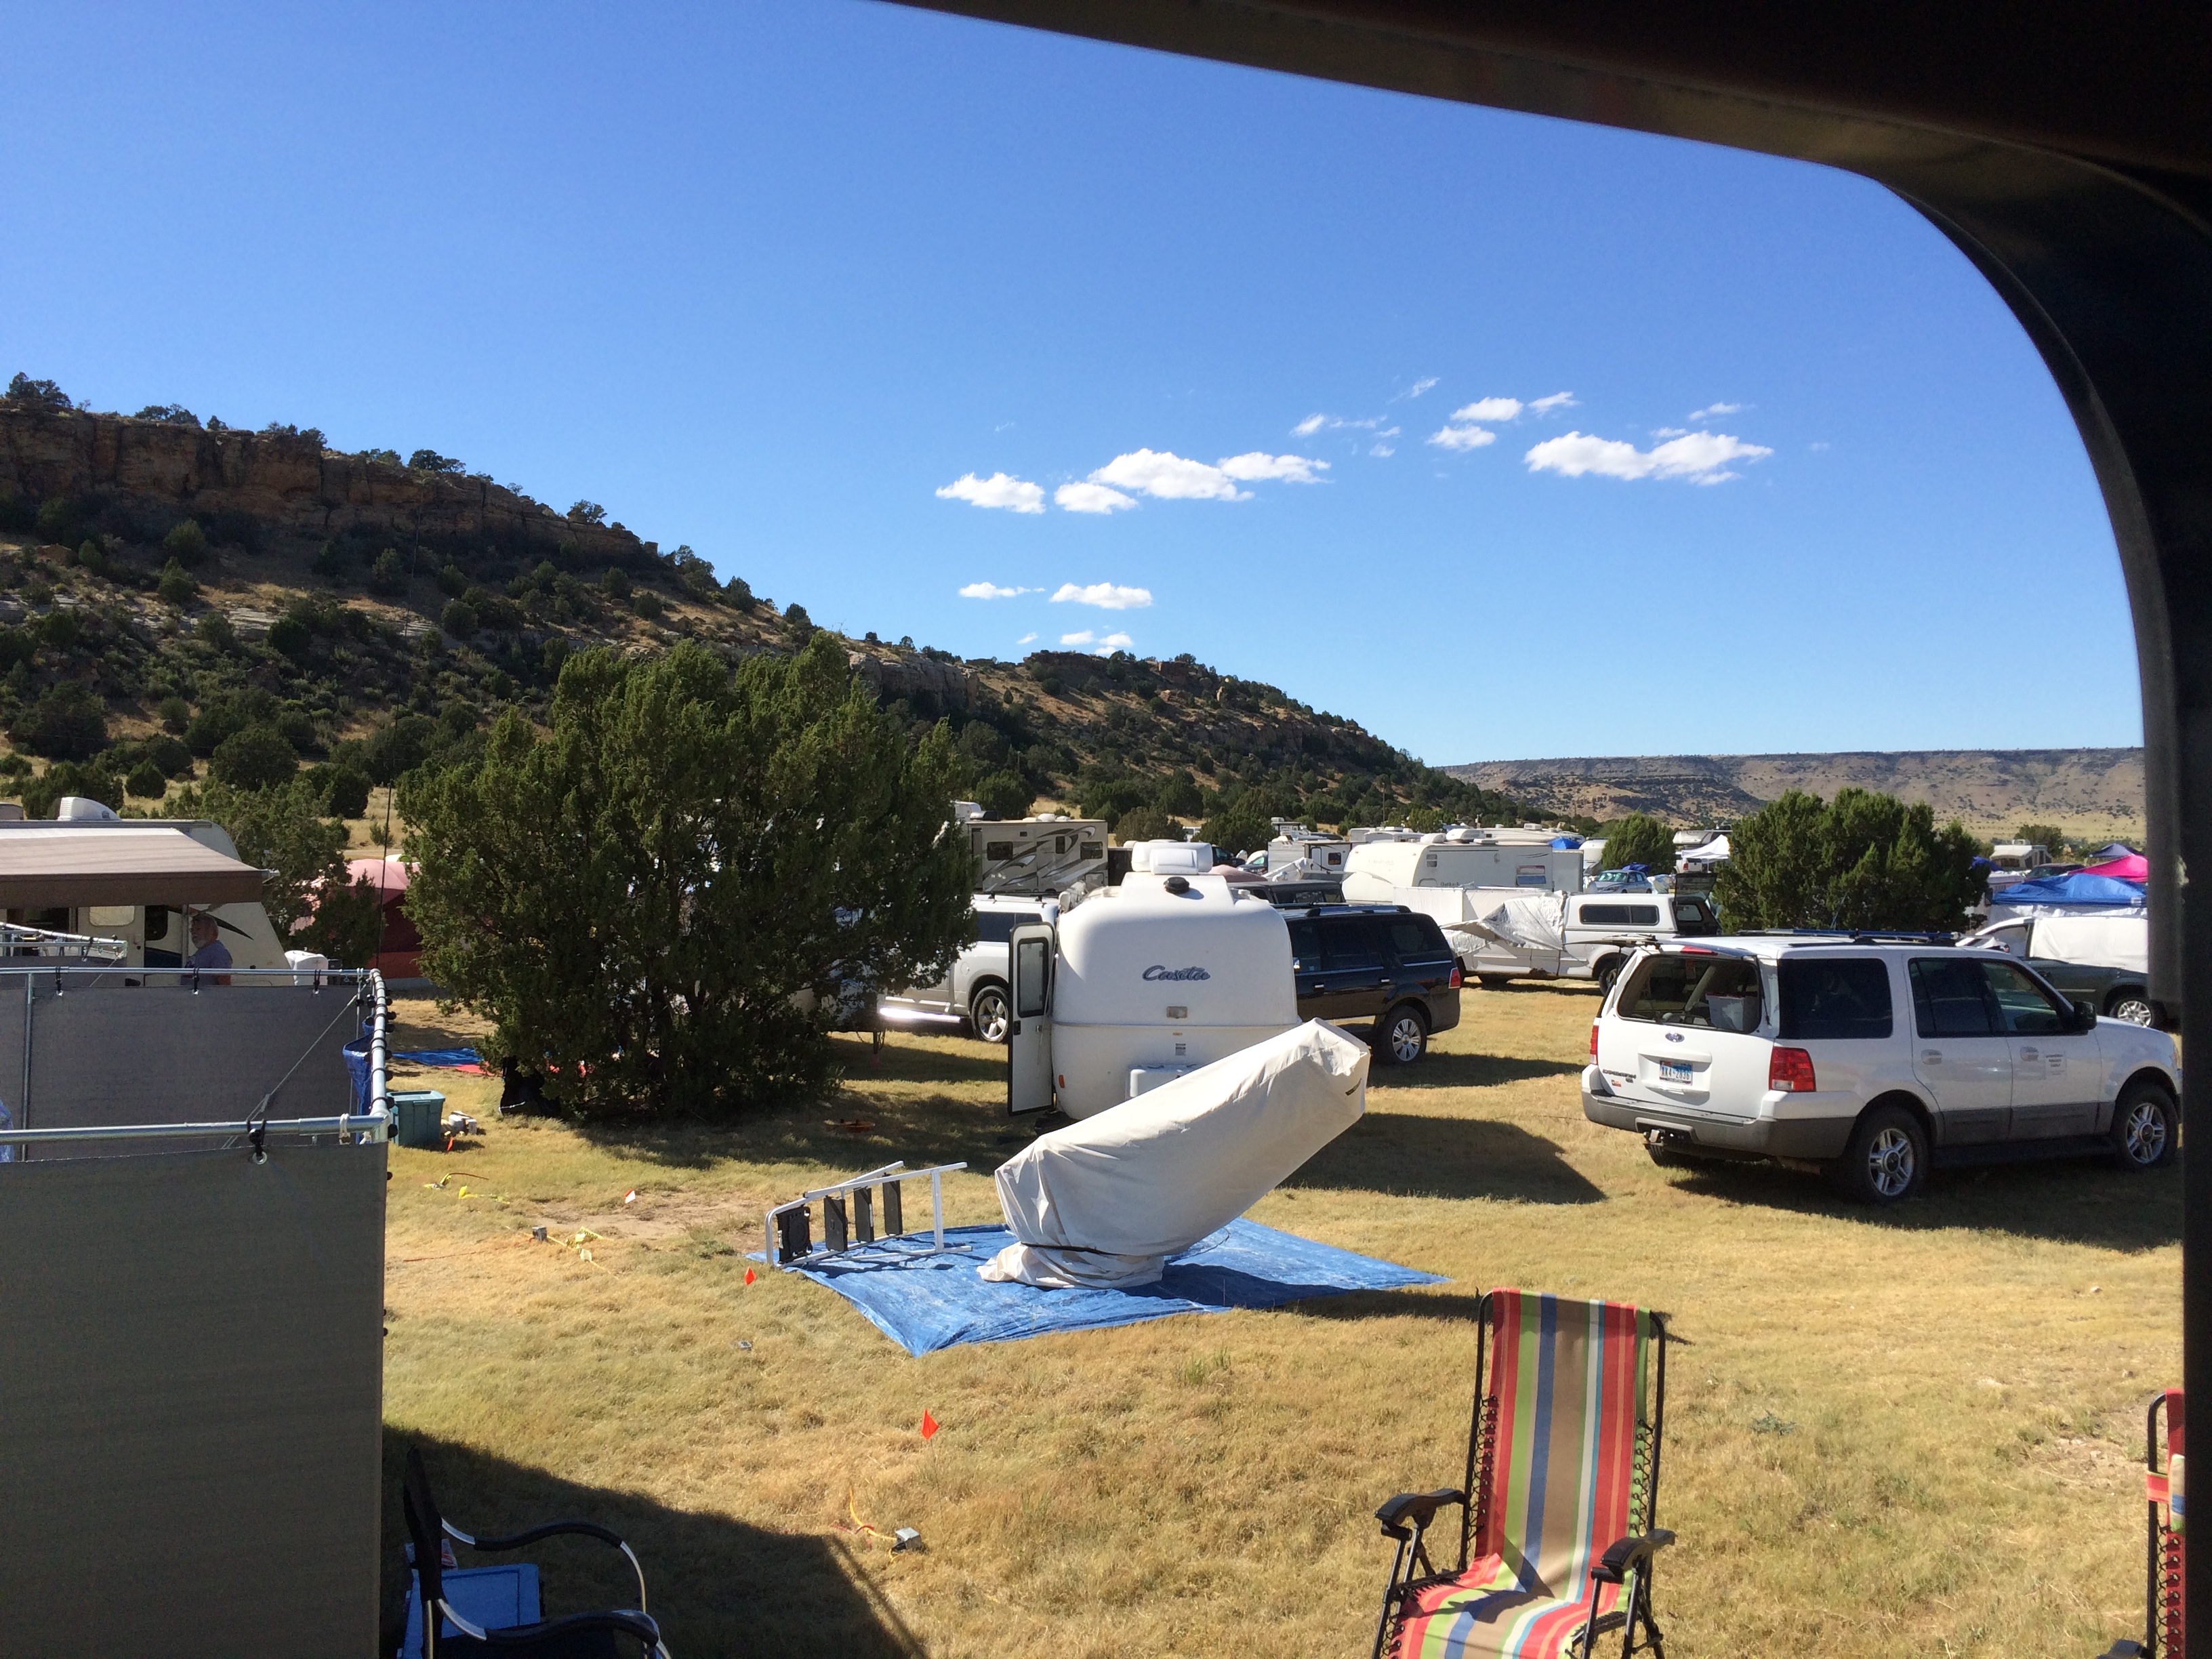
As some of you may know, one of the main reasons I purchased an r-Pod was to allow me to move out of my astronomy tent and into a more comfortable surrounding at my astronomy outings. These outings are an odd version of dry camping… There are no hook-ups, but there are bathrooms, showers, and available meals. There is usually electricity, but you are only allowed to hook up your telescope gear to it, and not your trailer.

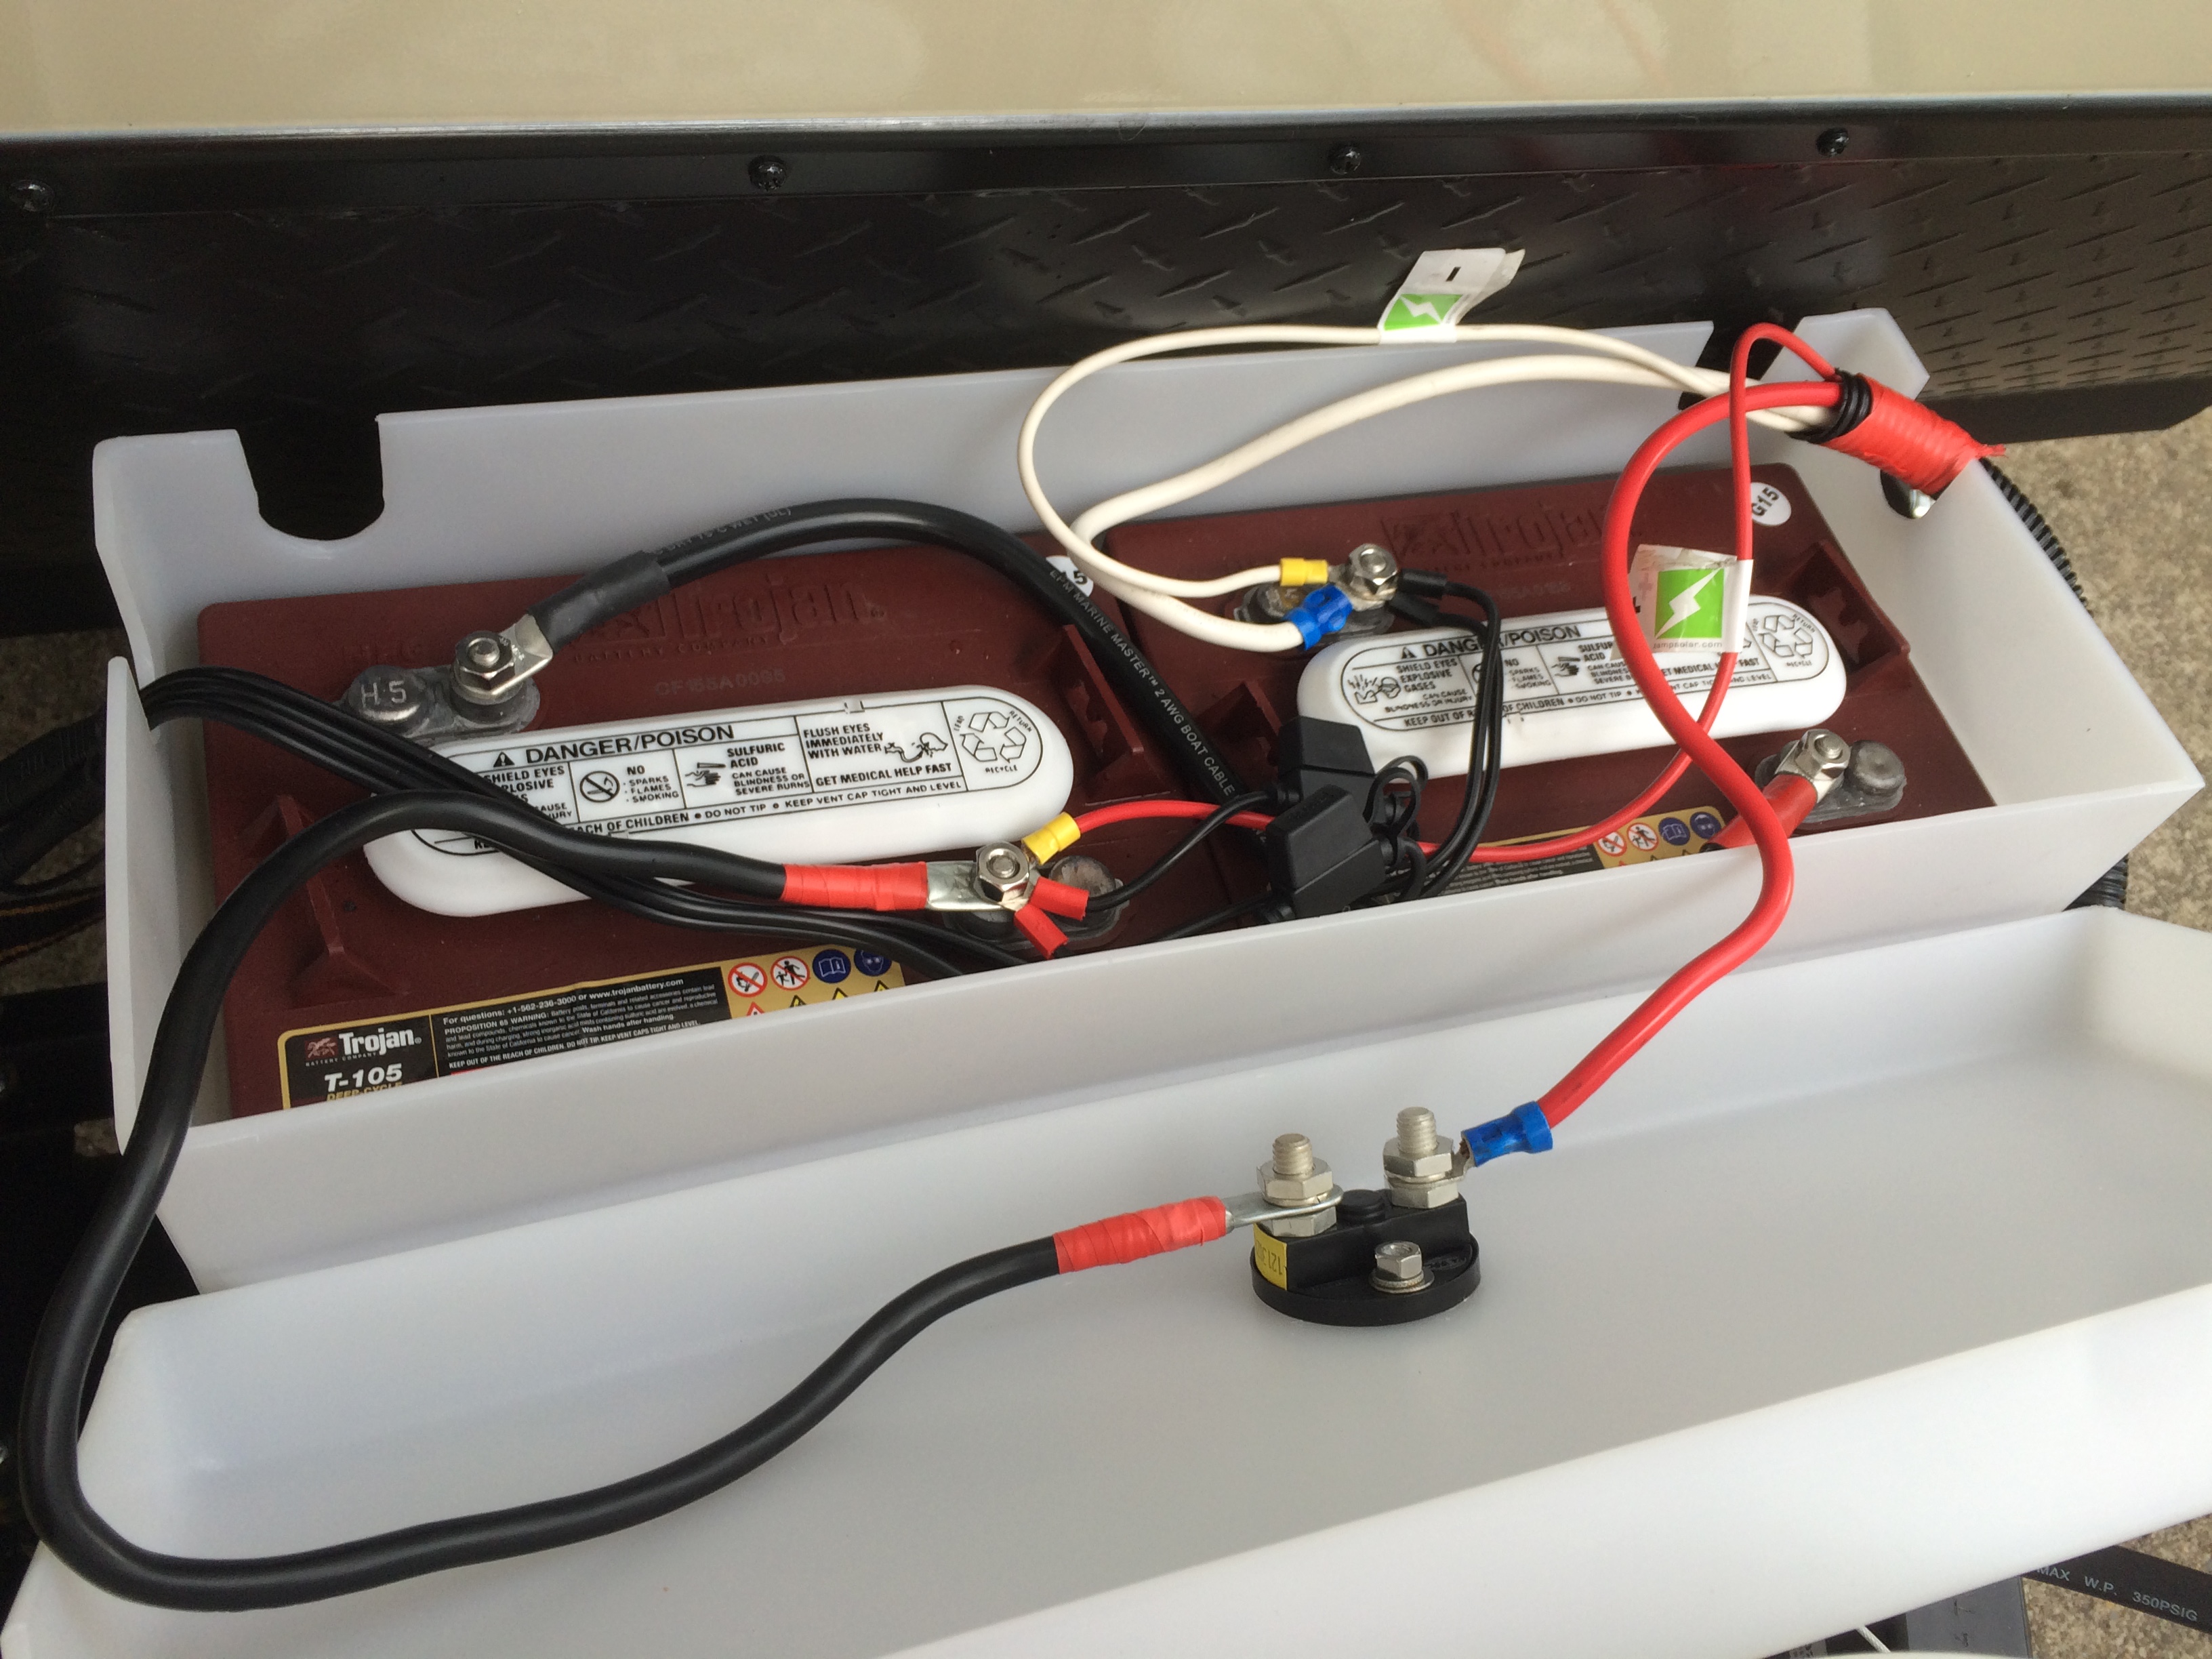
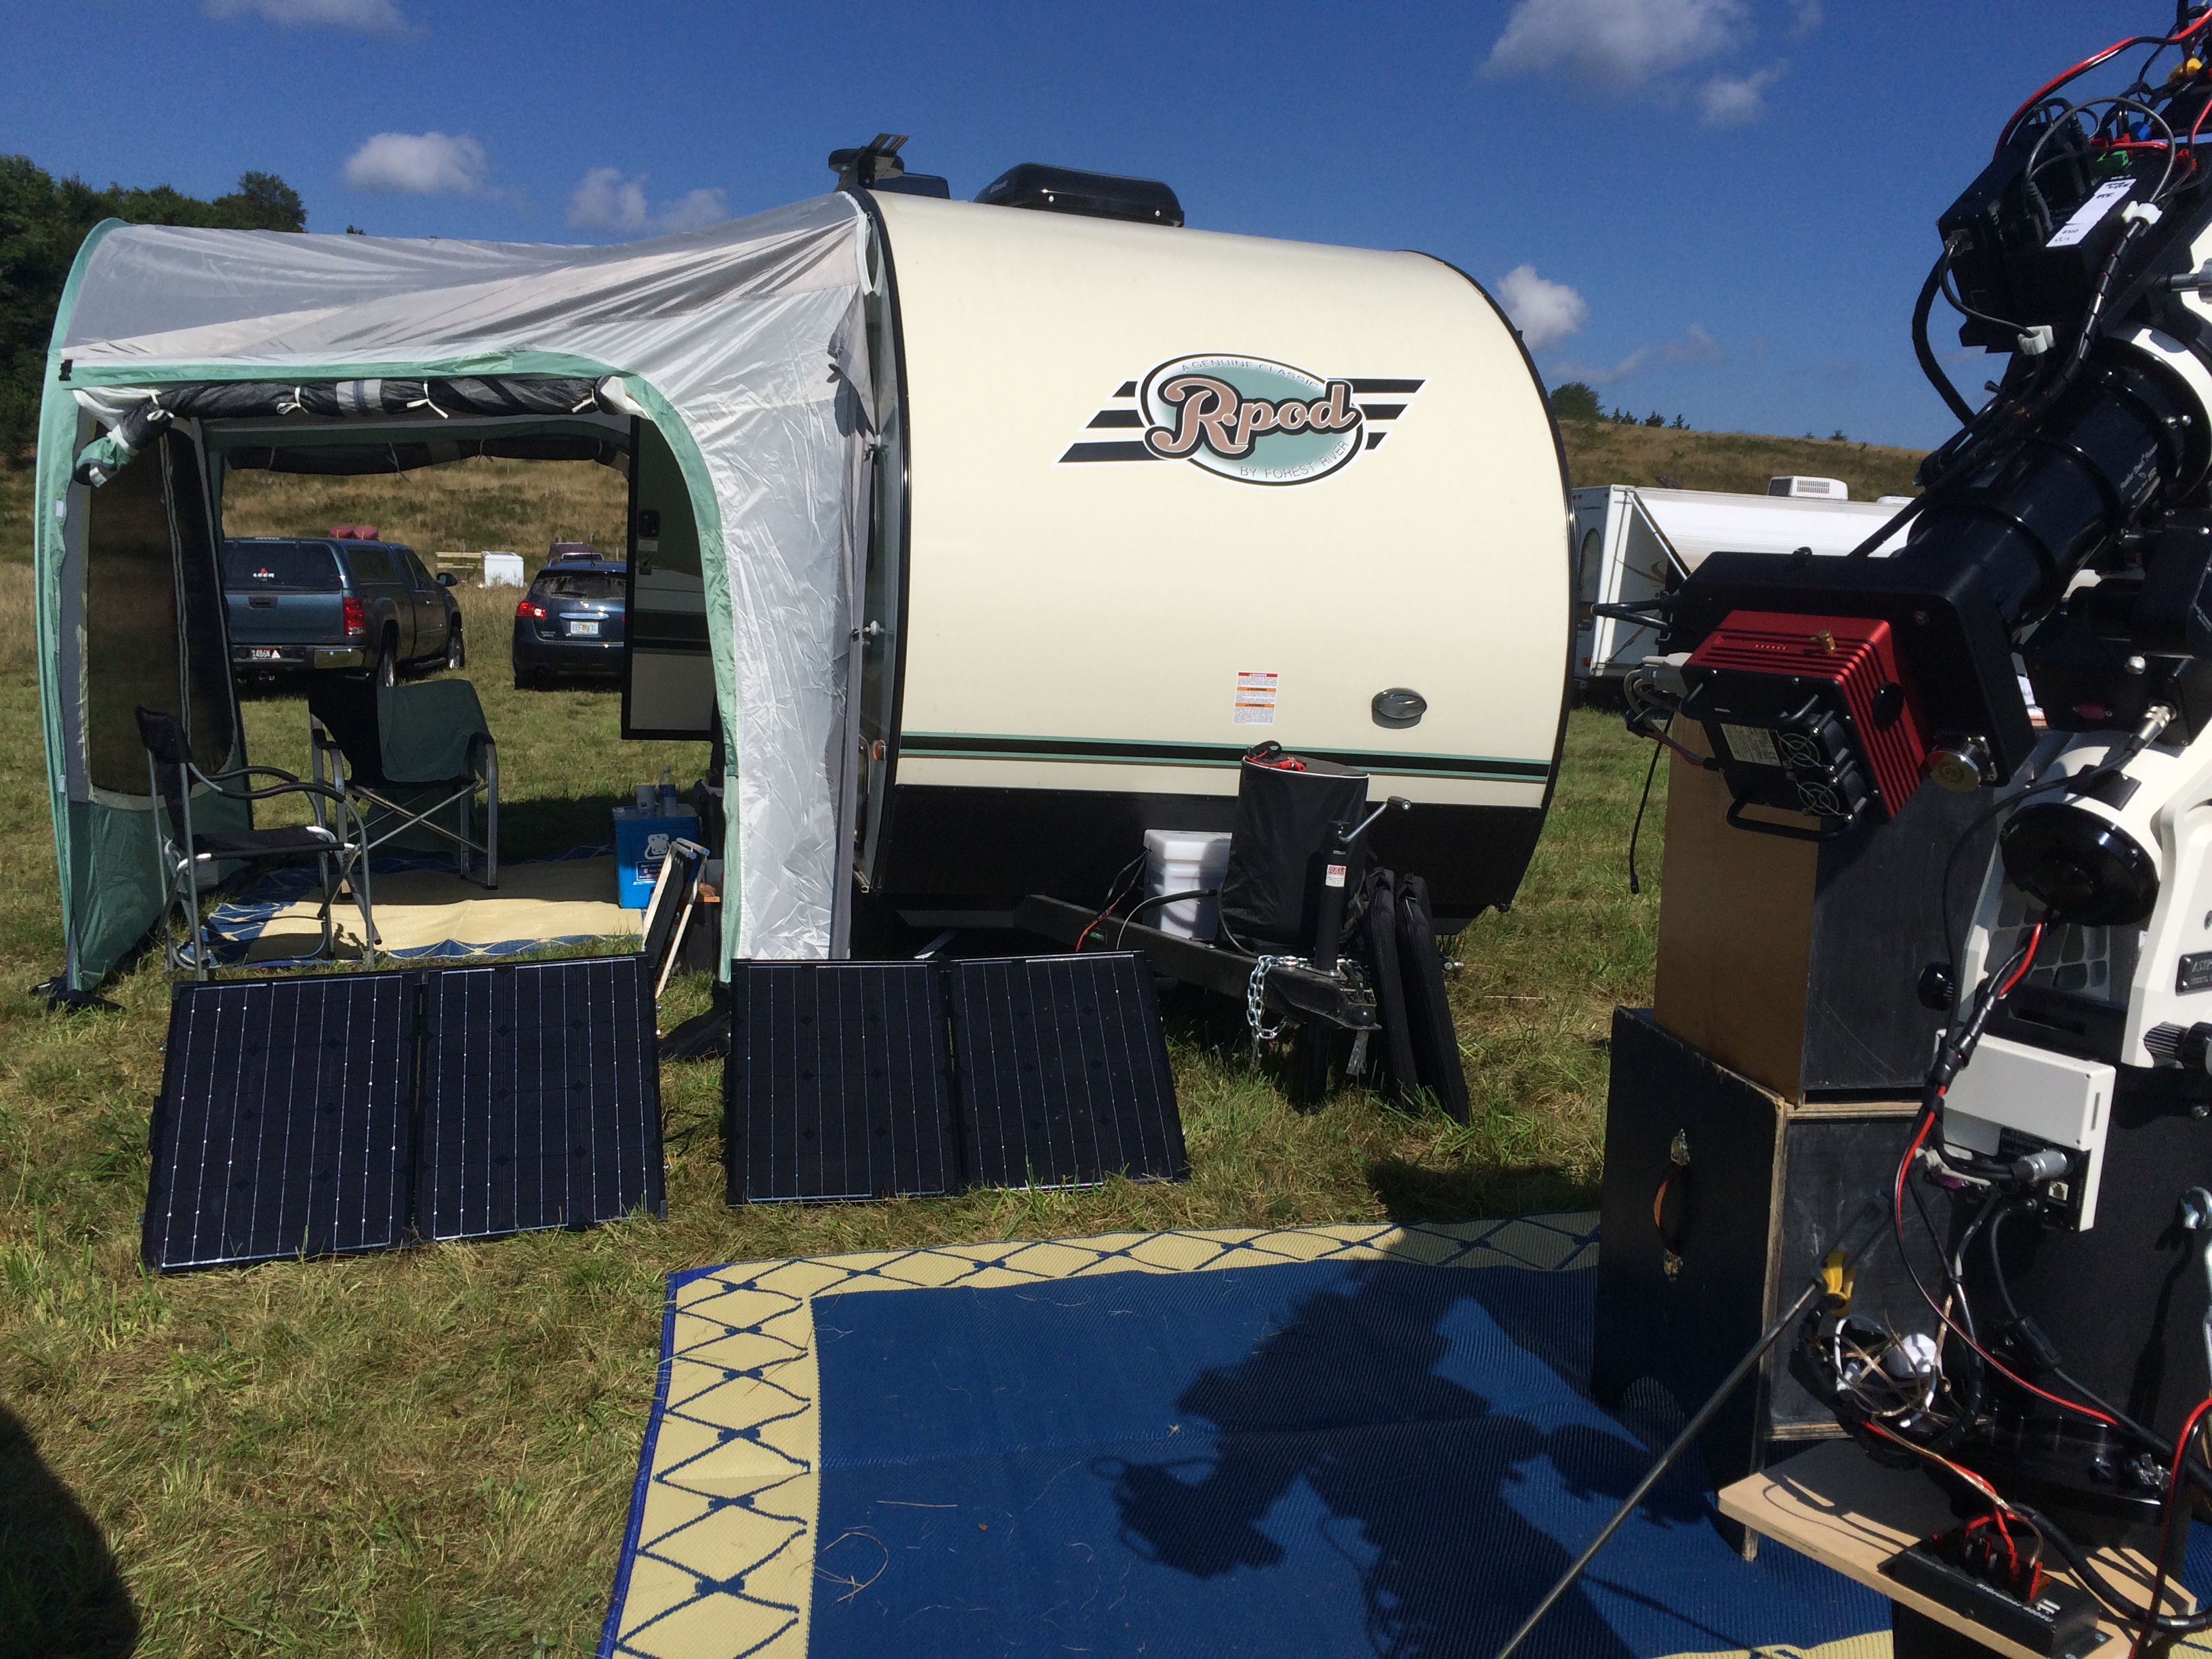
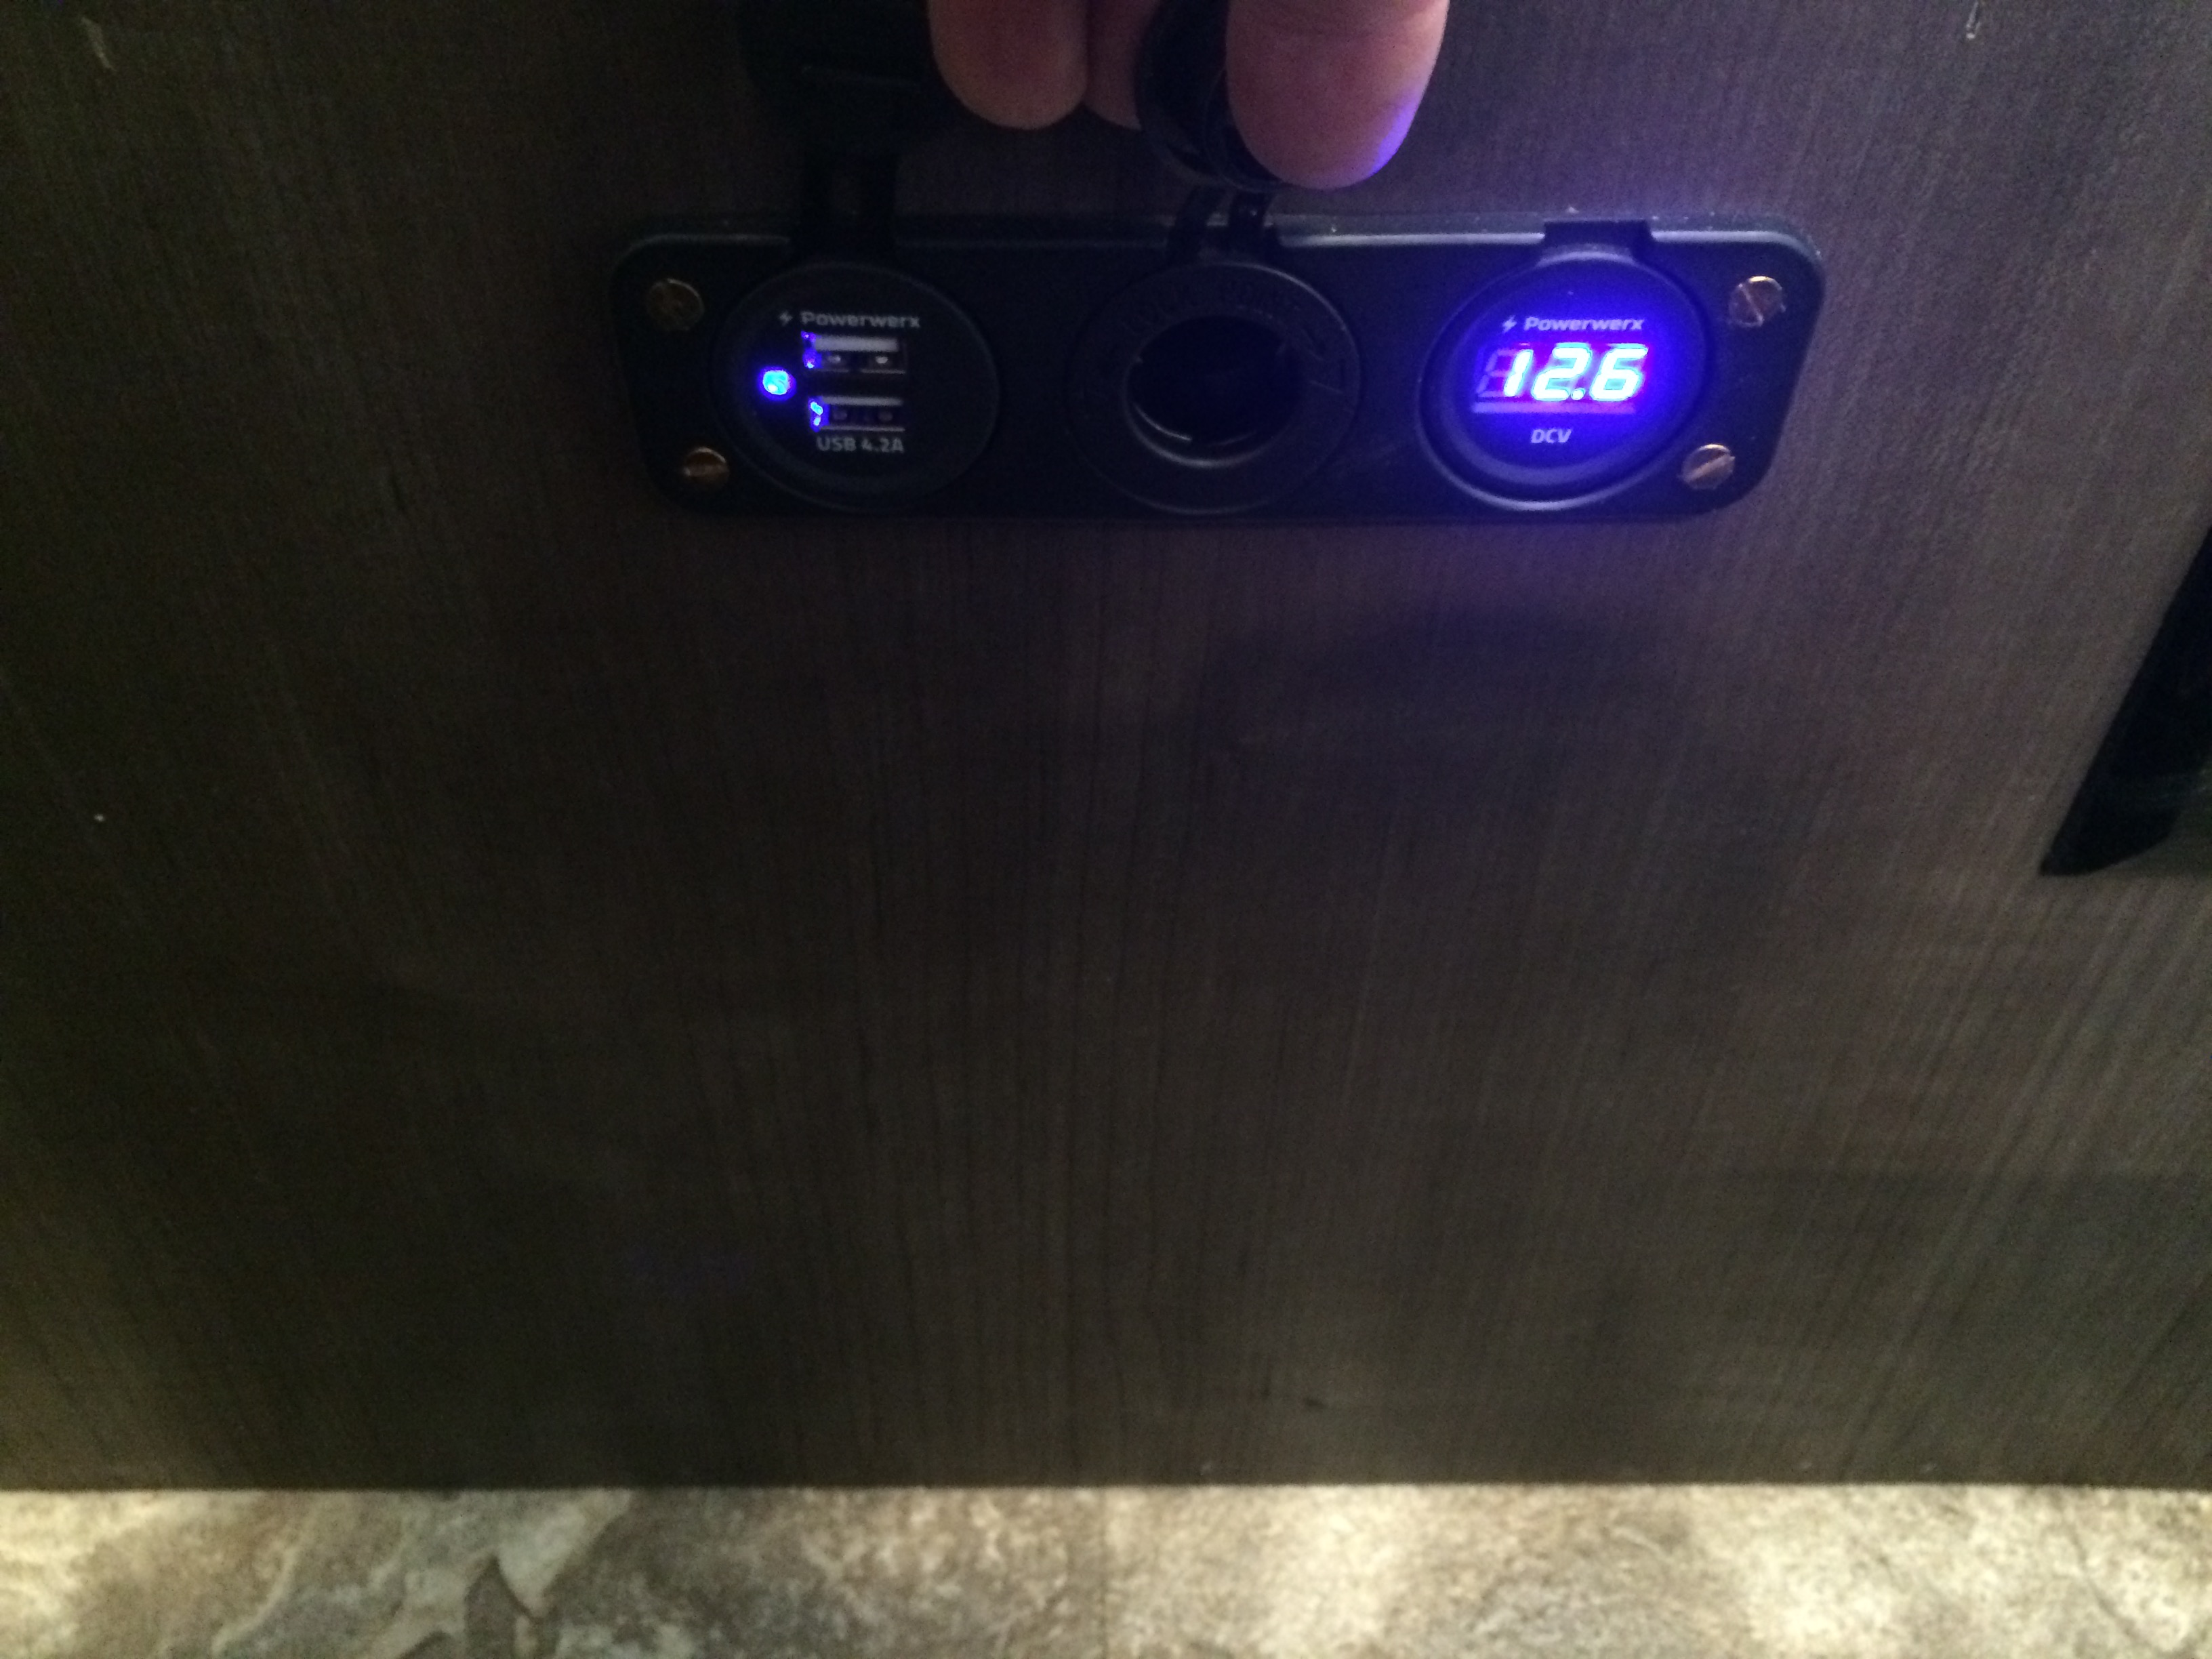
So off the bat, for a small trailer, the r-Pod has a nice advantage with the 36 gallons of fresh water as well as the 30 gallons each of gray and black water storage capacity. I tried to help it out by ordering it without a battery and installing two 6-volt Trojan T-105 golf cart batteries (see Part 1) and a second 20 lb propane bottle. Also, I purchased two 100 amp solar panels to keep those batteries charged up. And finally, if all fails, I can charge up with a Honda 2000 Companion generator.

So how has it worked out so far? To be honest, under the conditions I described, it has been overkill. My longest stay, so far, has been from a Thursday night to the second following Sunday… so 10 nights if I counted right. Also, my grown son was staying with me… so there were two of us. Granted, I have been pretty lucky with the sun in my outings, but my batteries have barely come off fully charged (lowest reading was 12.5 volts). We were mainly using the battery for lighting, music, and charging computers and IOS devices (so admittedly, not very taxing other than the computers). The first propane bottle lasted through that trip and another shorter trip. It was running mainly the fridge, but also the hot water tank, occasionally. My son and I had a gentlemen’s agreement about no solids in the black tank. Toward the end of the 10 days the fresh water indicator was drifting toward having only one indicator light on, but on the last day, I still took a shower to ensure there was plenty of water in the gray tank. There was still a substantial amount of fresh water in the tank when I finally drained it.

So yes, we are a couple of guys, and we were drinking bottled water and making coffee from bottled water, and showering for the most part in a bath house. But still, the r-Pod performed really well in that hybrid dry-camping set up.
Towing

“We pulled our trailer Key West to Anchorage… we couldn’t even tell it was back there.”
– someone on every forum you’ve ever visited

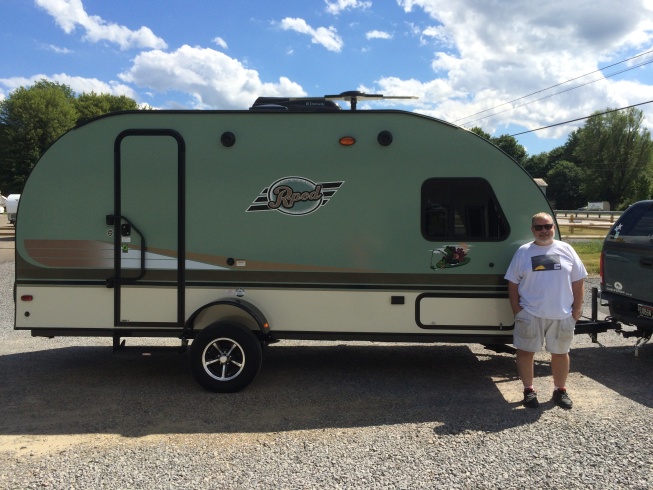
I don’t know who those people are, but I will be generous and assume it is something of a literary exaggeration. My tow vehicle is a reasonable size. It is a 2011 GMC Sierra, 1/2 ton truck with extended cab, eight-foot bed, 4wd, factory trailer package, and a six-speed transmission. The truck weighs over 6000 lbs empty. It is a substantial vehicle… and I will say that I know the trailer is back there. It doesn’t feel unsafe, and to date, it doesn’t tend to sway. But it is a drag, it does (along with the cargo I always have along) drag down the rear of the truck significantly. And my typical highway mileage of over 18 mpg fell to 12, best case. 10 is more realistic.

With the “hauling mode” enabled, the truck pulls along the trailer at pretty much any speed you would want as long as the grade isn’t too steep. The trailer seems well-behaved and under control. But the steering is lighter than normal, not to an unmanageable amount, but also still noticeable and to me, slightly unpleasant. To be honest, I thought this was a huge problem until I saw some of my friends from Texas when I was at the OkieTex Star Party last fall. Compared to me, I think some of those good old boys will never have to use their high beams. And when we packed up our rigs and headed out to breakfast on the last day of the event, I could barely keep them in sight. So I guess maybe I worry too much!?!?!?

Airbags/Super Springs

Once I purchased the trailer and before I picked it up, I decided I was going to get air bags. Since the back of my truck is always loaded down with astronomy gear even before the trailer is hitched up, I wanted to help the truck out. I had visions of air bags, a compressor, and standing in the field next to the hitched up trailer pressing my key fob to activate the compressor and level everything out. This seemed like it would be as cool as it gets (I still kind of feel that way). But, the guy at the truck outfitter told me it was a huge mistake. He told me that what i wanted was Super Springs. Helper springs that don’t do much when you are unloaded, but kick in more and more as the load increases. I took him at his word since the helper springs were about 1/4 of the cost of the airbag setup I lusted after.

I like the springs. I think they do what they are supposed to do. They actually have three settings, and initially, I had them at the lowest setting (least helping), then on my last trip I had them on the middle setting. I think that on the next trip where the truck is fully loaded, I will try the highest setting. The downside to this is that each higher setting also bumps the rear end of the truck up a little bit when it is unloaded… and I don’t care for that.

So these are working out, I think. But I often still wish I would have gotten the remote controlled air bags. If they worked reliably and didn’t turn out to be a maintenance headache, I think they would be great.

E2 trunion WDH

I also outfitted my rig with an E2 Trunion-style Weight Distribution Hitch. “No” to your first question. I don’t think I need a WDH. In fact, for short little pulls around home, I don’t even use it. But for longer highway pulls, even though it isn’t needed, it certainly improves the ride. It makes the trailer feel much better connected to the truck. The trunion model (and perhaps other models, too) incorporate sway control… and not the kind that you have to unhook when you back up. Again, it is just my opinion, but this change made a substantial improvement in the handling of the entire rig. Again, too, I am pulling pretty far sometimes… I have taken the trailer on three trips and have 5500 miles on it, already.
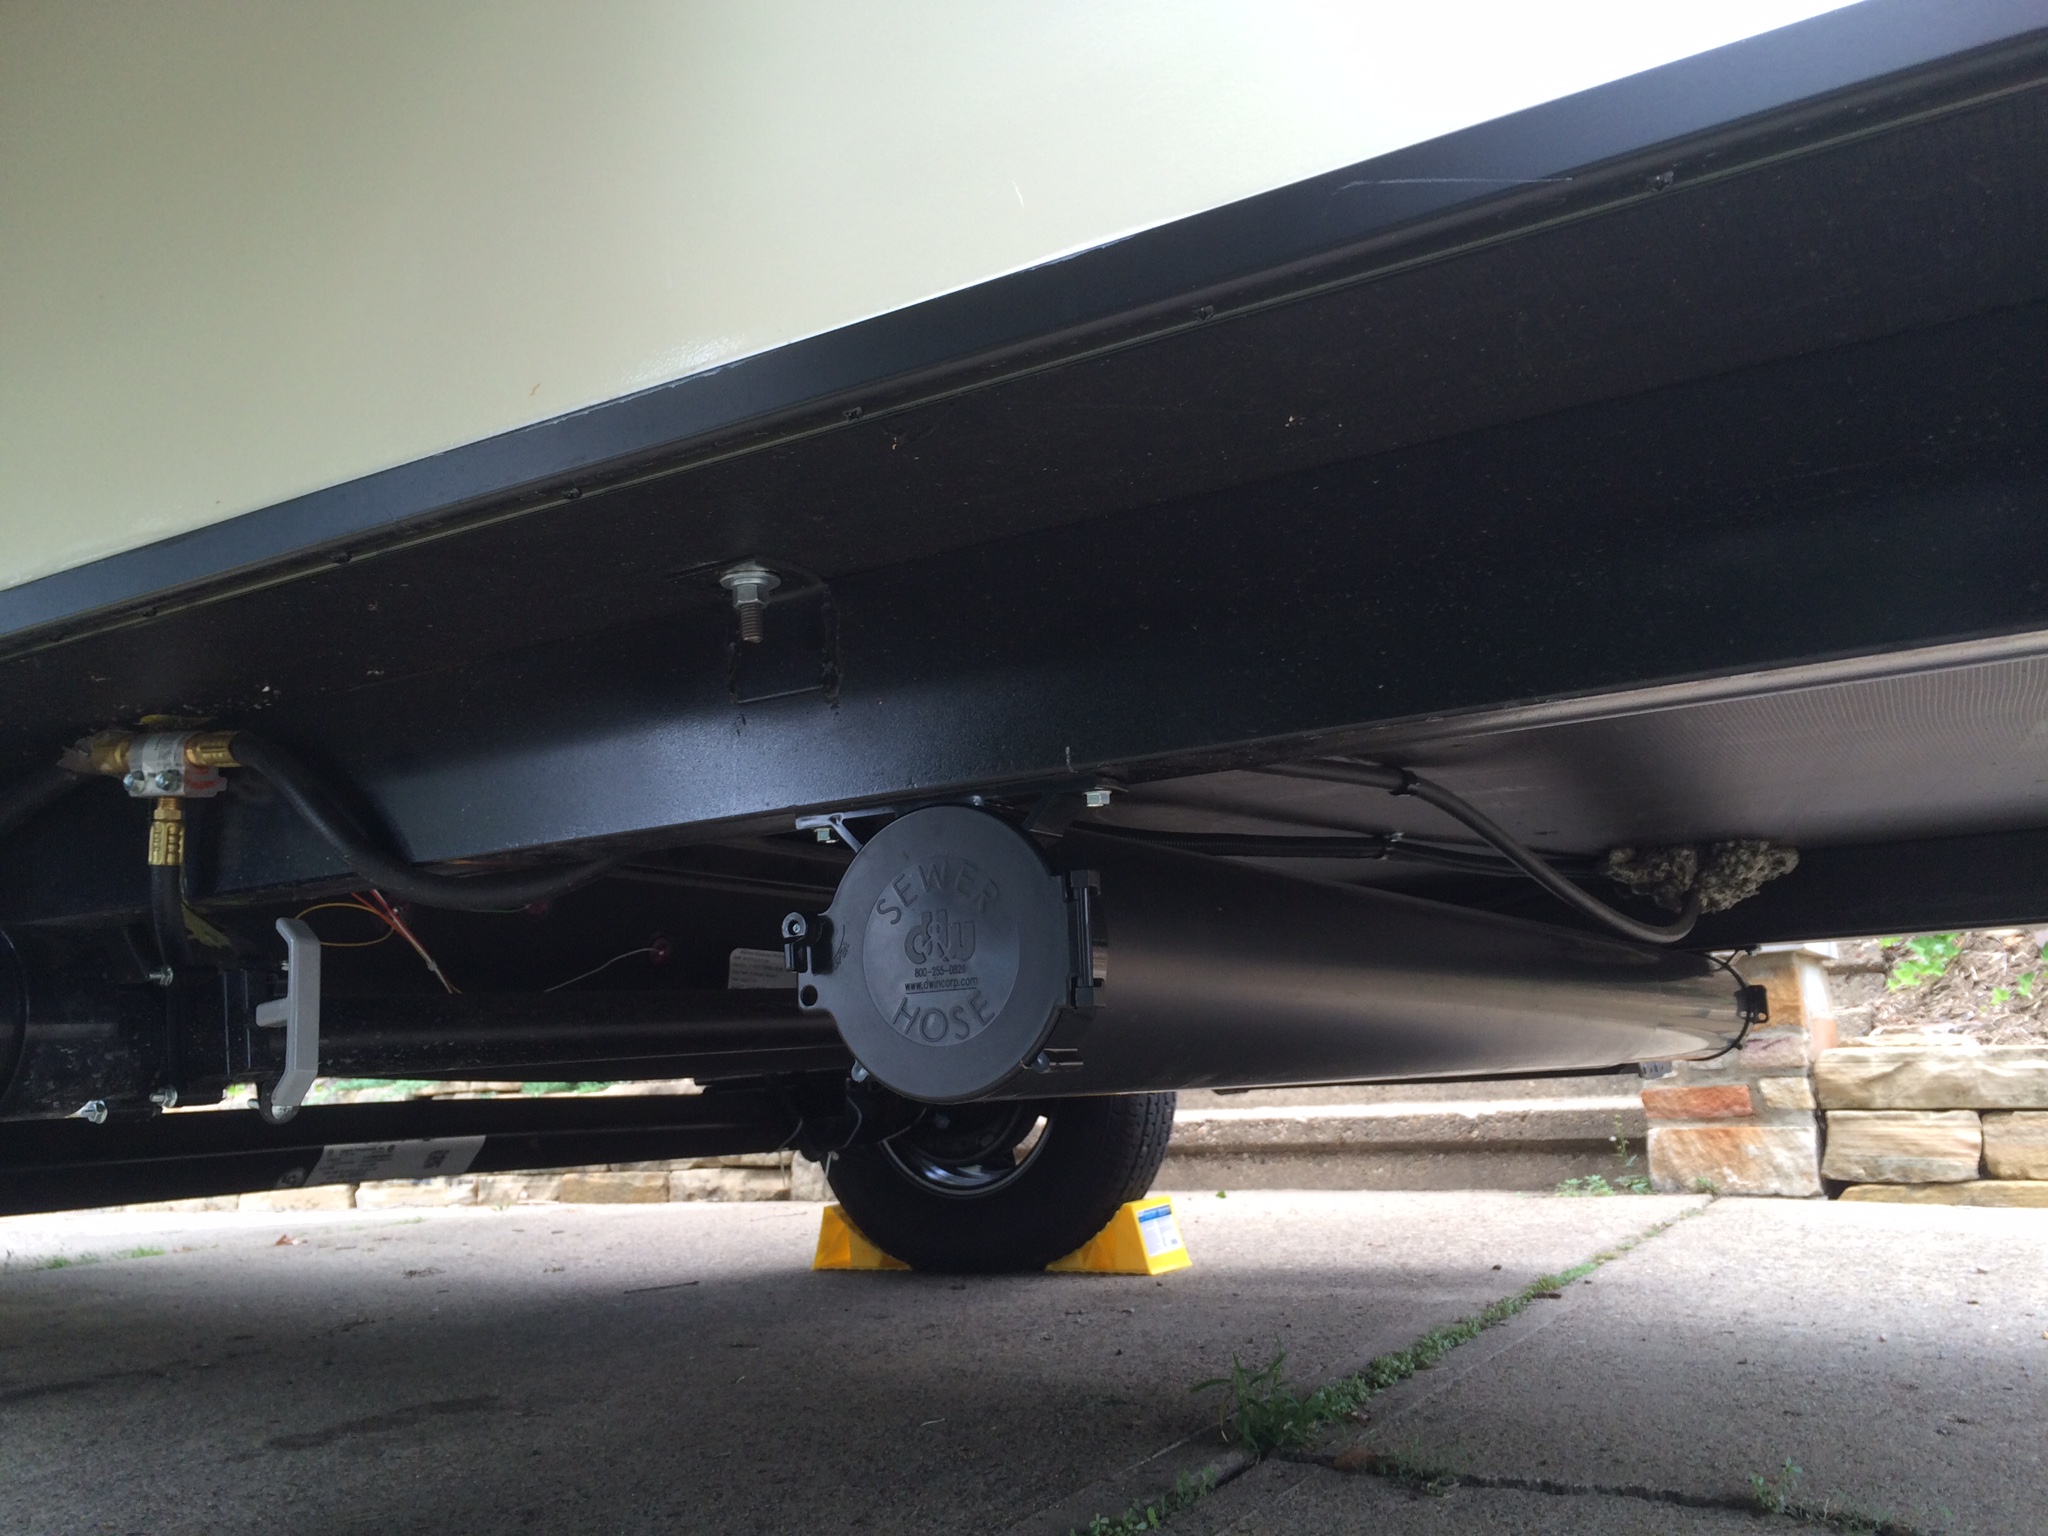
Tires

I know this is a topic which evokes strong feelings among many. Me too, I guess. On the first two trips, I disliked the gas mileage, I disliked the lighter feeling in my truck’s front end, but what I disliked the most of all was feeling like I was the absolute slowest thing on the highway. It drove me nuts. To find myself in this position, all I had to do was follow the speed rating of my tires, which for me, with hauling mode enabled on my truck, meant setting the cruise control at about 62-63 mph, so that I always stayed below 65 mph on my Load Range C ST radial tires.

After the second trip I took and before the third, I ordered replacement tires, Load Range D, bias-ply tires from eTrailer.com. Even though these are still ST tires, as long as they are loaded below capacity but supplied with additional air pressure (but still less than the rated allowable pressure of the tires) you can increase the maximum speed rating. So in my case, the Load Range D tires ran run at up to 65 psi. But for my trailer, they would be run at 50 psi. If I increase the pressure to 60 psi without increasing the load, my max speed rating goes up to 75 mph. More than enough for me! At least this is how I understand this to work. Your mileage may vary. Also, as an aside, and I think this may be more about the bias ply than about the load rating, but when towing the trailer with these new tires, it just appears more stable. I know that radials are supposed to flex and absorb the road, but the trailer just seemed to be bouncing around much less on these bias tires. Could just be my imagination.

Anyhow, this made all the difference to me and my towing experience. Instead of cruising in the low 60s, I can now set my cruise on 68 or so and be in the middle of the pack, traffic-wise, instead of slower than every. other. person.

I know lots of people will say “what’s your hurry?” And to those who feel that way, I honestly and truly respect your feelings and your opinion. But I feel like I have a very heavy TV, a good hitch, and often, I am on my way to get somewhere to spend my time there instead of taking my time along the way. To each his own, I think.

To me, this is the single best thing I have done to the trailer, so far.
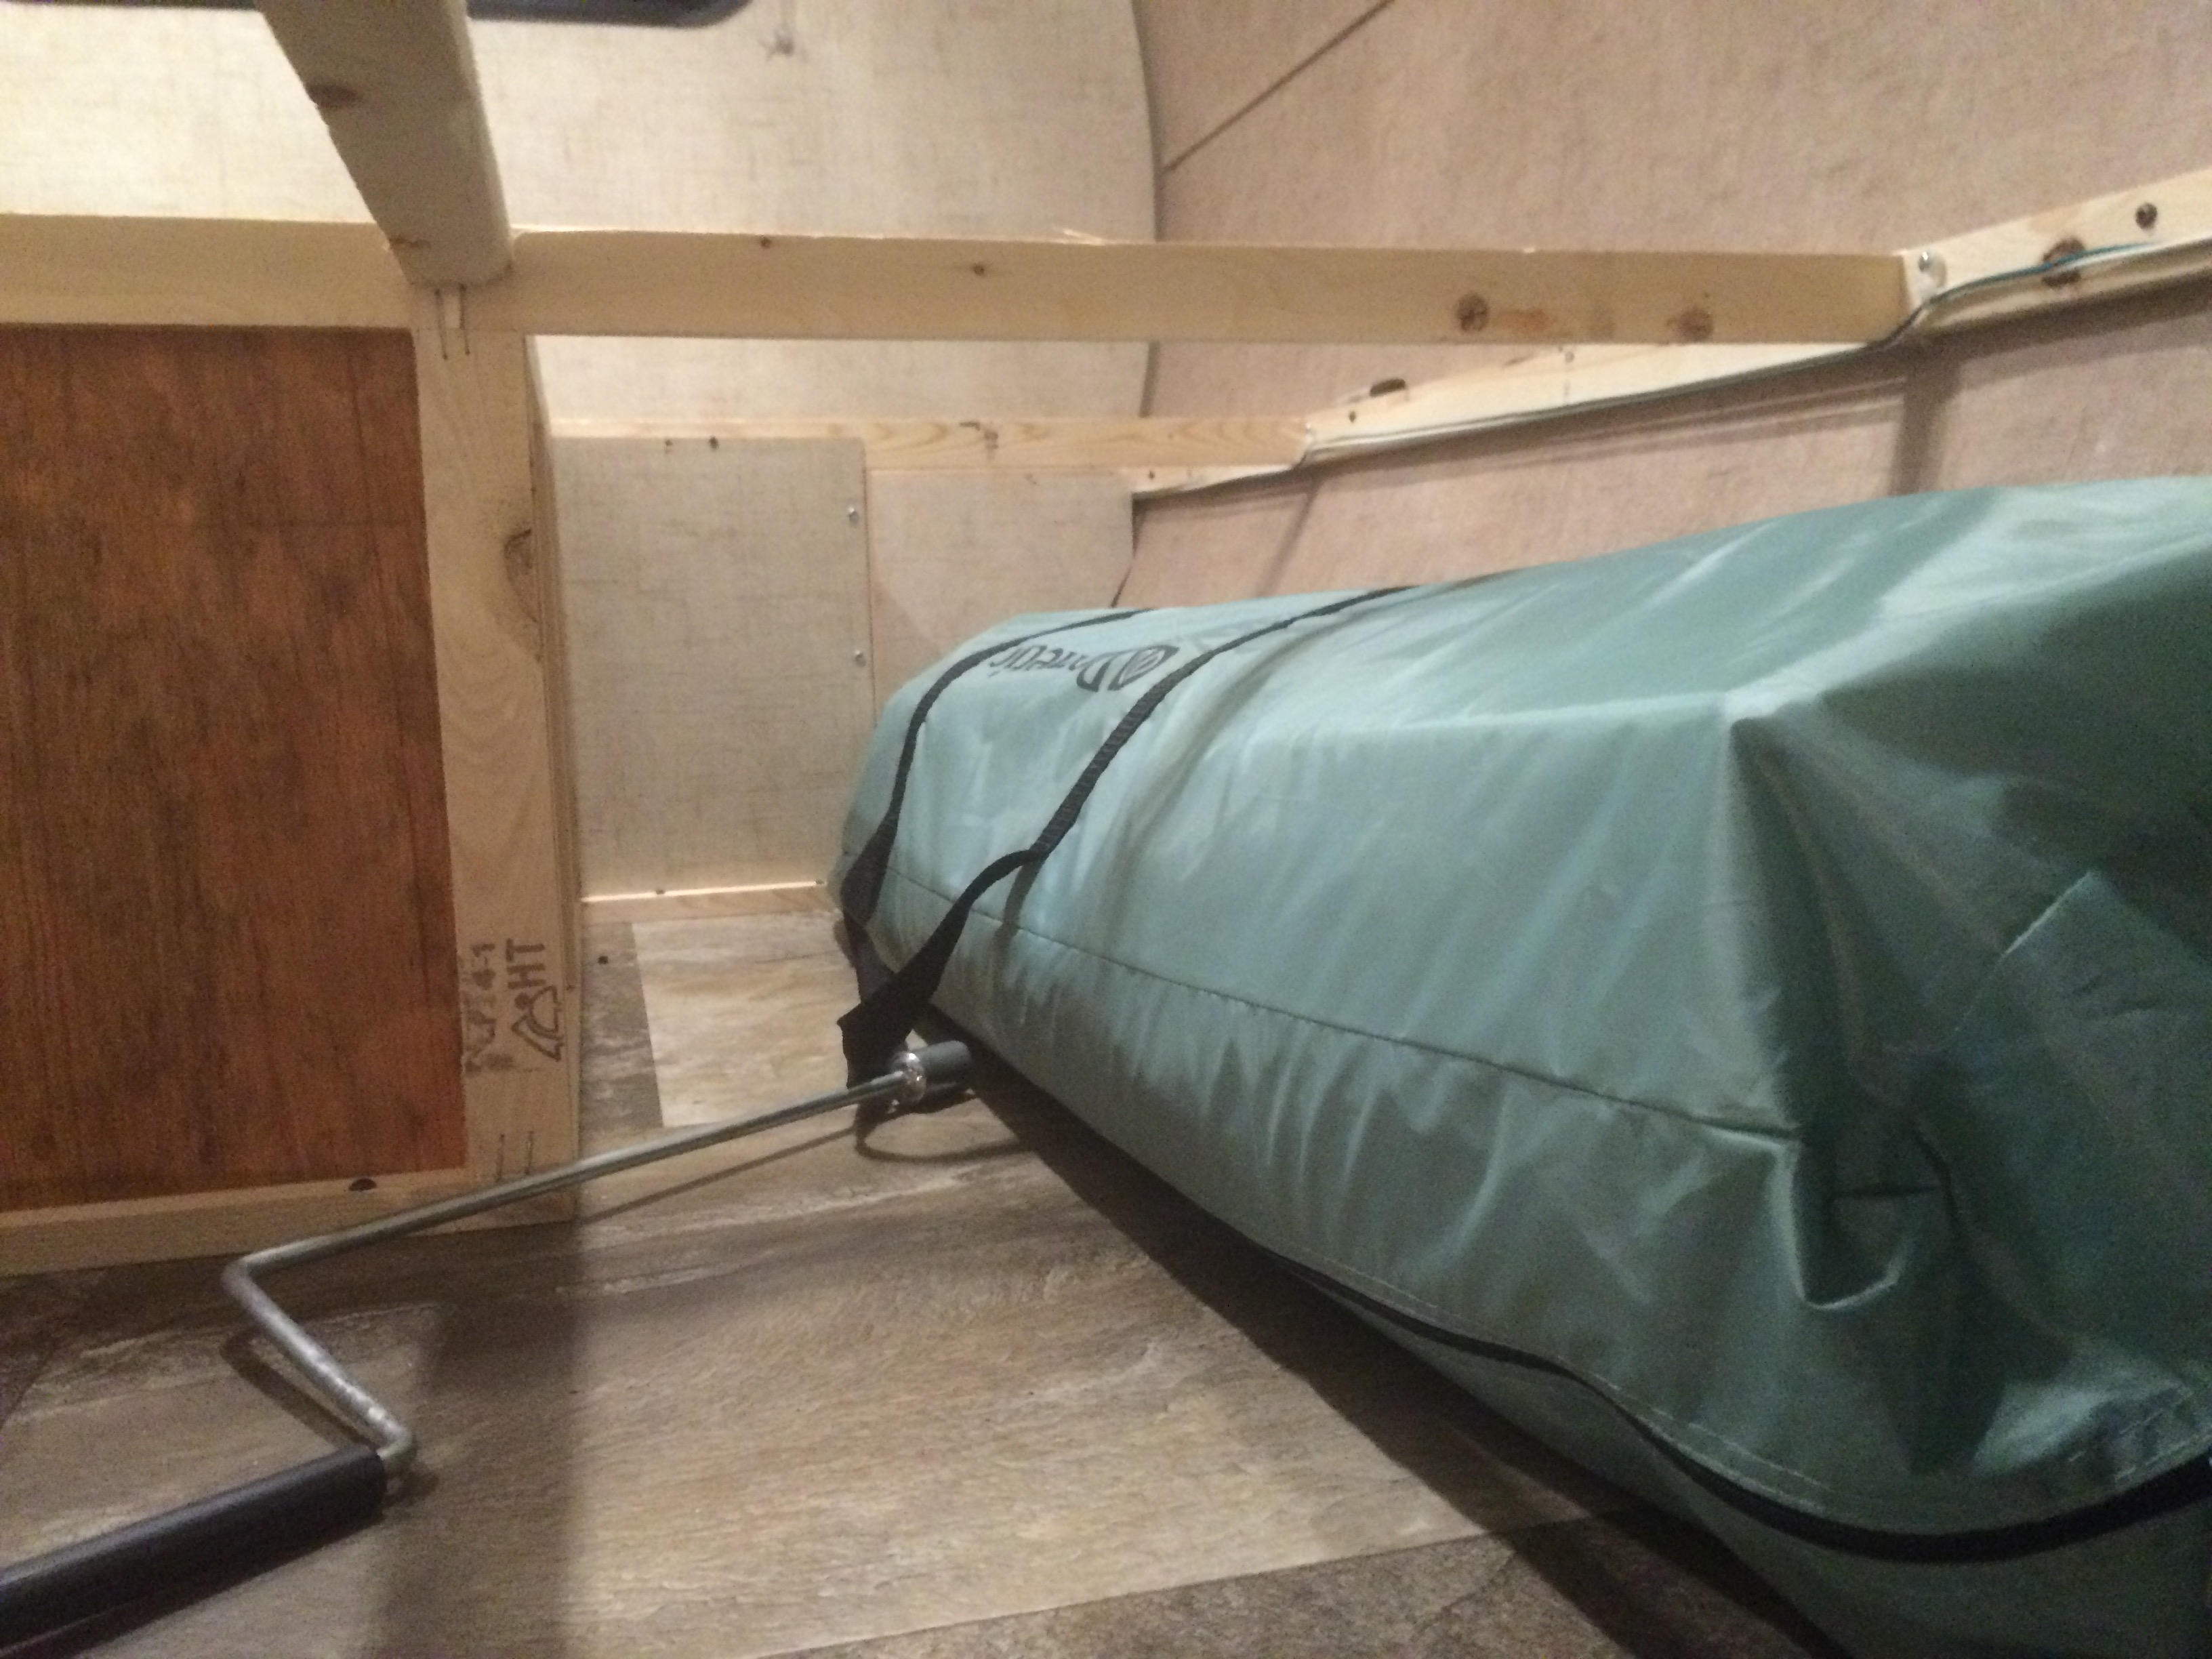
R-Dome/Visor/Clam

The Dome is Home
– a whole lot of folks who have the r-Dome

Another item that seems to stir Podder’s emotions is the good old r-Dome. I have pretty mixed feelings about an r-Dome. I will try to share why in an unbiased way. I currently own an r-Dome, a PahaQue visor, and a Clam, so I can speak with a little experience with all of them.

First, I will say when all is set up and the weather is reasonably fair, I think the r-Dome is terrific. It provides a reasonably secure and weather tight place to keep more stuff. It gives you more room to live, and if needed, more room to sleep. It provides something of a porch instead of stepping from the trailer to the un-sheltered outside. And the options are for opening various windows and doors makes it all really versatile.

    • At the same time, for me and my needs, the r-Dome does have some disadvantages:
  • One of the big ones for me is that it takes some effort and time to both set it up and to take it down and stow it away. I hear some impressive record-setting times for setup, but I think that one person would have to keep pretty busy to have it set up and staked down in 30 minutes. And, it doesn’t come down any faster that it goes up.
  • Further, there are some impressive stories about how much wind the dome can withstand, but for me, much like a tent, there is constant fiddling and tightening if it is pretty breezy. Some people don’t mind that sort of thing and consider it part of camping. And again, I respect their feelings and position. I feel like I moved from my tent to a trailer so that I didn’t have to listen to my shelter flapping and wonder whether I needed to do something. You might say, “if it gets windy, you could always just take it down, right?” Indeed. But, if you are using the dome as an overflow storage area, then taking down the dome also involves stowing that stuff away. The last time I had my dome up was in the Oklahoma Panhandle. It was set up well, staked down well, and the poles tightened well. It got breezy (gusts over 20 mph, but I don’t know how much over) and even with the flaps all open so the wind could go straight through it started pulling the dome out of the Keder rail. Not at the ends, but in the middle between the support poles. So I had the experience of taking it down in a stiff, gusting breeze.
  • And finally, there is the expense. Many folks have a dome included in the price of the trailer, and that is great. If not and if you have to try and buy one, I think that they retail for over $700. That, in my opinion, is a lot of money for what you get.

PahaQue Visor

The PahaQue Visor is a cool little accessory. I happened to pick mine up at the PahaQue closeout rack, so I got a pretty good deal on it. The trim is maroon-ish purple… so it brings out the color in my fishing frog logo!

The visor is lightweight and doesn’t take up much room in the storage bay. It is essentially self supporting by using the Keder rails, both above and below. I only have had mine up twice, but already, by the second time, it only took 10 minutes to set up… including finding the ladder. It is a neat little design and pretty cool, but if it has a drawback, it is that it is not very big. If the door of you trailer is facing south, the visor isn’t going to provide much, if any, shade. But it is nice to have a little roof area over the door and on that side of the trailer. And it is so easy to set up it is worth doing, even if you only plan to have it up for a few hours.

the Clam

I only just got my Clam, and have only set it up (partially) in my living room. It looks like it is going to be great for me. It is pretty good sized, but it also sets up very quickly. Really, it just takes 5 minutes to get it out of the bag, lay it out, pop the 5 sides and the roof, and set it in place. A few stakes are optional, I suppose. It only takes that long to take down, too. It just folds up, bundles together, and it is ready to stuff back into the storage bag. Hopefully, I may have more to say about this after I actually use it.

Problems with my r-Pod

Honestly, if you read some of the posts on the web about R-Pods, other Forest River products and really, about all RV’s, you have to apply some reason. Otherwise, we would all be foolish to ever purchase an RV or even more foolish to ever take our lives in our hands by, say, hooking up and leaving the driveway.
I don’t say this to try to downplay the very real problems that some have experienced. I am just saying that perhaps you read about all of the bad experiences and few folks bother to write about the positive ones. Well, anyhow, that is my hypothesis.

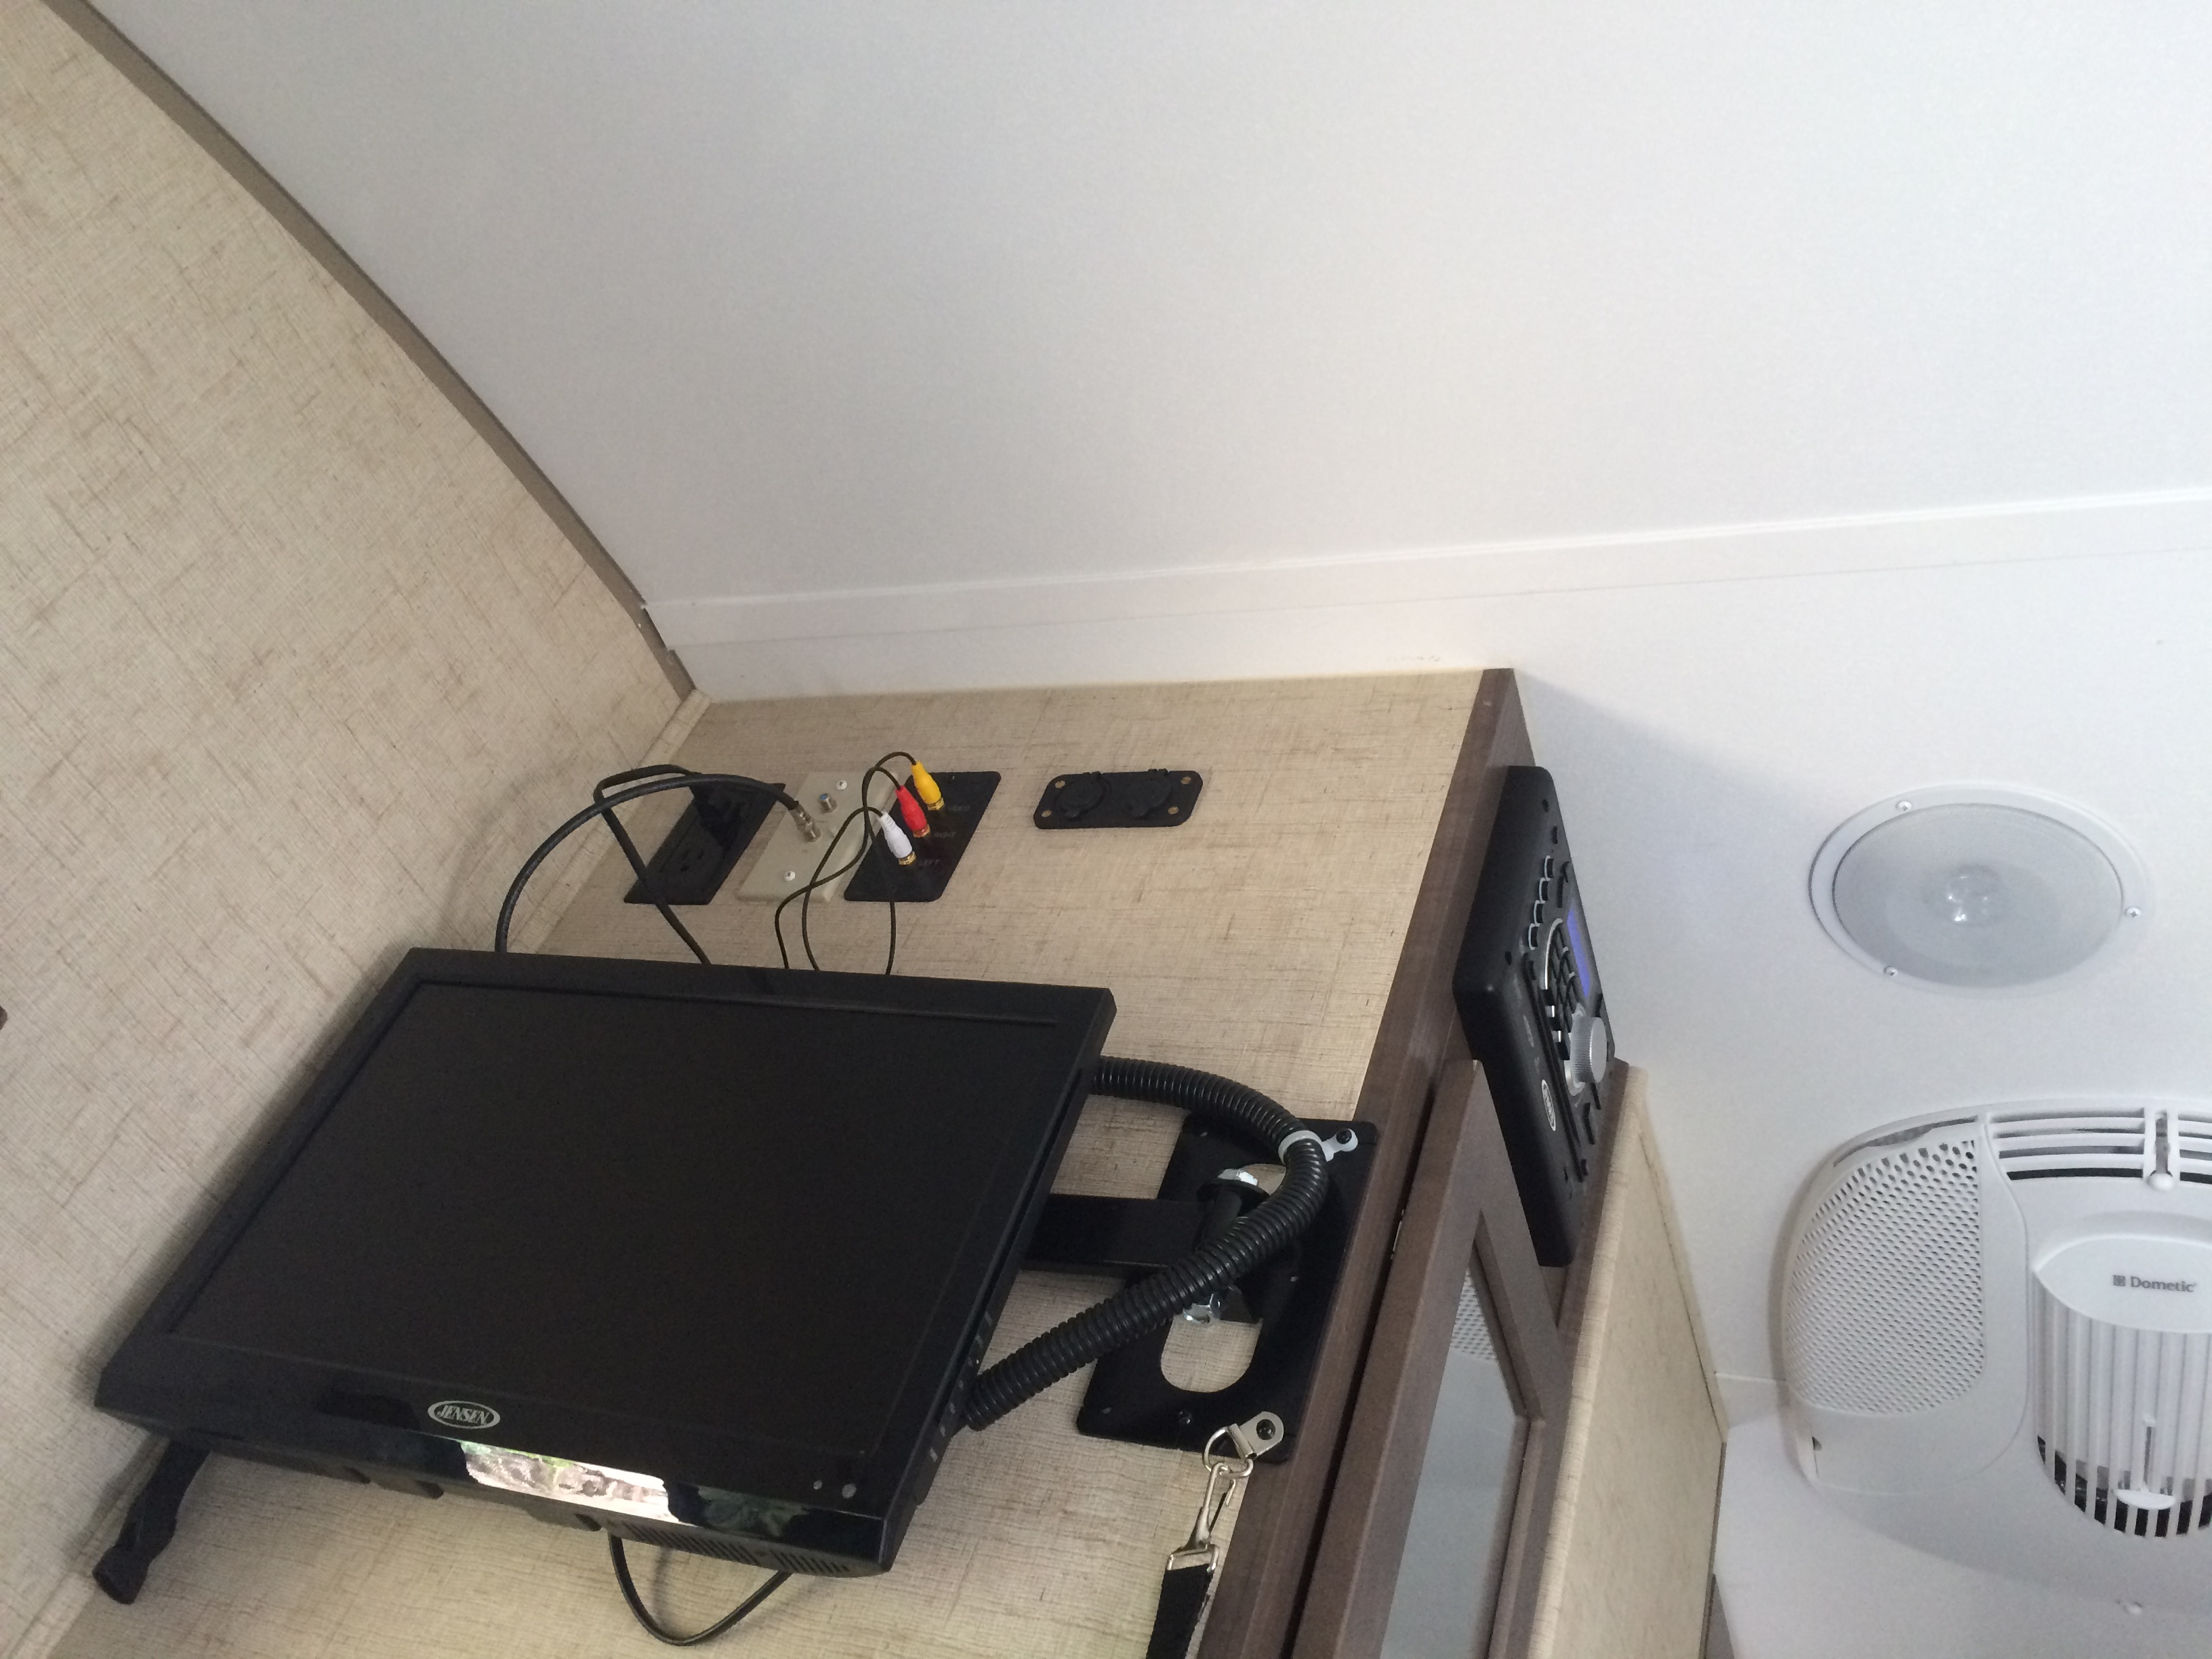
In part 1 of this post, I wrote about some of the mods that I have done to my trailer. Here are a few of the problems that I have experienced. These are outside of the normal dust, dirt and screws laying behind every wall and in every nook and cranny. I also don’t include items like crappy speakers, or the fact that the Jensen is installed so high that the display always looks blank unless you stand on a stool (I am sort after all).

Warranty Repairs:

  • Fantastic Fan – My original Fantastic Fan was wobbly and out of balance. It sounded like it was hitting something when run on high. I wasn’t sure if they were all like that, but I complained, anyhow. The dealer not only replaced it, but replaced it with a different model. Boy, what a difference. It made appreciate how bad the original one really was.
  • Window Leak – Like others, my 179 came with a rear window leak pre-installed. Whenever it rained and especially when I towed through the rain, water would come in along the bottow of the window and soak the counter top. Initially, I tried adding a bit of caulk along the upper edge, but it made no difference. The dealer said they “re-caulked” the window. I couldn’t really see what they did. But, it hasn’t leaked since.
  • Hitch Light – My hitch light worked the first time I used it. Then not again. One day, I pried the lens off and wiggled things around and it worked again. Until it was dark. I told the dealer about it and they “fixed” it. Not sure what they did, but it has worked every since, too.

Non-Warranty Repairs

  • Hitch Adjustment – When I took delivery of the trailer, the locking device on the trailer was adjusted too tight. At the dealer, I had to put the truck in gear and lean forward so the technician could get the hitch closed. What did I know about this being an issue? The the next time I hitched the trailer, it was the same problem. I was really reluctant to adjust the locking mechanism, but I sucked it up and went ahead. As it turns out, it took a very small adjustment to make it work easily and reliably. And it is still strongly latched. It was just adjusted incorrectly at the factory.
  • Brakes – The brakes are an ongoing story as of this writing. I am unconvinced that the trailer brakes work like they are supposed to. I have gone through many iterations, but I am still not done. First, on my GMC truck, the output from the integral brake controller was simply not hooked up (nor was the charging wire). Even so, once hooked up and with the brake output set to its highest output, activating the trailer brakes from the brake controller results it little to no discernible braking coming from the trailer. The GMC dealer has checked the truck output and says it is operating correctly. The trailer dealer says the trailer brakes are operating normally (I suspect that their test may be to pull the pin on the emergency brake, which does, in fact, lock up the trailer brakes). I asked them to listen at the trailer brakes while I applied the truck brakes, and they assured me they could “hear” the trailer brakes activating. My latest hypothesis is that the trailer brakes are grossly out of adjustment. So much so that they have never been able to “self-adjust” their way to where they should be. Of course the trailer dealer says they are fine, its a big truck, the trailer can’t slow down the truck, anyhow. I don’t quite follow that, though. It seems to me that the size of the TV shouldn’t matter as far as whether the unloaded trailer wheels lock up or not. Anyhow… hopefully more to come on this.

I guess this is all for now. Hit me up in the FaceBook group if you have any questions or comments or suggestions!

The Greatest Astronomy Accessory, Ever (Part 1)

Can I keep it???
Can I keep it???

Giant telescope? Rock solid mount with arc-second accuracy? APS-sized, duel stage cooled camera? Nope. Not even close… The game changer for me is my 2016 Model 179 r-Pod camper, christened AstroPod. After Mrs. Smith and I decided to sell the summer vacation cabin (I called it “the Shack”), I lobbied to spend money on something that had no chance for a return on investment: a recreational vehicle. True to form, Mrs. Smith was, as always, completely supportive. Still not quite sure what lottery I won to end up with her.

View of my Neighbor's Telescope and the Mesas at OkieTex 2015
View of my Neighbor’s Telescope and the Mesas at OkieTex 2015

At my second outing at the OkieTex Star Party, I was up and running with “remote” control of my telescope… That is, sitting at the dinette in the AstroPod using a laptop that was networked to the laptop at the scope. It is conceivable that for some of the time, I may have even been in my bed instead of at the dinette. What a treat.

I shopped for my Astro-Pod at a couple different dealers. The low-priced mega dealer in Ohio, the high-volume dealer north of Pittsburgh, and ultimately, I ended up purchasing at a smaller family business in Hermitage called Kerola’s Campers. While they were very competitive in price, the main reason that I chose them was… a feeling. That they are smaller and remembered my name, and gave me a coffee mug for stopping by to shop, and were willing to jump through hoops to make requested changes to my trailer, and a half-dozen other examples made me think that if something wasn’t right with the trailer or if something ever needs to be fixed they will do their best to make me happy. In short, they seem to care about what they are doing, and I am delighted to support that.

So that’s a bit of background. For the rest of this entry, I am going to do a bit of a review that is slanted more toward some of my fellow r-Pod owners and prospective r-Pod owners. There are some very active user groups, in particular on Facebook and the r-Pod owners group who have both been very helpful to me, and hopefully this is a little way to give back and to help some future buyers.  Please realize that my opinions may be against the grain and may not align with others… I try to share what works for me

The Trailer and My “Mods”

Power

Two Trojan T-105 Batteries in Series with Cut-Off Switch and Battery Tenders

Power was a concern for me and I approached it from several angles. First, I opted to use a pair of Trojan T-105 golf cart batteries for power. These are true deep-cycle batteries, 6 volt, wired in series, and best of all, they fit in the footprint of the r-Pod battery tray. They are a bit taller than standard batteries, but there is still plenty of room. While installing the batteries, I included a quick disconnect battery switch in the lid of the battery box, since there is a constant drain on the battery from several sourced in the trailer.

Two 100 Watt Renogy Suitcase Panels Plugged Into Battery Tenders

To keep the battery charged when hook-ups are unavailable, I purchased two Renogy 100-watt suitcase solar panels. I included battery tenders with connectors on the Trojan batteries that are identical to the Zamp connector so that the panels can be connected up right at the batteries… or, I can connect one panel to the built-in Zamp connector at the rear of the trailer.

Covers Open
Covers Open

Inside the trailer I added a number of 12 volt outlets. Some are in the form of USB charging ports and some are cigar lighter forms. At the same time, I added a digital voltage readout to get an more accurate idea of the actual system voltage and therefore, state of charge.

Outlets by TV
Outlets by TV

Finally, I added a second propane bottle.  I didn’t hack the old holder off as some have, but instead I cut two support blocks to lay on the hitch at the same height as the stock holder.  So my two-bottle holder sits on the existing holder plus the blocks on the hitch and is all bolted down with carriage bolts and a stock strap.  So far, I chose to not go with an automatic change-over regulator.  For now, I plan to run it like my grill at home… that is, I will run a bottle dry, then change it over manually and I will know it is time to get the first one filled up.  Maybe this will change, but is how I think will work for me.

Results: Very successful. At the end of 9 days without hookups (my longest continuous stay, so far), the batteries were still fully charged. This was not in the face of heavy usage, but did include all the trailer systems, lighting, charging IOS devices, and keeping 1-3 laptops charged.

Interior Lighting

Painted with Rustoleum

People who do astronomy tend to abhor light. Understandably. I am one of them. So, as anyone with a late model r-Pod knows, the surgical theater-esque lighting of the r-Pod is a little much. However, one way to circumvent this problem is the use of red lighting since red lighting doesn’t destroy your night vision. So at the time I ordered the r-Pod, I asked the dealer to order me a spare set of lenses for all the interior lights. After a bit of experimentation, the most effective solution I found was to simply spray the lights with red Rustoleum paint. Two coats applied within 30 minutes of each other, then allowed to dry over-night was just right. I tried the inside first, but that wasn’t as good as just painting the outside.

Results: This worked just great. I ended up leaving some of the red lenses in for use even when not at a Star Party because it is enough light, but is much less harsh.

The Bed

Cutting the Standard Queen Topper to Size

On the user groups, there are no shortage of complaints and solutions to the quality of the included r-Pod mattress. I don’t think they are very good either, but I was struggling to shell out several hundred dollars for a mattress upgrade on top of the purchase I had already made. (I mean this is coming right out of my astronomy accessories budget, right?) So even though I was skeptical and an avowed memory-foam hater, some kind of pad seemed worth a try. I purchased a 3″ thick, dense memory foam pad from Sam’s Club.

Memory Topper in Place. Added 3/4" Thick Regular Topper to Tie Everything Together
Memory Topper in Place. Added 3/4″ Thick Regular Topper to Tie Everything Together

I purchased a regular queen pad and trimmed it to size with an electric kitchen knife. Then I ordered an RV queen padded topper (3/4″ thick). Then I assembled all these pieces, put on a sheet, and finally a quilt on top of it all. When I am doing astronomy and up and down several times a night, I sleep on top of that stuff with another quilt on top of me. It is perfectly acceptable and comfortable, and the total cost was $150. A worthwhile compromise that worked out well.

Results: Just great!

Other Mods

These mods are pretty common, but I will briefly share what I did and thought.

  1. Under bed storage – The r-Dome doesn’t fit into the storage area without

    R-Dome Fit into Longer Space
    R-Dome Fit into Longer Space

    laying diagonally across the entire storage area.  This is really silly and I fixed it.  I rate this as not so much an improvement as a correction to a clear deficiency.

  2. Remove the right-hand ottoman – I initially balked at doing this on the first outing, then did it on day two of the second outing.  Do it.  It makes things much roomier.  I am further planning to build a removable platform over the gear in the left-hand ottoman to give me a shoe storage area (which was in the removed ottoman).
  3. Shelves in the closet – This is a huge improvement for me.  I don’t need toshelves hang up anything when I am camping, but I could keep two weeks worth of clothes on the shelving.
  4. Put a window in the door – I love the way this looks from the outside.  It looks like it belongs there.  But frankly, I have mixed feelings about the success of this.  At night at my star parties, it allows a remarkable amount of light out, so I have to either block it or put a black out curtain on it.  It would be nice to be able to open the little window, but it is klunky to have to go outside, close the screen and open the regular door, then open the window in the door.  If I had it to do over, I probably wouldn’t do this.
  5. Super Slider sewer hose storage – Like the under bed storage, I see this as Better Sewer Hose Storagemandatory to correct deficiency rather than an upgrade.  The new Super Slider version of this product make installation a literal 10-minute thing.  Decide where you want it and install it with 4 self-tapping screws.  R-Pods need the middle sized version.

In Part 2, should anyone care to check in, I will share my experiences with dry camping, towing, the R-Dome, and problems I have had with the R-Pod.

Note that any of the pictures in this article can be enlarged by clicking on them.  Also, I have additional pictures of some of the mods located here.

Thanks for reading.