M64 – The Black Eye Galaxy

Note: For images in posts, you can often click on the image to view and enlarged version, and often, clicking on that enlarged version will zoom in even further. Eventually, to return to this article, use your browser “back” button.”


M64 The Black Eye Galaxy

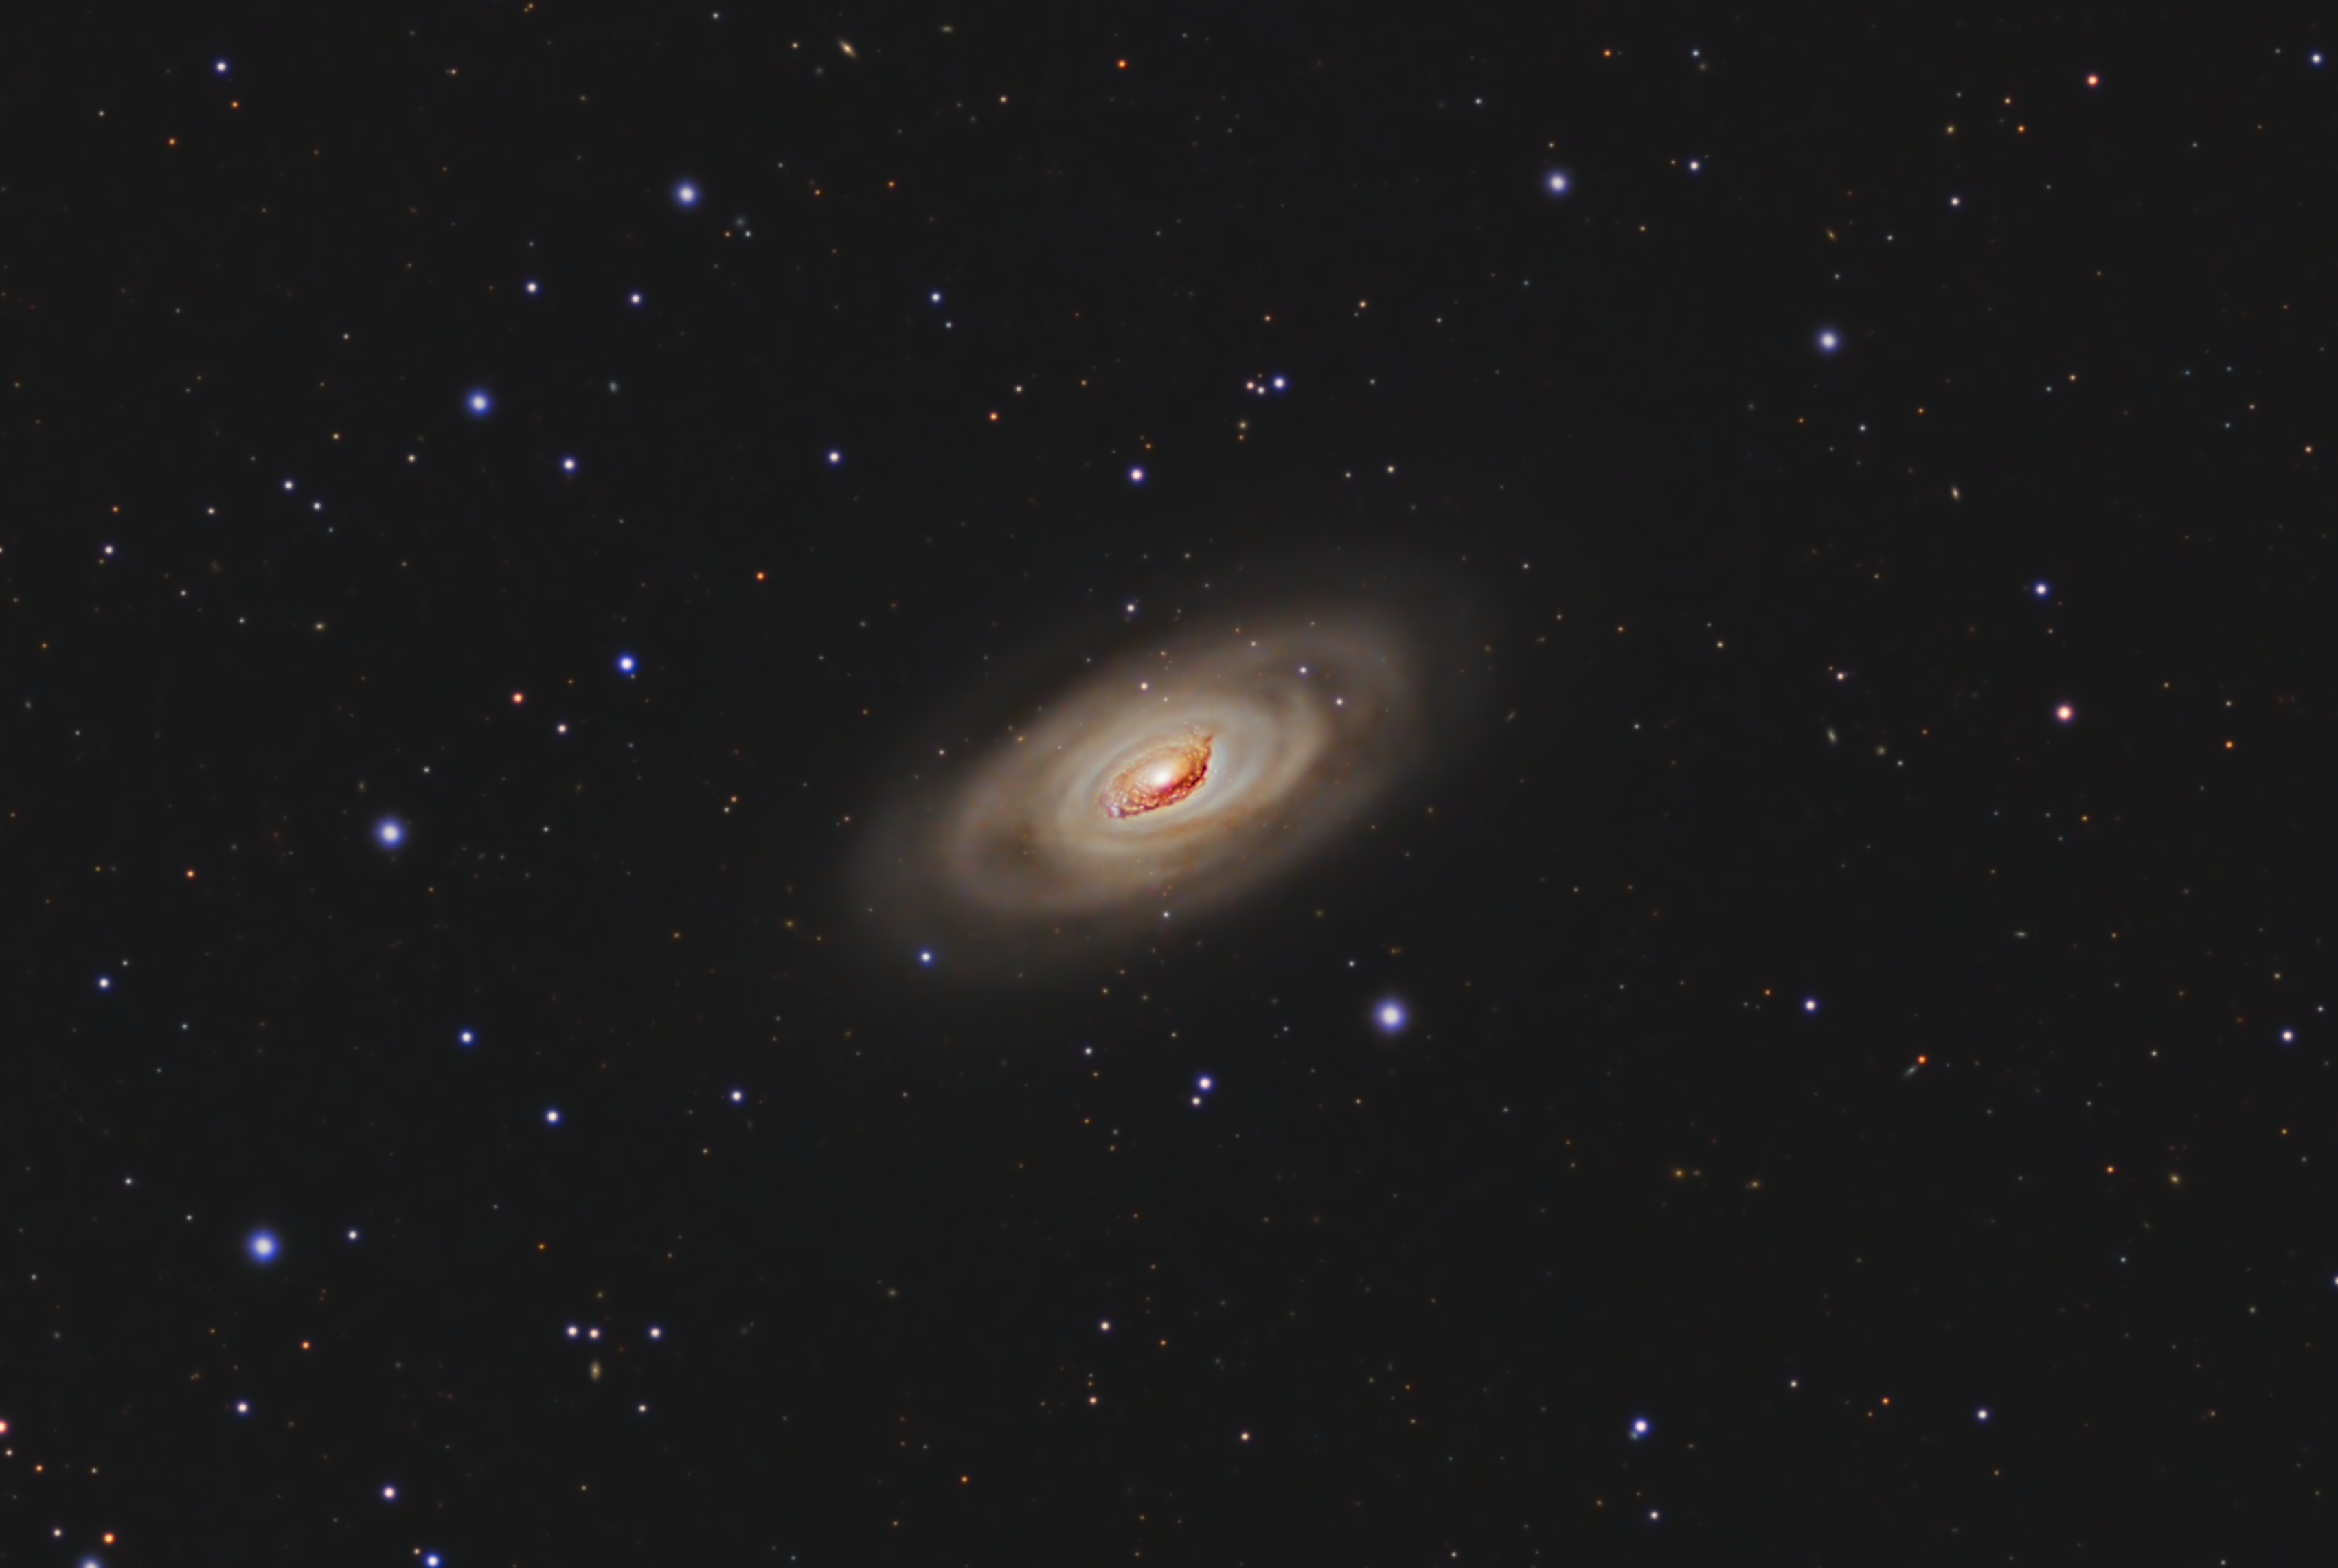
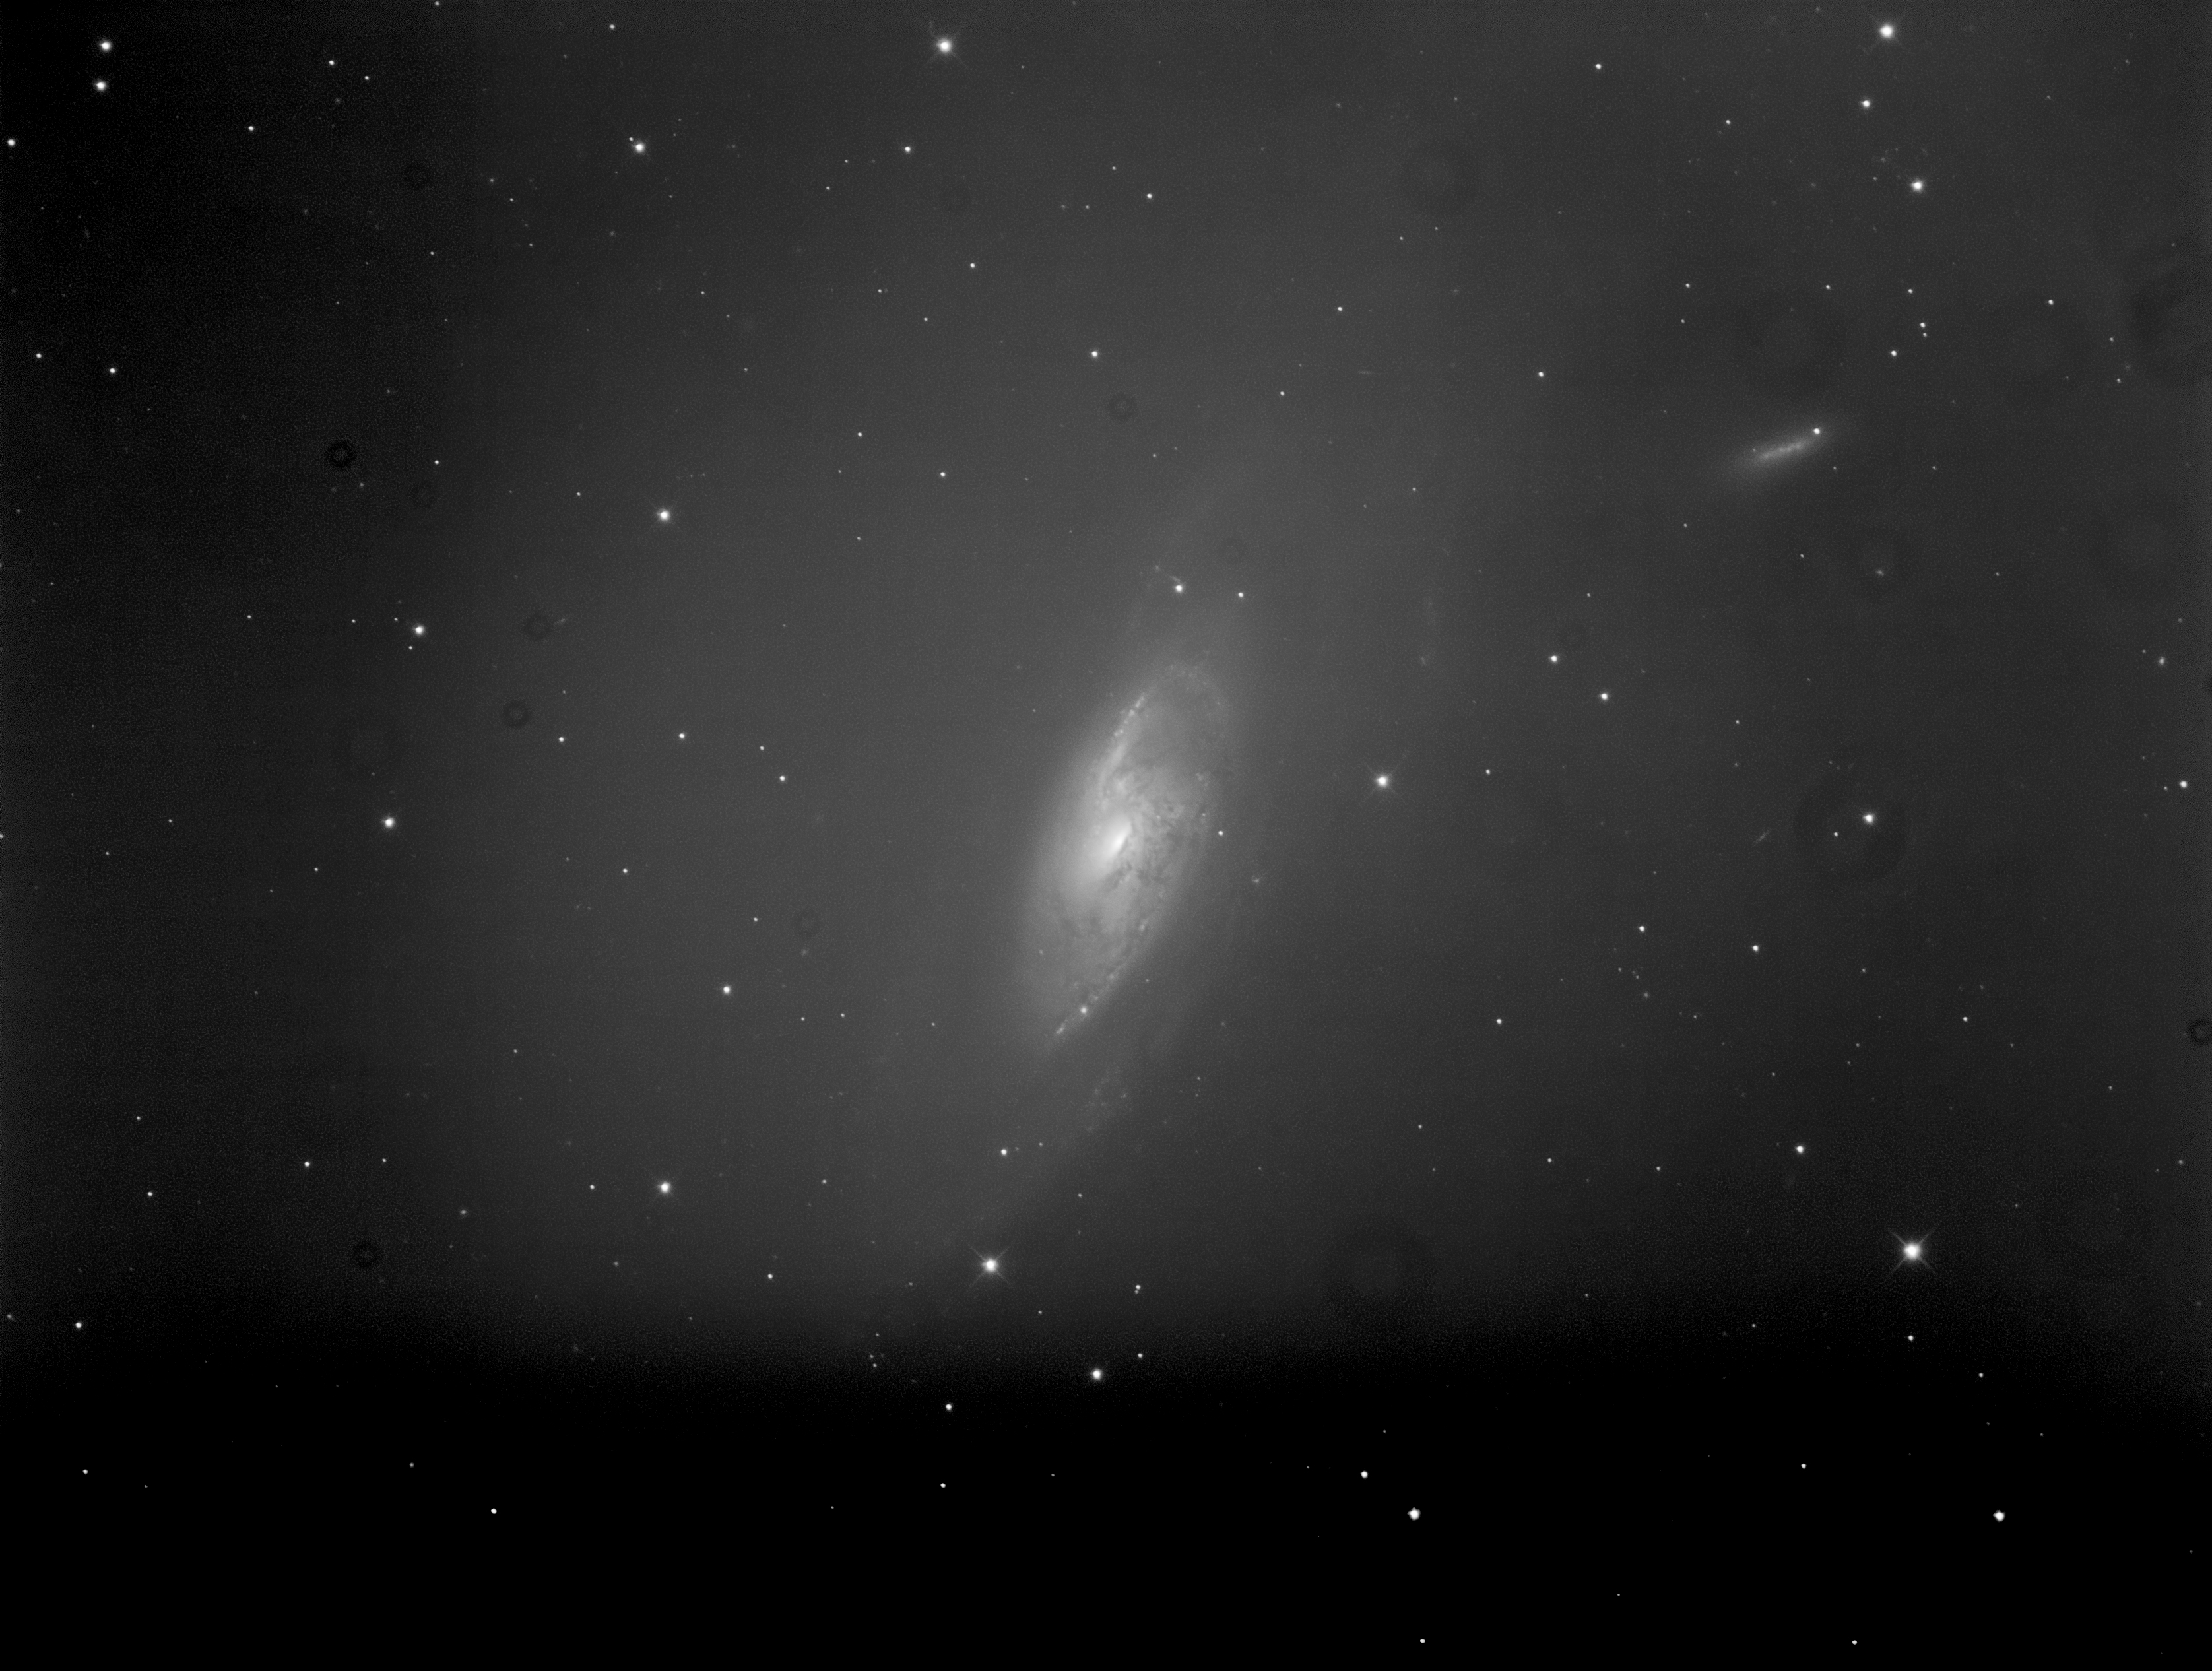
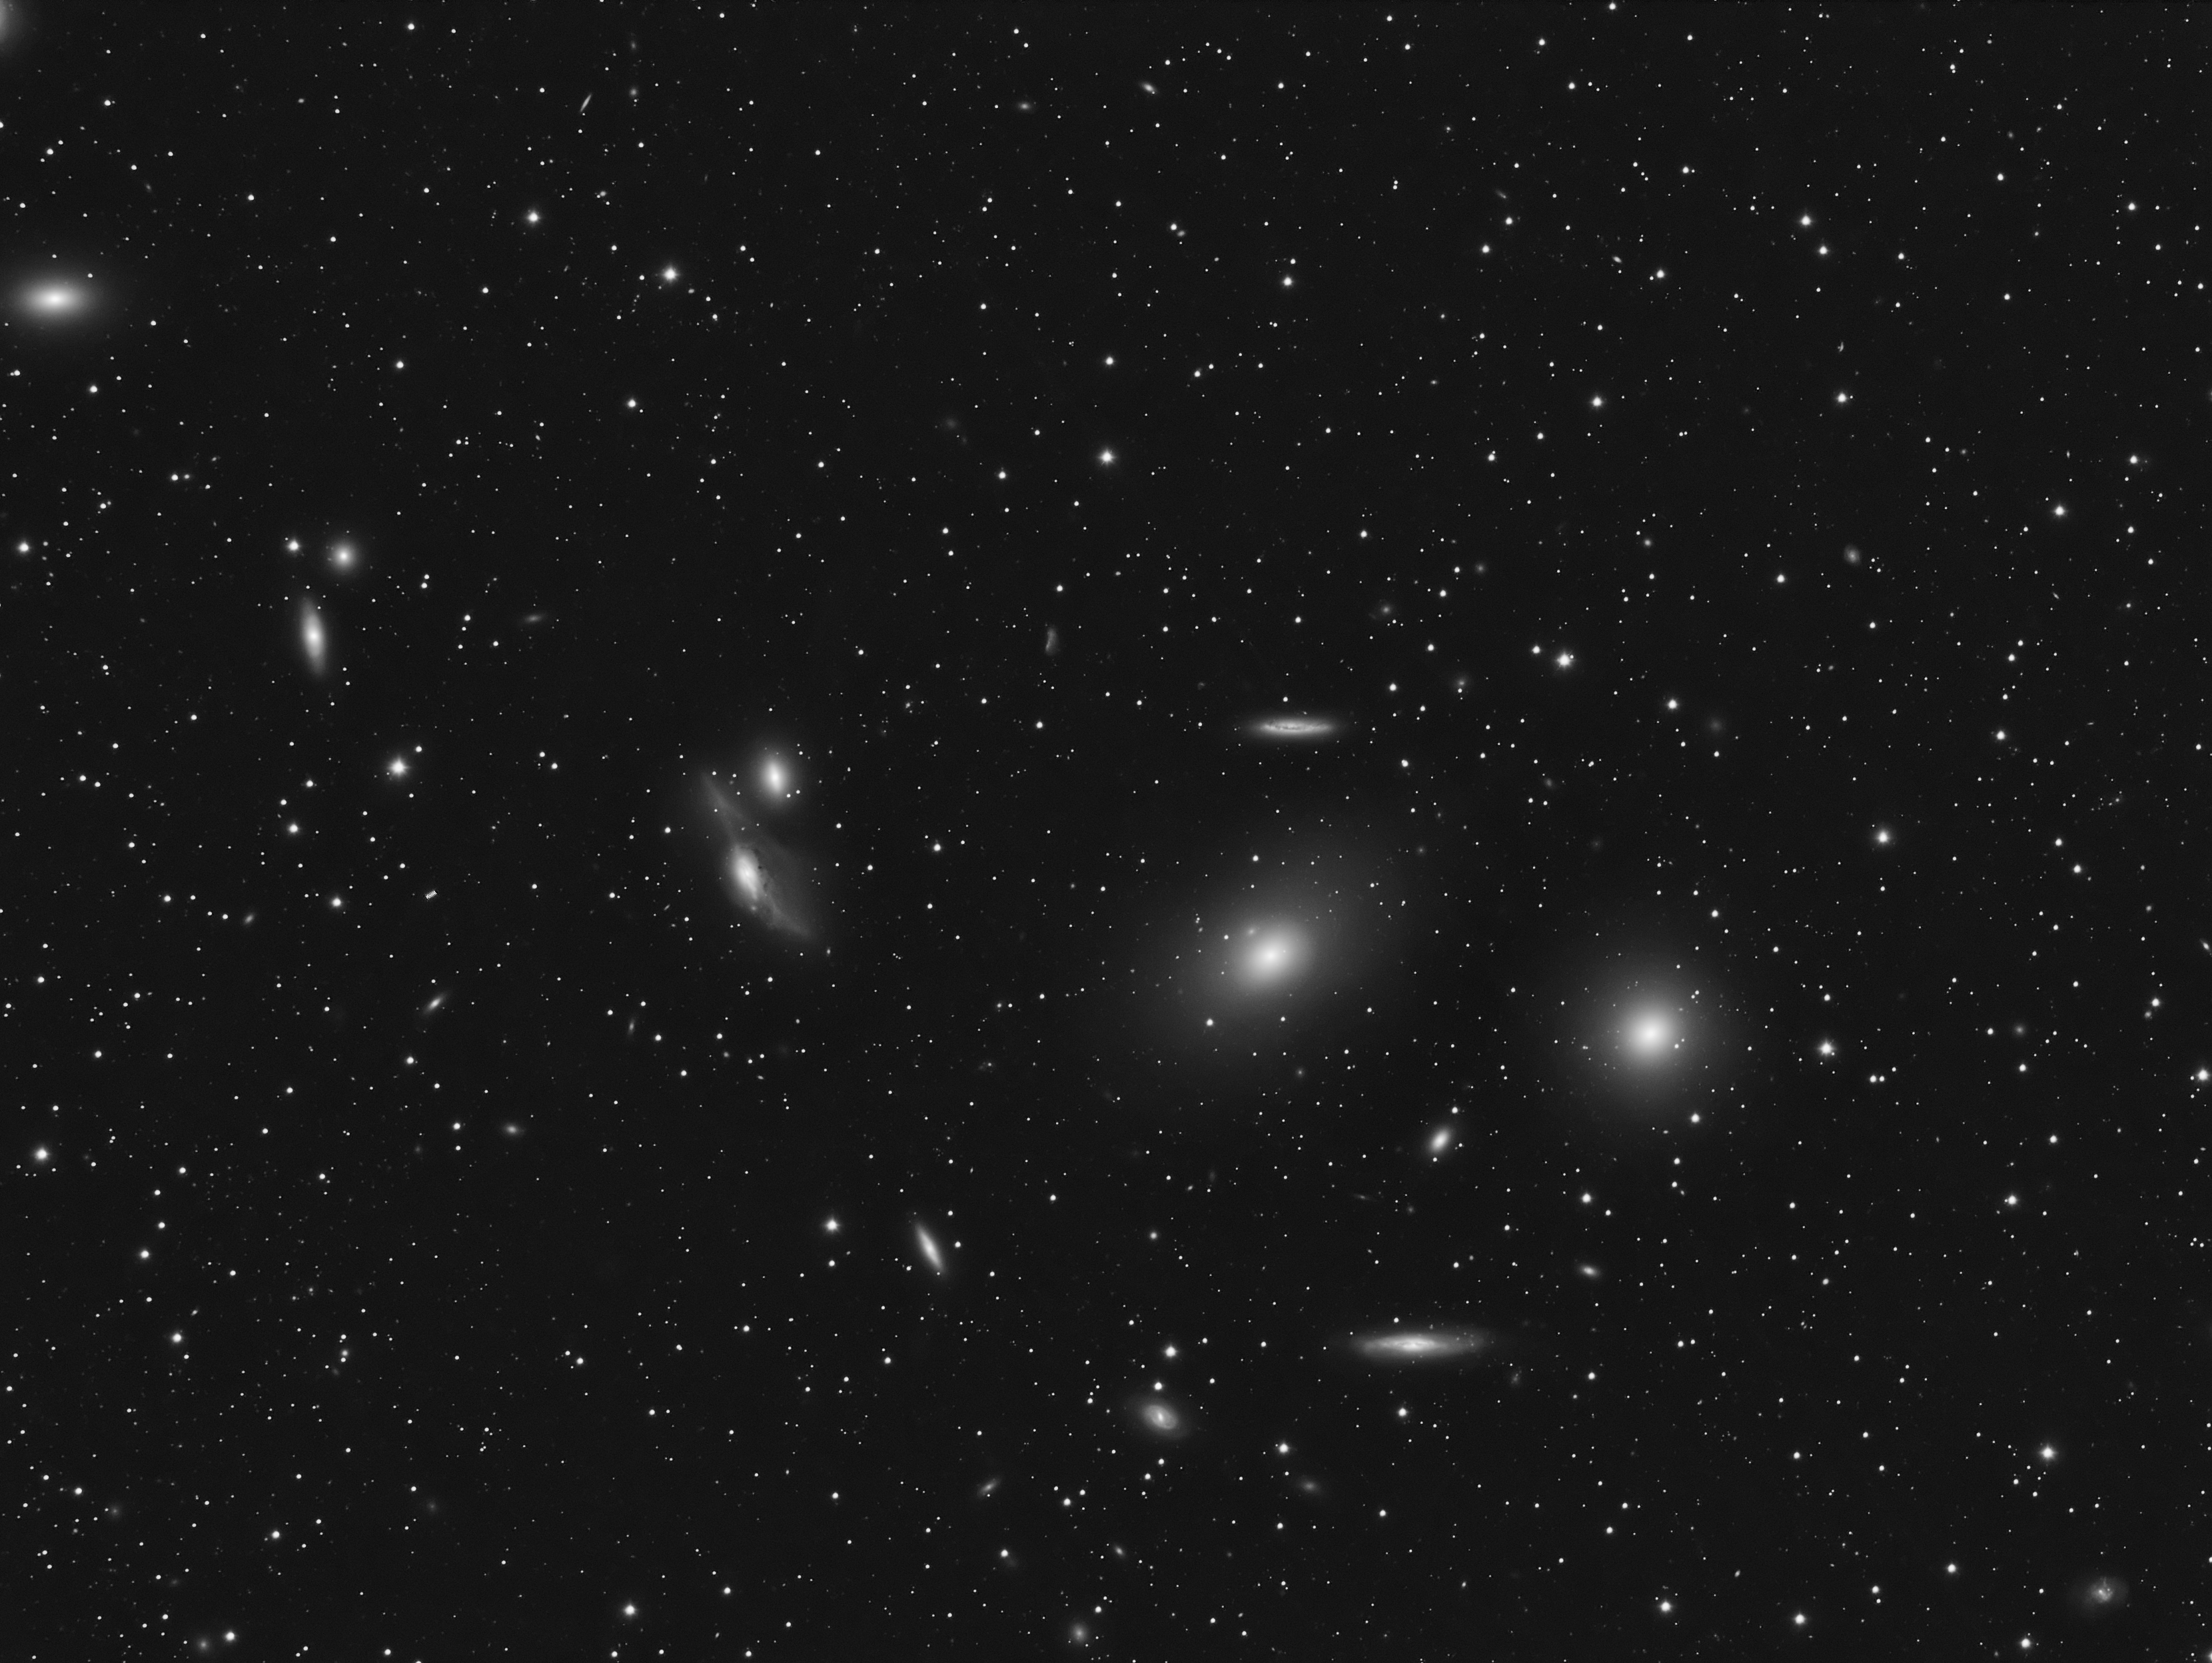
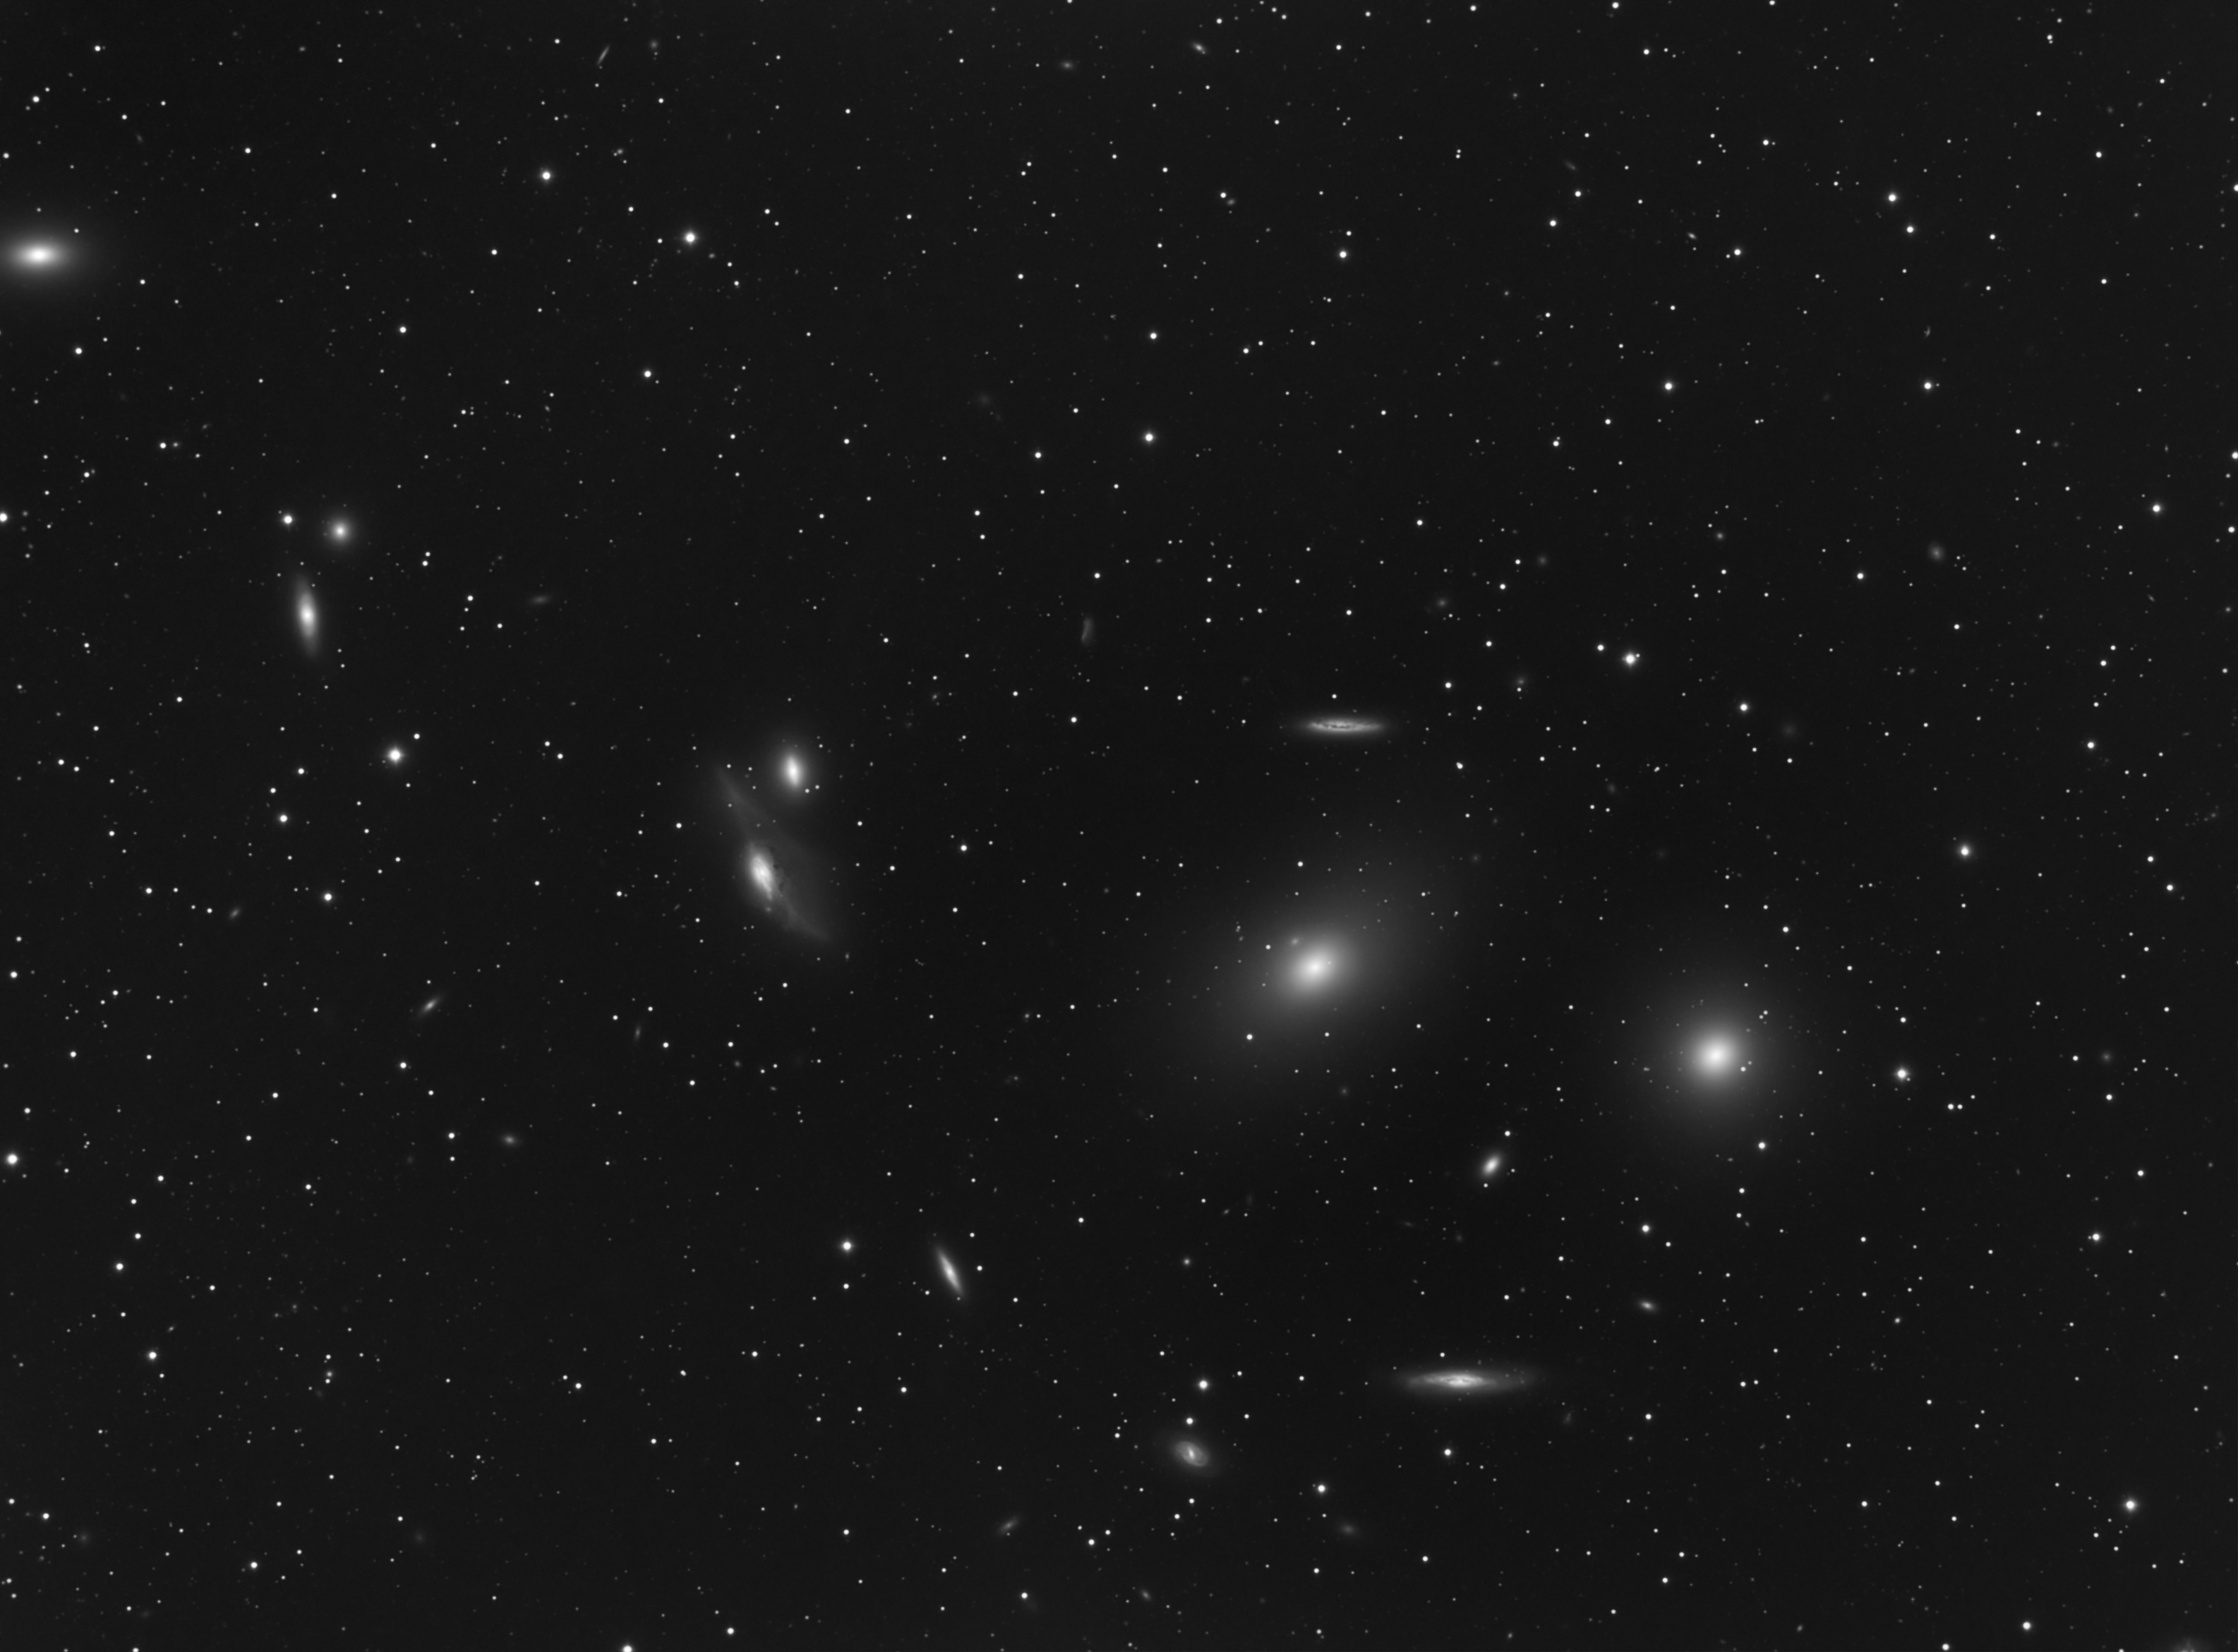
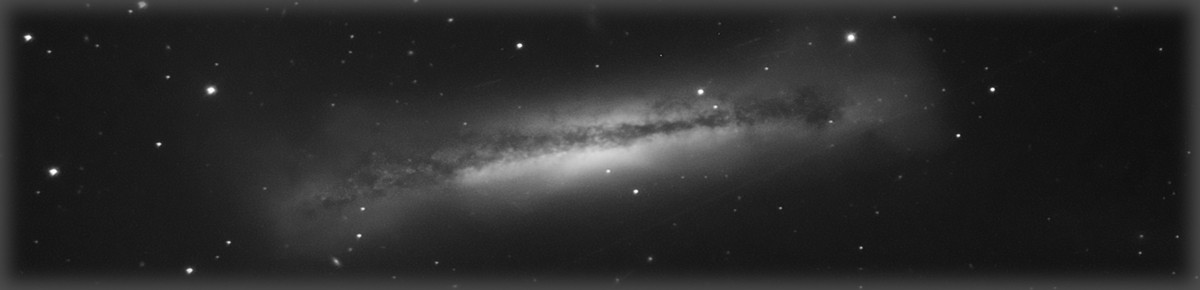
During the April new moon (2019), I traveled to Chiefland Astronomy Villiage in Florida and had several nice nights of data collection in a row! While there, Josh joined me and we worked on imaging M64. He imaged a very wide field version trying to capture IFN (Integrated Flux Nebula) and I captured a more close in version.

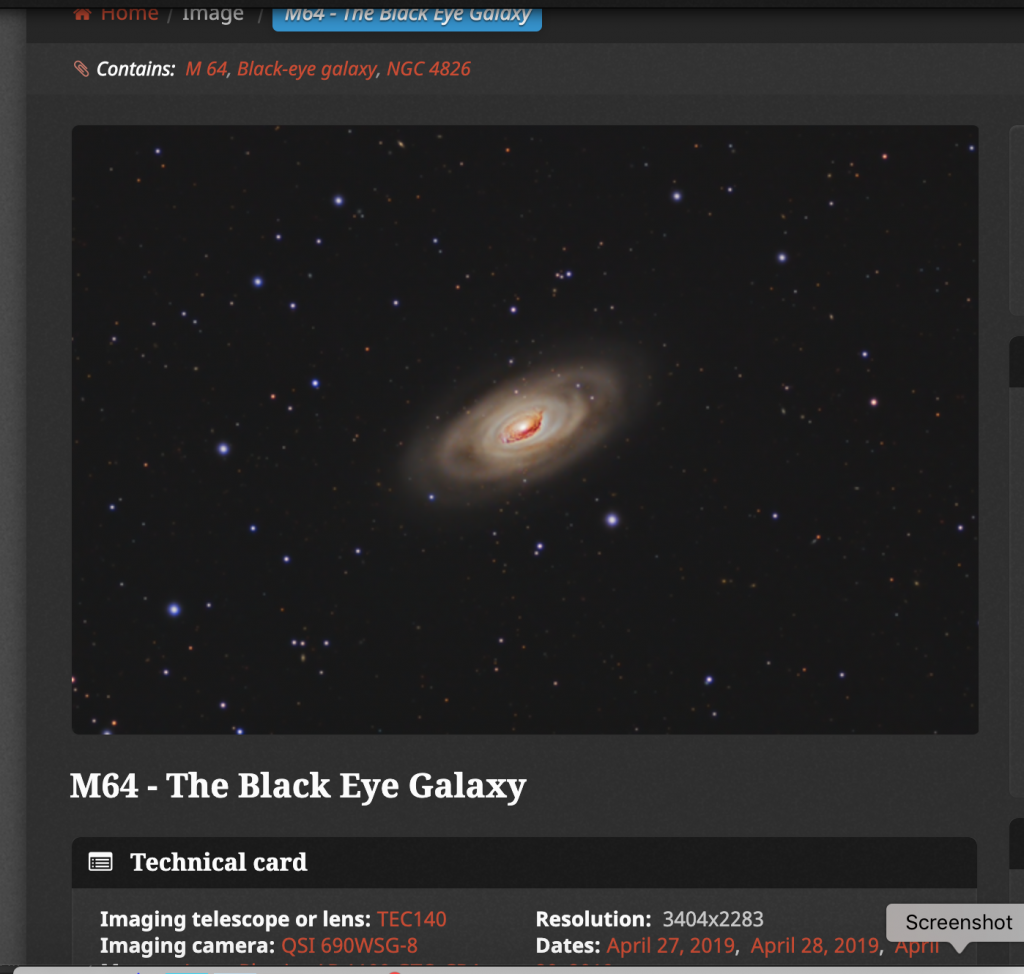
For more technical details and capture information, head over to my page on Astrobin.

And here is a link to the image that Josh put together from that trip (also on Astrobin).

M64 is located in the constellation Coma Bernices or more crudely, sort of “below” the handle of the Big Dipper. Its nickname of the Black Eye galaxy likely originated from its appearance during visual observations more than as a result of astrophotography. It is located only 17 million LY away, so it is pretty close to us (in space distances). An unusual feature of M64 is that gas in the outer regions of the galaxy is rotating in the opposit direction for gas and stars in the inner part of the galaxy. This is thought to be the result of a billion year old encounter with another galaxy. This kind of disruption tends to cause star formation and there is a lot of evidence of this in M64.

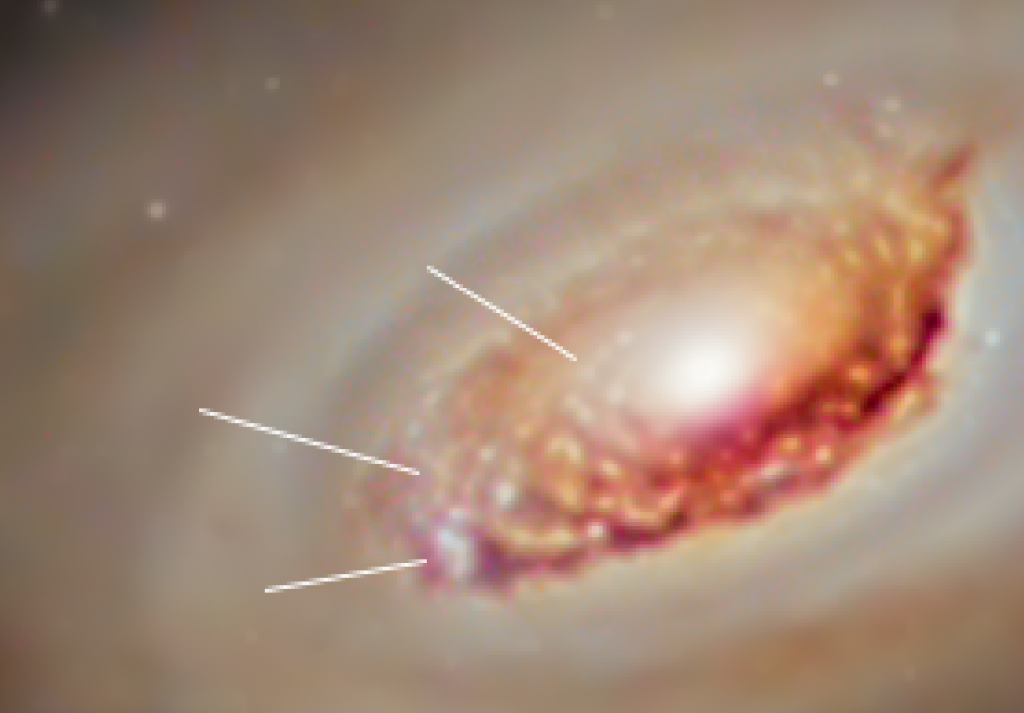
In the extreme closeup (400%) of the core of my image I have indicated a few of the star forming regions that are just barely starting to be resolved. I am pretty pleased to see some of these details…

Barely Resolved clumps of Blue Stars

Prior to this image, I used CCDStack and PhotoShop for processing. More recently, I switched to PixInsight for calibration and other linear processing followed by non-linear processing in PhotoShop. This image, however, represents the first where most of the processing was done Pixinsight.

Specifically, I found that the details of the core of the galaxy and details of the arms of the galaxy were enhanced at rather different settings in HDRMT. Further, for the core I used a technique of processing on a preview which contains only the galaxy, itself, then replacing the core of the larger image with the preview. Then I combined the images (one with a nicely detailed core and the other for everything else) in photoshop by layering them and then painting on a mask that allowed the detailed core to come through in a controlled way. There may be a way to do this in PixInsight, but I couldn’t figure it out.

I guess that is about it. If you have questions, feel free to ask at my Astrobin page! Thanks for looking.

Back Patio Testing

Last weekend and this one, the skies were clear enough to allow a bit of testing on the back patio. The next few days will bring a more detailed entry on the steps between the WSP and today, but here is a little test image (actually a quick stack of 16 5-minute sub frames). Just enough of a taste to be encouraged I am on the right track with this setup. This is both the first automated test with SGP and the first successful test through the AT10RC reduced to somewhere around 1600 mm via the AP27TVPH.

M106 Test Image - from my back patio
M106 Test Image – from my back patio

It appears I can be a little less conservative with my pick-off mirror placement and also like I should get busy on my larger flat box and my collimation technique. But an encouraging start, just the same.

Winter Star Party 2015 Results – Part 1

The Setup

So I changed a number of things all at once. Not in a controlled, engineering way, but in a desperate Northeast Amateur Astronomy way that reflects precious few clear nights each year. Because I was heading off to the WSP with no opportunity to test my new Astro-Physics 1100GTO mount on targets more distant than the basement ceiling, I was determined to be happy with getting things up and running. Any images I was able to capture would be icing on the cake. And it would be warm.

In addition to the coming out party for the 1100, a major change from last season is the switch over to Sequence Generator Pro (Main Sequence Software) for image acquisition and session management. An immediate benefit of the switch to SGP is the opportunity to exploit their automated focusing routine. If all goes well, this will replace the clunky operation of slewing to a bright star to do manual focusing with a Bahtinov mask and then slewing back to reacquire the target. To slightly complicate things further, I am moving away from AstroTortilla’s blind solver as the primary plate solving tool and on to PinPoint as the main solving engine with Astrometry.net as the blind fail-over solver.

And finally on this trip, I wanted to test out an AT10RC scope that has been patiently waiting in storage for a ride on the new 1100. My plan was to test it both at native focal length and reduced with an AP Telecompressor (the 27TVPH).

So… I felt that if I could get most of these things tested and successfully running, it would be a very successful week. And it would be warm.

Phase 1 – SGP

2015 Test Image from WSP - M1
2015 Test Image from WSP – M1

As with any image in any of these blog entries, you can click on an image once to get a full browser view and click on it again to get a full, original resolution view. Click your browser’s “back” button to return here.

This M1 capture was the first capture with SGP. The main goal, other than actually using SGP was to use SGP’s focus routine. And getting the paths and file naming figured out. And interfacing with PHD2. And… well, you get the idea. M1 isn’t particularly suited to 770mm of focal length, especially when reduced to 616mm at f/5.6, but it was high overhead at the right time. This quick capture is a stack of 7 15-minute frames of Ha data. This isn’t cropped and shows pretty nice (but not perfect) star shapes all the way to the edges of the 8300 chip.

Phase 2 – Plate solving

2015 Test Image at WSP - Base of Markarian Chain
2015 Test Image at WSP – Base of Markarian Chain

Phase 2 included everything that was in the first phase, and added the variable of plate solving with PinPoint under SGP. For this target, I plate solved an image that has been a work-in-progress for the last two seasons, then allowed SGP to center the scope on that target by using PinPoint. The original target image is at the bottom of this post. All of the parameters are not completely settled, there may still be an issue between JNOW and J2000, and the fail-over solve is very slow right now. But the successful PinPoint solves were amazing… a second or less. Very cool and lots of potential.

This second image is made up of a stack of 9 10-minute sub frames. As with the first frame, the scope is a WO 110FLT reduced with the WO AFR-IV flattener/reducer. Camera setup is all SBIG: ST-8300, FW8 with Astrodons, OAG with st-i guide cam.

Crop showing Asteroid 508 Princetonia

I didn’t realize it at the time, but I also captured the first asteroid that I realized I have captured… In this case it is 508 Princetonia… it is indicated in the crop from the larger image. Not that it is earth shattering, but it was additional spice to the testing week!

My reference image from last season used as reference for this season's test image
My reference image from last season used as reference for this season’s test image